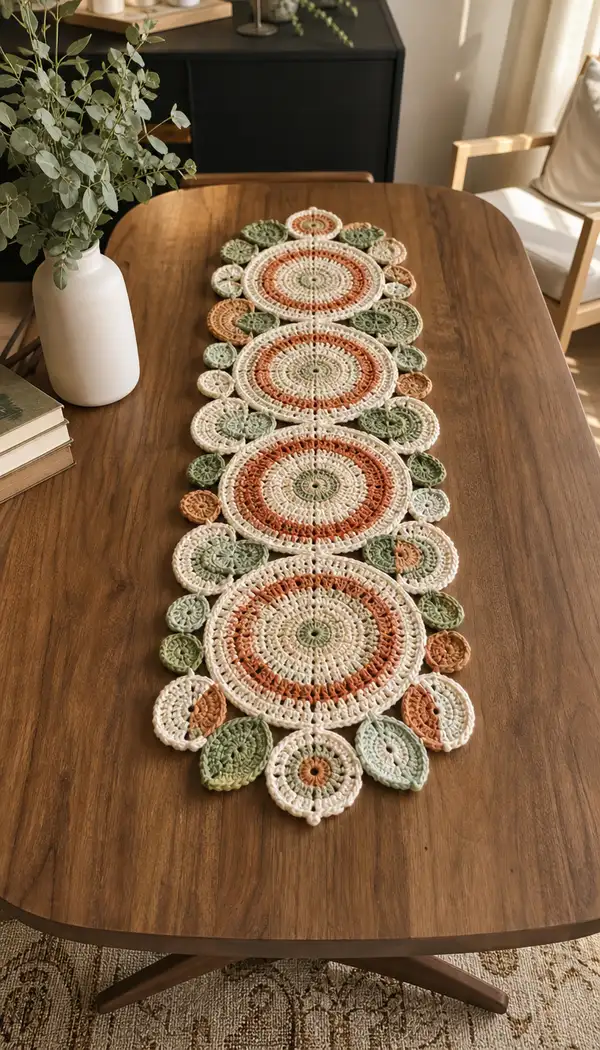
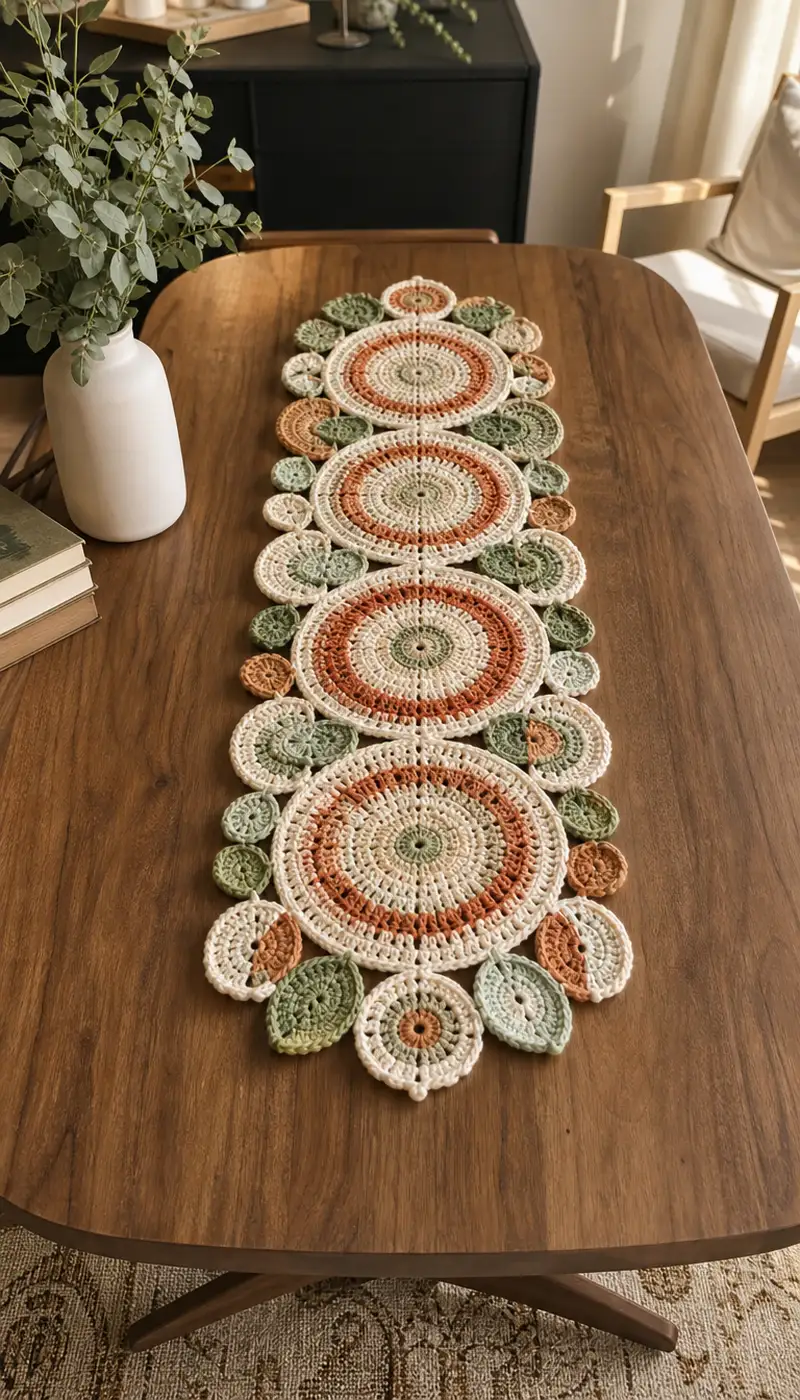
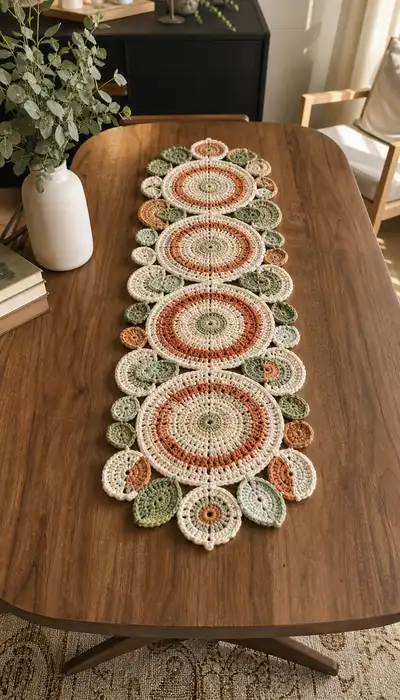
Create a warm, boho-inspired table runner made from linked mandala circles, delicate leaf motifs and dainty small rounds. This pattern uses sage green, terracotta rust and soft cream to produce an earthy, layered runner with a lacy, textured edge. Perfect for a dining table centerpiece or dresser accent—worked in modular motifs and joined-as-you-go for tidy assembly.
Progress Tracker
0% Complete
— Notes & Overview :
Info :
This runner is modular: you will create 4 large mandala circles, multiple small medallions and leaf/oval motifs, then join them as indicated. Read through the full pattern before starting. For a crisp result use a cotton or cotton-blend worsted weight yarn and a hook size that gives you a firm fabric. Blocking is recommended for each motif before final assembly.
Info :
Color key used throughout: CC (Cream/off-white), TC (Terracotta/rust), SG (Sage/green). Substitute colors as desired keeping contrast for each ring to highlight texture.
— Large Mandala Circle (Make 4; Mandala A) :
Info :
These large mandalas are worked in the round from the center out. Follow each round exactly; stitch counts are given at the end of each round. The increase sequence used is +6 stitches per round, starting from 6 stitches in the magic ring (this yields smooth flat circles). Colors change every few rounds to reproduce the layered rings seen in the photo.
Mandala A — Round 1 :
mr, ch1, 6 sc in mr (6)
Round 2 :
inc x6 around (12)
Round 3 :
(1 sc, inc) x6 (18)
Round 4 :
(2 sc, inc) x6 (24)
Round 5 :
(3 sc, inc) x6 (30)
Round 6 :
Change to SG (sage) now. (4 sc, inc) x6 (36)
Round 7 :
(5 sc, inc) x6 (42)
Info :
At the end of round 6 we introduce sage for the small central ring seen in the photo. Carry previous yarn inside or fasten off and weave in later. Mark the first stitch of each round to keep track.
Round 8 :
Change to CC (cream). (6 sc, inc) x6 (48)
Round 9 :
Change to TC (terracotta). (7 sc, inc) x6 (54)
Round 10 :
1 sc in each st (54)
Round 11 :
Change to CC. (8 sc, inc) x6 (60)
Round 12 :
1 sc in each st (60)
Round 13 :
Change to TC. (9 sc, inc) x6 (66)
Round 14 :
1 sc in each st (66)
Info :
From rounds 9–14 we are building the broad colored banding. Keep tension consistent—cotton tends to tighten around dc/higher stitches. Take time to ensure rounds are flat; if slight ruffle appears, block flat before proceeding.
Round 15 :
Change to CC. (10 sc, inc) x6 (72)
Round 16 :
Switch to dc for open texture: ch2 (counts as first dc), dc in same st, (2 dc, ch1, skip1, 2 dc) across working 24 shell groups; for math this round maintains 72 dc-based positions (72)
Round 17 :
1 dc in each st around (72)
Round 18 :
Change to SG. (11 dc, inc) x6 (78)
Round 19 :
1 dc in each st (78)
Info :
Rounds 16–19 introduce taller stitches and open shellwork for the decorative ring. The ch1 spaces will create tiny scallops that catch the light. Use stitch markers at starting points of shell groups if helpful.
Round 20 :
Change to CC. Work picot-ridge round: *sc in next 6 sts, (sc, ch3, sl st in top of same sc) to create spaced picot accent*, repeat across to end (78)
Round 21 :
1 sc in each st (78)
Round 22 :
Change to TC. (12 sc, inc) x6 (84)
Round 23 :
1 sc in each st (84)
Round 24 :
Surface texture round in CC: *FLO 1 sc in each st to form visible ridges* (84)
Round 25 :
Change to SG. Work shell clusters: *(skip 2, 5 dc in next stitch, skip 2, sl st in next)* repeat to end, creating 28 shell clusters (84)
Info :
The shell clusters form a decorative outer ring reminiscent of petals. Make sure shells are evenly spaced; use pins to spread shells when blocking to perfect the circle shape.
Round 26 :
Join color CC: Around the base of shells work 1 sc in each st under the shell arches (84)
Round 27 :
Edging round: *(sc in next 4, picot (ch3 sl st back into same), sc in next 4, sl st into shell top)* repeat around (84)
Round 28 :
Final decorative loop round in CC: *ch4, sl st into every 3rd st to create loopy border* around to finish. Fasten off and weave ends. (final visual count not required)
Info :
Fasten off leaving long tail if joining to neighboring motifs with sew or slip-stitch join. Block the mandala flat to 11–13 inches diameter (or desired size) to set the shape before joining. Repeat exactly to make four mandalas (Mandala A x4), matching color placement for a consistent look.
— Mandala Circle B (Repeat of Mandala A — Mandala 2) :
Info :
Repeat rounds 1–28 from Mandala A exactly to create the second large mandala. Ensure central color placement alternates as in photo: center SG, inner ring CC, mid ring TC, outer rings CC and SG as preferred.
Rounds 1-28 :
Repeat Mandala A rounds 1–28 (make mandala 2) following same stitch counts and color sequence. Block when finished.
— Mandala Circle C (Repeat — Mandala 3) :
Info :
Make a third mandala using the same sequence. Vary color placements slightly if you prefer a staggered banding effect—photograph shows alternating light and dark center rings.
Rounds 1-28 :
Repeat Mandala A rounds 1–28 (make mandala 3)
— Mandala Circle D (Repeat — Mandala 4) :
Info :
Create the fourth mandala so you have four large circles ready to join into a linear runner. Blocking consistency will help keep the runner straight.
Rounds 1-28 :
Repeat Mandala A rounds 1–28 (make mandala 4)
— Small Circular Medallion (Make 12–16) :
Info :
These small rounds are used to fill gaps between large mandalas and to create the lacy edge. They are worked in the round with a simpler increase sequence. Make multiple in CC, SG and TC to alternate colors along the runner edge. Create 12–16 small medallions depending on how many fill spots you have between large mandalas.
Round 1 :
mr, ch1, 6 sc in mr (6)
Round 3 :
(1 sc, inc) x6 (18)
Round 4 :
Change to SG or TC. (2 sc, inc) x6 (24)
Round 5 :
1 sc in each st (24)
Round 6 :
Change to CC. *(ch3, sl st into next st) across to form small arches* (24)
Round 7 :
1 sc in each st (24)
Round 8 :
Edge round in matching color: *(sc, ch2, sc) in every 4th st to create scallops* around (24)
Round 9 :
Optional center accent: embroider small star or add contrasting dc cluster at center. Fasten off and weave ends.
Info :
Make 12–16 medallions. Alternate colors to mirror the photograph: some fully sage, some terracotta centers with cream scallops, etc. Block to 2.5–3.5 inches diameter depending on tension and yarn.
— Leaf / Oval Motif (Make 12–20) :
Info :
These leaf motifs fill the outer edges between medallions and mandalas. They are worked as flat ovals built in joined rounds with increases at each end to form points. Use SG for most leaves and alternate with CC and TC for variety.
Round 1 :
Ch 14, sc in 2nd ch from hook, sc across to end (13), 3 sc in last ch to turn and work other side of chain, sc across underside (13), 2 sc in first ch to close the oval (28 total around chain foundation) (28)
Round 2 :
Inc at each point: sc in next 6, inc, sc in next 12, inc, sc in next 6 (30)
Round 3 :
(sc in each st around) (30)
Round 4 :
Change to CC for mid-edge contrast: 1 sc in each st BLO to emphasise a ridge (30)
Round 5 :
Decrease slightly toward tip shaping: *sc8, sc2tog, sc12, sc2tog, sc8* (28)
Round 6 :
Work single crochet scallop edge: *(sc in next 3, ch2, skip1) repeat* around, finishing with sl st (visual edge)
Info :
For a sharper leaf point reduce the chain start to 12 and adjust increases accordingly. Block leaves lightly to flatten; pin to shape when damp and allow to dry.
Round 7 :
Optional decorative vein: with contrasting thread embroider a central vein from base to tip and two angled veins on each side. Fasten off and weave ends.
Info :
Make 12–20 leaves. The photo shows leaves alternating in color and orientation; plan placement before joining for a balanced composition.
— Tiny Accent Circles (Make 8–12) :
Round 1 :
mr, ch1, 6 sc in mr (6)
Round 3 :
1 sc in each st (12)
Round 4 :
Edge in CC: *(sc, ch2, sc) in every other st* to produce tiny scallops. Fasten off and block to 1–1.5 inches diameter.
Info :
These are used to tuck between large mandalas and around the outer edge. Make 8–12 as needed to mimic the photograph's cluster density.
— Assembly / Join-As-You-Go :
Info :
Decide on the linear arrangement: Mandala 1 — Mandala 2 — Mandala 3 — Mandala 4. You will join small medallions and leaves around the outer edges and between the mandalas to create the continuous runner look. Use CC (cream) slip-stitch joins for a neat, visible seam that matches the photo aesthetic.
Step 1 :
Lay out all blocked motifs on a flat surface to match the runner photo. Pin pieces in position using rust-proof pins; alternate medallions and leaves as shown to create rhythm.
Step 2 :
Join Mandala 1 to Mandala 2: With CC and right sides up, align edges and use join-as-you-go method: at the final round of Mandala 2, when you reach the points to join, sl st into the corresponding st of Mandala 1 then continue the round. Alternatively whip-stitch through matched loops using tapestry needle for a flatter join.
Step 3 :
Fill the gap between mandalas with a mix of small medallions and tiny accent circles—sew or sl st these to both adjacent mandalas so they sit snugly without gaps. Add leaves around the edges by sewing the leaf base to the mandala outer edge and leaving tip slightly raised for dimension.
Info :
When sewing, use ladder stitch or whip stitch with CC so seams blend. Take small stitches through both motif edges, keeping tension even so motifs align flat against table surface.
Step 4 :
Complete outer edge: Once central mandalas and inner medallions are joined, add leaves and small circles around the full perimeter. Where a small medallion meets a leaf, sew medallion first to the mandala, then tack leaf overlapping slightly over the medallion for layered look.
Step 5 :
Secure all joins: After initial assembly, go back and reinforce joins with an extra pass of whip stitches or small slip-stitches to ensure stability for everyday use. Trim and weave in all ends on the back side of the runner.
Info :
Blocking final assembled runner lightly after joining helps settle seams and afford a crisp finished look. Use pins to flatten outer loops and leaves. Avoid heavy steam on cotton blends—use gentle wet-blocking.
— Outer Border & Finishing Rounds :
Round 1 :
With CC, work a finishing round around the entire assembled runner: sc evenly around all outer edges, placing 3 sc across each shell and 1 sc across each small st to give a uniform border. Aim for smooth tension.
Round 2 :
Edge decorative loop round: *ch4 sl st into next st across edge every 4th stitch* to create spaced loops for visual finish. Fasten off and weave ends.
Info :
If you prefer a firmer edge, work one more round of sc in the same CC, working in BLO to create a slight ridge. That ridge helps prevent curling on high-traffic tables.
— Care & Blocking :
Info :
Block each individual motif by pinning to shape on a blocking board and misting lightly or wetting and allowing to dry overnight. For assembled runner, block carefully flat. Handwash in cool water and lay flat to dry; cotton will soften with washing but may shrink slightly if exposed to heat.
Info :
Trim all ends and check for loose joins periodically—secure any that loosen over time. For a runner on a busy table, you may wish to back the runner with a thin felt or fabric to protect the underside and help it stay in place.
Finishing this Sage Terracotta Mandala Leaf Table Runner is so rewarding—watching the four mandalas and delicate leaves come together into a cohesive, boho-chic centerpiece is pure joy! The layered texture and warm color palette make it a perfect seasonal accent for dining or console tables. Enjoy blocking each motif and assembling them into a graceful runner that will bring warmth to your home. 🧶🌿✨