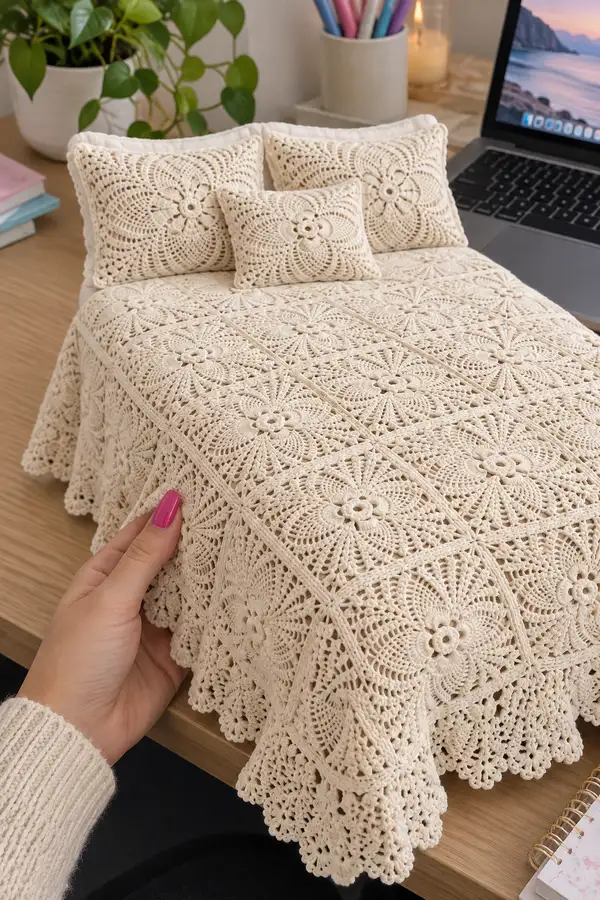
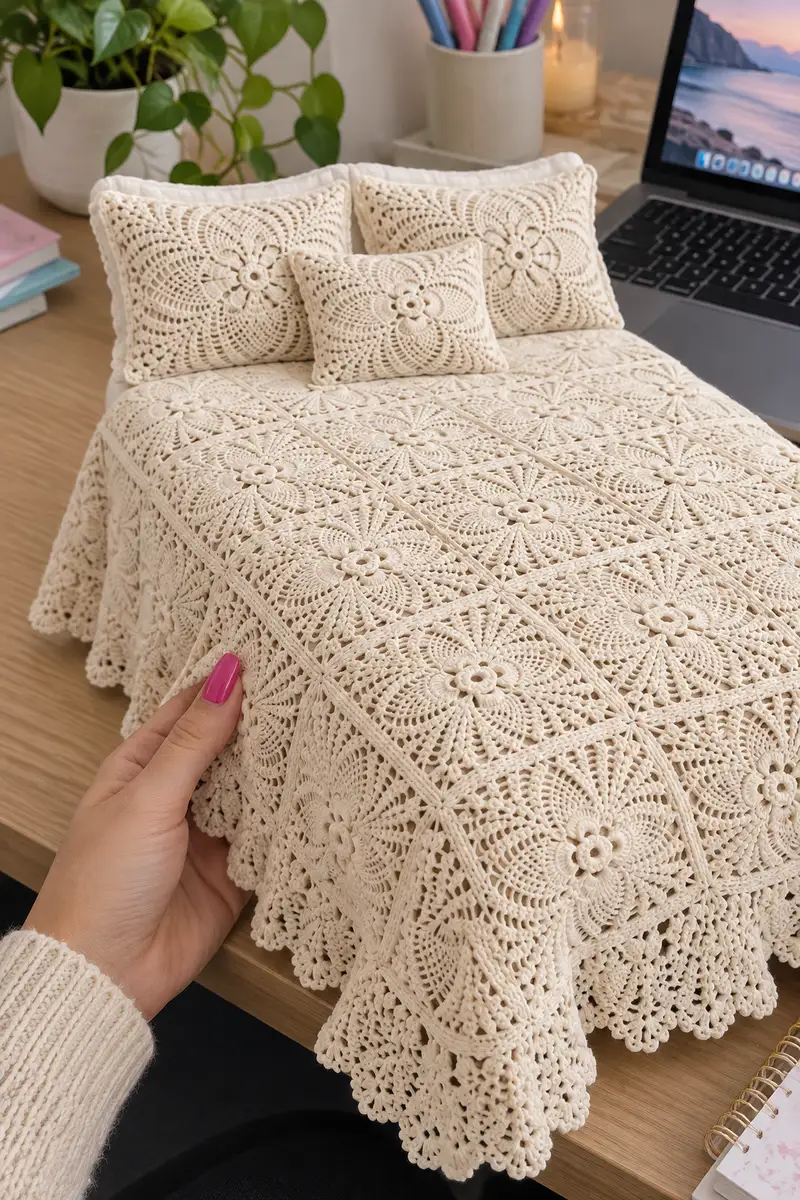
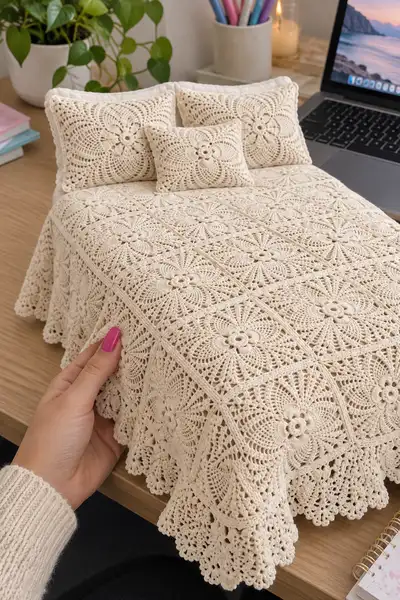
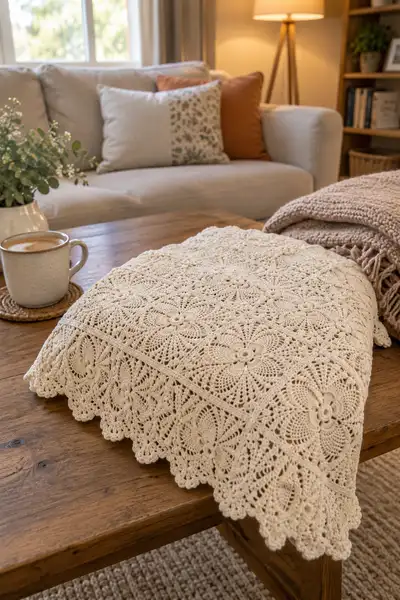
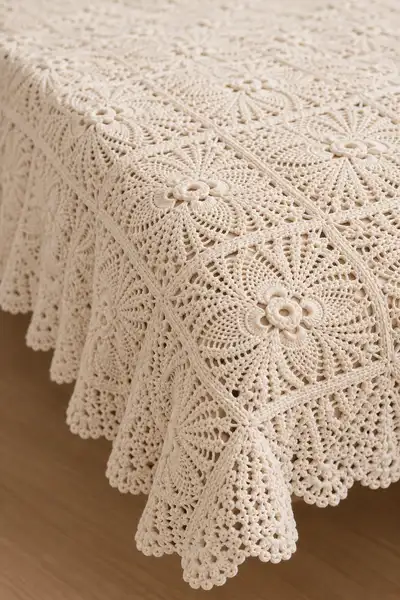
Create an elegant, vintage-inspired bedspread made from sculpted floral motifs joined into a flowing scalloped coverlet. This pattern reproduces the delicate petal medallions, raised flower centers and lacy scalloped edge seen in the photos. Worked in a natural ecru cotton, each square motif is built with textured petals and open lace rounds that join together for a romantic, serene finish. Suitable for creating a throw, twin coverlet or full bedspread by changing the number of motifs.
Progress Tracker
0% Complete
— Gauge & Notes :
Info :
Gauge for one motif (blocked): approximately 18 cm / 7" square when worked with 3.5 mm hook and aran cotton — your gauge may vary. Motifs are worked from the center outward. This pattern uses 8 petal anchors per motif. Work tightly for clear stitch definition, but not so tight that joining becomes difficult. Block each motif to the same size before joining.
— Motif (Make many) :
Round 1 :
Work 8 sc in magic ring, pull ring closed (8)
Round 2 :
Inc in each st around (8 inc) (16)
Round 3 :
(1 sc, 1 inc) x 8 (24)
Round 4 :
(2 sc, 1 inc) x 8 (32)
Round 5 :
(3 sc, 1 inc) x 8 (40)
Info :
At this stage place 8 small removable markers every 5 stitches to mark petal anchor points. You will space 8 petals evenly around your circle; placing markers now keeps even spacing.
Round 6 :
(4 sc, 1 inc) x 8 (48)
Round 7 :
(5 sc, 1 inc) x 8 (56)
Round 8 :
(6 sc, 1 inc) x 8 (64)
Info :
Round 8 establishes the base for 8 petals; you should have 64 base stitches. The markers placed earlier should sit every 8 stitches; reposition them now if necessary so that markers divide round into 8 even sections of 8 sts each.
Round 9 :
1 sc in each st around (64)
Round 10 :
*Move to marker, ch4, sl st into same st to create a ch-loop for a petal (loop counts as foundation for petal), 1 sc in each of next 7 sts; repeat from * 8 times (64 sc anchors; 8 ch4 loops created)
Info :
We created eight ch4 loops that will each receive the raised petal. The 1 sc anchors keep base stitch count at 64 and maintain a stable foundation for petals.
Round 11 :
Work petal into each ch4-loop: [sc, hdc, 3 dc, hdc, sc] into first ch4-loop, sl st into next anchor sc; *1 sc in each of next 7 anchor sc, petal into next ch4-loop; repeat around (64 anchor sc remain, petals are additional textured stitches)
Info :
Petals are worked across the ch4-loops and stand above the round. Keep petals all worked the same to ensure even height. Use a gentle tension so petals are soft but defined.
Round 12 :
1 sc in each anchor st around, working a sl st behind each petal base to secure petals and maintain evenness (64)
Round 13 :
*Ch6, sk 3 anchor sts, (sc in next 2 sts) x 3, ch2, sk 1; repeat from * 8 times. This creates 8 large chain-arches around the petals (count remains 64 worked anchors)
Info :
The chain arches create space for the lacy fan round. These arches will be filled with stitch clusters that create the lacy negative spaces seen in the motif.
Round 14 :
Into each ch6 arch work: (sc, hdc, 5 dc, hdc, sc) making a fan petal overlay. Slip stitch to next anchoring stitch, continue around. Anchors keep base stitch count consistent.
Round 15 :
1 sc in each anchor st around (64). Work behind fan petals with sl sts to stabilize (64)
Info :
Now create the raised 3D ring at the center using small puff/pop stitches worked over a few rounds to mimic the center flower formation in the sample image.
Round 16 :
Work a centered ring: join yarn at inner edge between two petals, ch1, (sl st, ch3) x 6 around the center to make 6 small loops inside the motif center; join with sl st (6 loops)
Round 17 :
Into each small loop work (puff stitch - yarn over 3 times and pull through 4 loops, close, ch1) x 6 to form 6 puff petals that will be arranged into a small flower; sl st to join. After working these puffs, chain 1 and work a round of sc around them to stabilize (work 12 sc around the peppered puffs by working sc between puffs and into sl st joins as needed)
Info :
When making puff stitches: keep each puff consistent — same number of yarn overs and even tension so the center stays balanced. Weave a small tail through the back of the puff ring to anchor at finishing if desired.
Round 18 :
1 sc in each base anchor st around, working behind the puff ring and securing (64)
Round 19 :
*Ch4, skip 3 sts, (sc in next 5 sts) ; repeat from * 8 times to create corner/diagonal linking points (64 anchor sc remain)
Round 20 :
In each ch4 loop created work (sc, ch3, sc) to turn arches into small picot accents; 1 sc in remaining anchors as you go (64)
Info :
From round 19–20 you built a decorative intermediary round that later helps produce the square framework. These arches also help give the motif its lacy, open texture.
Round 21 :
Work 1 sc in each st around (64). Finish this round with a sl st to join.
Round 22 :
*Ch3, 2 dc in next st, ch3, sl st at the base to make a small shell; 1 sc in each of next 7 sts; repeat from * 8 times (64 sc anchors plus shells)
Round 23 :
1 sc in each anchor st around, working behind shells to stabilize (64)
Info :
At this point your motif reads as a circular medallion with layered petals and decorative fans. We now shape the motif into a square with corner rounds that add triangle lace and create straight edges for joining.
Round 24 :
*Ch6, sk 6 sts, work (sc, ch2, sc) into the next st to form a corner base; 1 sc in each of next 14 sts; repeat from * 4 times. This divides the round into four sides and four corner groups. You will now have 4 corner points and a rectangular set of anchor stitches along each side.
Round 25 :
Working along each side between corners: (sc in next 6 sts, (ch3, 2 dc, ch3) into corner ch2-sp ), repeat across sides to shape flat edges. Maintain an even total count along each side so squares measure evenly.
Info :
Measure motif now and block to exact square dimensions. The next rounds will make the motif square-shaped and add the small picot-edge that will marry with neighboring blocks when joined.
Round 26 :
1 sc evenly around entire motif including corner shells (aim to keep total sc around approximately 72-80 depending on small increases for corners). If you have 72 sc this round record this as your working perimeter count for join instructions.
Round 27 :
Working in BLO, 1 sc in each st around to create a raised ridge that reads as the square frame (72 or your perimeter count)
Info :
Fasten off leaving a 30–40 cm tail for joining. Block motif vigorously to square shape. Repeat motif until you have the number required for your project: e.g. 6 x 6 for a small throw, 10 x 12 for a twin, adapt to your bed dimensions.
— Join-As-You-Go (JAYG) Method :
Info :
This pattern uses a join-as-you-go technique along the last rounds of each adjacent motif to create an invisible lattice of joins. Joining is done on the final perimeter round (Round 26 or 27 above) using chain & slip stitch joins so motifs lay flat and the joins mirror the raised ridge.
Round J-1 :
Place completed motif with right side facing. Work final perimeter round until you reach a side that will attach to an existing motif. Insert hook into corresponding st on finished motif, ch1, sl st to join; continue around hooking into joins where motifs meet. Work 1 sc in each unjoined st between joins to maintain base count.
Info :
Always line up corner shells and side anchors so the motifs meet cleanly. Work loosely when making connecting sl sts to avoid puckering. If necessary, block again after joining several motifs to even tension.
Round J-2 :
When joining along two sides (corner motif placement), join first side fully, then work the next adjacent side and join each stitch to the matching stitch of the neighbor with sl st or sc as preferred. Maintain the perimeter ridge by working BLO sc over the join row where indicated.
Info :
Use a small tapestry needle and a sewing whip stitch for reinforcement under high-stress points — for bedspreads that will be washed often, consider reinforcing joins at corners with an extra invisible mattress stitch from the back.
— Corner / Half-Motif Adjustments :
Info :
To produce straight edges and neat bed drop corners, you will need half-motifs and quarter-motifs. Work the motif pattern through Round 16 (petal and center stage), then stop and reshape into a half-arc by working only the side rounds: work side rounds that create a straight edge using the same stitch density as full motifs. Block and trim to match full motif height.
Round H-1 :
Make half-motif by working Rounds 1–16 as for full motif. When creating the ch-arches (Round 13 equivalent), only create arches for half the motif (4 arches). Continue building fans along these arches and then work the corner rounds as if creating a square; your perimeter sc count will be roughly half that of a full motif (aim for 36 sc perimeter on half-motif).
Info :
Use half-motifs at edges and quarter-motifs at corners to maintain symmetry. Blocking is essential so half and full motifs match in height and tension before joining.
— Decorative Scalloped Border :
Round B-1 :
With motifs joined into the full spread and all seams secured, attach yarn to any outer perimeter sc. Round 1: ch1, 1 sc in same st, 1 sc in each st around working evenly to the corners (perimeter count may be e.g. 720 sc depending on size). Join with sl st.
Info :
This base round evens the join row and readies the edge for the deep scallop. Keep counts even and stitch into the top loops of the ridged frame you created earlier.
Round B-2 :
*Ch3, sk 2, (5 dc, ch3, 5 dc) into next st as a deep shell; sk 2, sc in next st; rep from * around to create evenly spaced shells. You should have an even number of shells. Join with sl st.
Round B-3 :
In each (5 dc, ch3, 5 dc) shell work: (sc, picot, sc) into the shell center, ch3, then around shell edge work 6 sc to stabilize shell. Sc in sc spacers between shells. This creates definition inside each scallop.
Round B-4 :
Sc evenly around shell edge and work a trio of picots on the outermost points to define tiny lacy points. Work 1 sc in each shell seam and 3 sc into ch3 spaces to round each scallop. Join with sl st.
Round B-5 :
Final finish round: (ch3, sl st) pointwork across outermost edges to produce the little loops you see on the scalloped fringe. Fasten off and weave in ends. Block the entire spread flat, shaping scallops carefully with pins for a professional drape.
Info :
Block the completed spread by pinning each scallop edge to the same curve and spraying lightly with water or steam. Allow to dry fully before removing pins to keep the scallop shape.
— Matching Pillow Covers :
Round P-1 :
Make four full motifs for a standard decorative square pillow (or 2 motifs for a lumbar). Follow Motif Rounds 1–26. Join motifs into a 2x2 panel to form the pillow face using the same JAYG method. Back can be a single piece of fabric or two squares of plain cotton seamed together.
Round P-2 :
Edge pillow panel with one round of sc followed by a small picot round to finish (work 1 sc in each st around, then *ch3, sl st, sc* around). For an envelope back, make two rectangular pieces of plain fabric and sew to the motif panel leaving an overlap; for zipper closure, sew zipper along one edge before final edging.
Info :
Use a standard pillow insert and block the pillow cover to the same dimensions as the insert. Weave ends invisibly so they don't catch in the insert fabric.
— Finishing & Weaving Ends :
Info :
Weave in tails along the back of motifs using a yarn needle, mirroring the stitches so ends are hidden. For long bedspreads, tie stray ends off and knot inside the join seams and weave in at least 5 cm on both sides for security. Final blocking of the entire spread is highly recommended to even joins and shape scallops.
Info :
Care: wash gently in lukewarm water with mild detergent, reshape and dry flat. Avoid harsh tumble drying which will distort delicate scallops and petals.
Completing this Serene Petal Bedspread is such a rewarding experience — watch as dozens of delicate floral squares come together to form a timeless piece that dresses your bed in vintage charm. Each motif contributes texture, depth and the handcrafted warmth that only crochet can provide. Enjoy the meditative rhythm of petals and joins, and relish the moment you pin the final scallop into place. 🧶🌿 Your finished bedspread will be an heirloom-quality accent that radiates calm and comfort. ✨