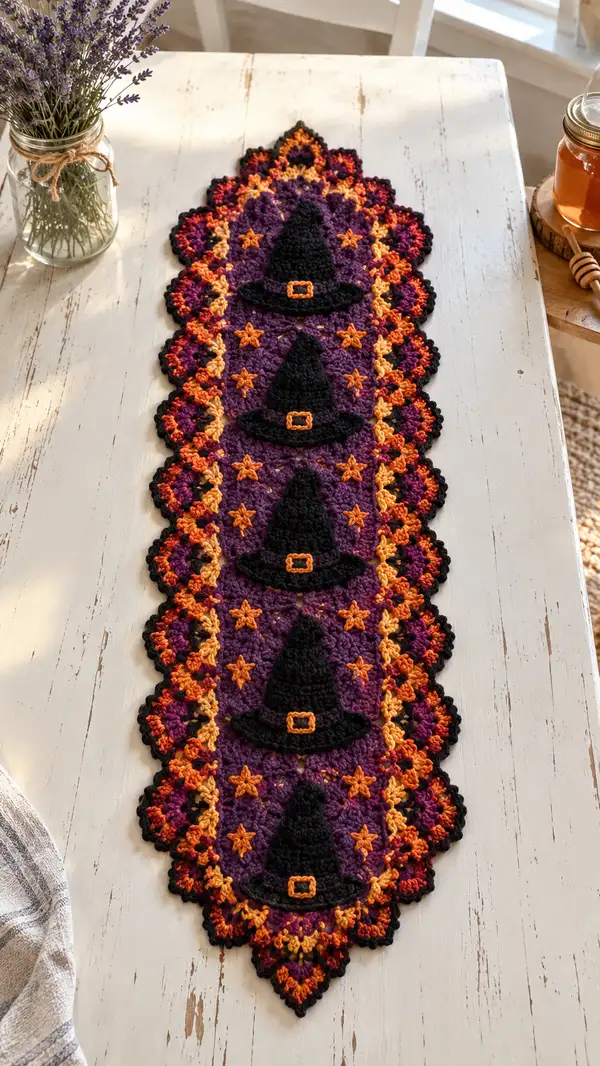
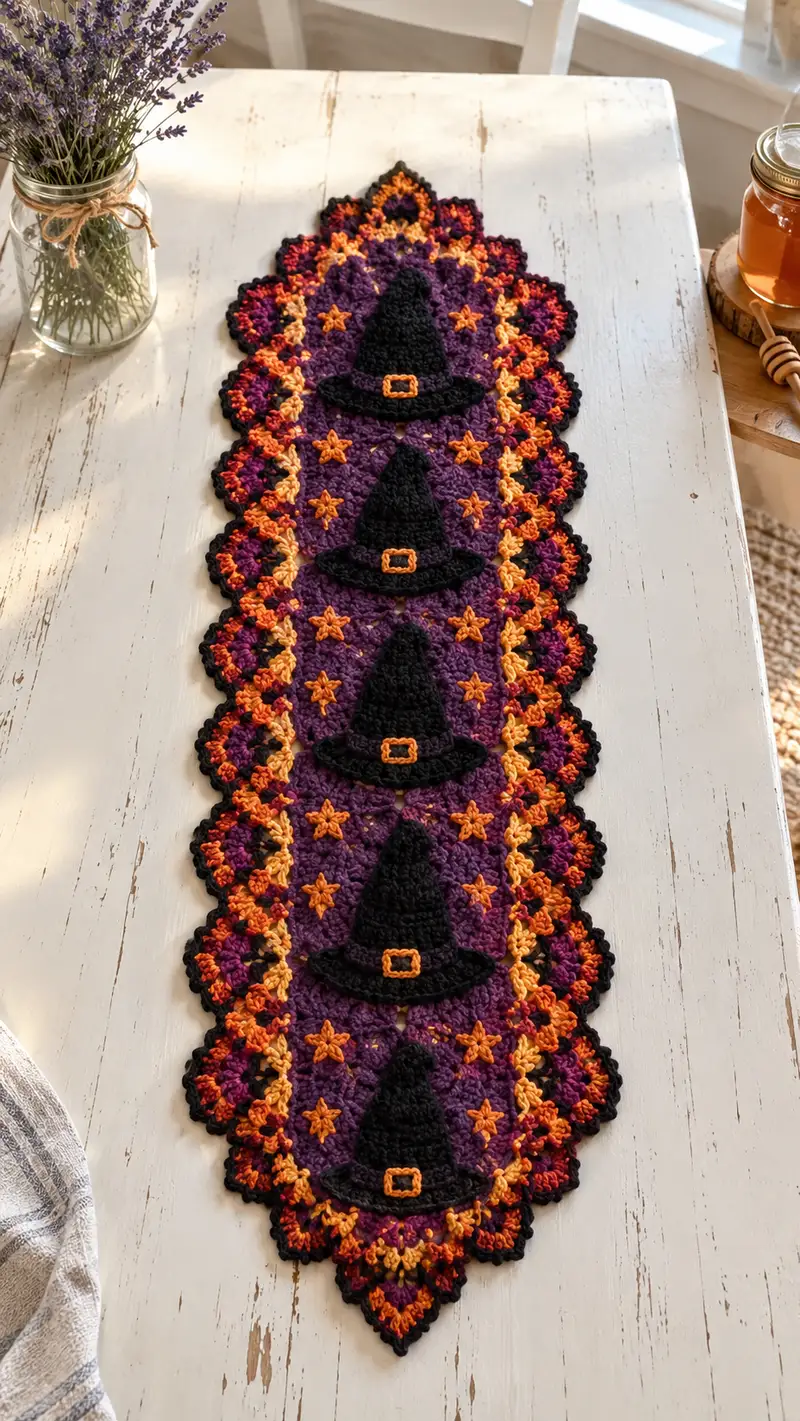
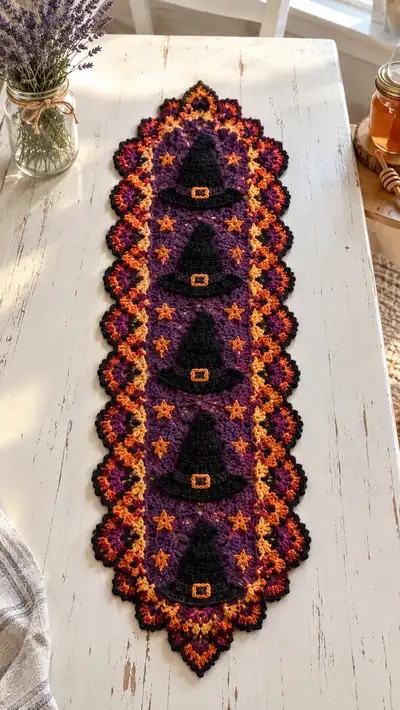
Create a festive Halloween table runner featuring five repeated medallions set on a rich purple background, trimmed with fiery scallops and crowned with black witch-hat appliques. This runner showcases textured star accents, layered colorwork in orange and gold, and a decorative scalloped border that gives a vintage-but-spooky look. Works beautifully as a centerpiece on a farmhouse or modern table and makes a striking seasonal accent.
Progress Tracker
0% Complete
— Notes & Overview :
Info :
This pattern builds a long runner from five identical medallion motifs joined lengthwise, with appliqued witch hats and embroidered stars added before edging. Work motifs flat in the round, block each motif for best results, then join using slip-stitch or sewing. Gauge is flexible for home decor; however, use the suggested hook for a sturdy finish. Color changes use fast and clean joins at the end of rounds; carry unused yarn loosely on the back or cut and weave ends for neatness.
— Main Medallion (Make 5) :
Round 1 :
Magic ring, 8 sc in ring (8)
Round 2 :
Inc in each st around (16)
Round 3 :
(1 sc, inc) x 8 (24)
Round 4 :
(2 sc, inc) x 8 (32)
Round 5 :
(3 sc, inc) x 8 (40)
Round 6 :
(4 sc, inc) x 8 (48)
Info :
Change to main purple color at the end of Round 6 if you started in a scrap color. From here onwards the medallion grows to a flattened oval by using even rounds and occasional increases at eight points.
Round 7 :
(5 sc, inc) x 8 (56)
Round 8 :
(6 sc, inc) x 8 (64)
Round 9 :
1 sc in each st (64)
Round 10 :
1 sc in each st (64)
Info :
Rounds 9-12 build a flat center field. Keep tension even; use stitch markers to mark the cardinal ‘increase’ positions so future increases stay aligned.
Round 11 :
1 sc in each st (64)
Round 12 :
1 sc in each st (64)
Round 13 :
(7 sc, inc) x 8 (72)
Round 14 :
1 sc in each st (72)
Round 15 :
1 sc in each st (72)
Info :
At the end of Round 15 decide exact placement for the star accent stitches — these will be embroidered later. If you wish to add a small 3D star stitch before joining, mark the chosen stitch positions now.
Round 16 :
(7 sc, dec) x 8 (64)
Round 17 :
(6 sc, dec) x 8 (56)
Round 18 :
(5 sc, dec) x 8 (48)
Round 19 :
(4 sc, dec) x 8 (40)
Round 20 :
(3 sc, dec) x 8 (32)
Info :
Fasten off, leave a 20-25 cm tail for joining. Block each medallion flat to the same dimensions so the runner lies even. Repeat to make 5 medallions unless you want a longer or shorter runner.
— Extended Medallion Center Rows (Optional fillers between medallion tops) :
Info :
If you prefer small spacer panels between medallions rather than direct joins, make small 12-round oval fillers. Use the same gauge and 4.0mm hook to maintain consistent height. These are worked the same as Rounds 1-12 above, finishing at 64 sts and blocked to match height.
— Witch Hat Applique (Make 5) :
Info :
Each hat consists of a pointed cone and a separate brim piece, joined and then sewn to the medallion center. Work in black worsted yarn. The hat is purposely slightly flat so it sits on the medallion without bulky stuffing.
Round 1 :
With black yarn: mr, 6 sc in ring (6)
Round 2 :
Inc in each st around (12)
Round 3 :
(1 sc, inc) x 6 (18)
Round 4 :
(2 sc, inc) x 6 (24)
Round 5 :
(3 sc, inc) x 6 (30)
Info :
Rounds 1-5 form the base of the cone; do not stuff. Maintain a flatish fabric as the hat will be appliqued flat to the medallion. For a slightly taller hat, add one more increase round and more even rounds before shaping.
Round 6 :
1 sc in each st (30)
Round 7 :
1 sc in each st (30)
Round 8 :
(3 sc, dec) x 6 (24)
Round 9 :
(2 sc, dec) x 6 (18)
Round 10 :
(1 sc, dec) x 6 (12)
Round 11 :
6 dec (6) — fasten off leaving long tail for sewing
Info :
Do not close the cone completely — leave a small opening to flatten the point slightly. Block lightly to shape the cone if needed.
— Hat Brim Piece :
Row 1 (Brim foundation) :
Ch 22, sc in 2nd ch from hook and across (21)
Row 2 :
Ch 1, turn, sc in each st across (21)
Row 3 :
Ch 1, turn, sc in each st BLO (21) — gives a slight curl to the rim
Info :
Gently shape the brim by stretching it into a slightly oval/curved shape. You can make the brim slightly larger (ch 26) if you prefer a wider appearance. Keep edge tidy; block for a curved brim.
Row 4 :
Fasten off leaving tail. Center cone on top of brim and sew along bottom rounds of cone to center top of brim, forming hat shape. Weave ends.
Hat Buckle :
With gold yarn: ch 6, join with sl st to form loop, work 6 sc in loop for small square (6). Fasten off leaving tail and sew buckle to front center of brim. For a framed buckle, sc around buckle once in orange then in black to outline.
Info :
Sew hat slightly flattened to sit flush; use small running stitches through brim and medallion to secure. Make 5 hats total.
— Star Applique / Embroidered Stars (Make 20-24 total) :
Round 1 :
Use gold yarn. Make a magic ring, ch 1, 6 sc in ring, pull tight (6)
Round 2 :
Ch 2 (counts as tr), *tr in next st, ch 1, sl st in next st* rep 3 times to make 3 pointed star legs; join and fasten off leaving tail (6 stitches used)
Info :
Alternatively you can embroider star shapes directly onto the medallion with a yarn needle using a long running star stitch. Place stars symmetrically on the medallion’s round 14-15 area.
Round 3 :
Sew or embroider the star to the medallion using the long tail. Make 4 small stars per medallion (position evenly around center), for a total of 20 stars on the runner.
— Joining Medallions into Runner (Join 5 Medallions) :
Info :
Layout your 5 blocked medallions in the order you prefer. You will join them lengthwise using a slip-stitch join in the round with black or purple yarn, or sew them together invisibly with matching yarn. I recommend joining by slip-stitch to create a visible, flexible seam that takes the edge stitchwork cleanly.
Join Round 1 :
With black or purple yarn, align two medallions edge-to-edge. From the right-hand side, sl st through the next st of Medallion A then through the corresponding st of Medallion B; rep around the overlapping edge until the two pieces are joined. Keep tension loose enough to allow slight curvature (join stitches will gather a little). Repeat to join all 5 medallions.
Info :
When joining, ensure the seam runs cleanly along the inside where future stars and hats will be centered. Pin pieces prior to joining to keep alignment consistent. If you added optional small filler panels, join medallions to fillers in the same manner.
— Continuous Scalloped Border (Variegated Orange/Yellow) :
Round 1 :
With variegated orange yarn, attach with sl st to any join or outer round of the runner, ch 1, sc evenly around runner edge inserting 1 sc in each outer loop and placing 3 sc in each corner or pointed tip (count to maintain evenness). Total st count will vary depending on your join — aim for even scallop spacing (approx 10-12 sc per medallion side).
Round 2 :
Ch 1, *skip 2 sc, (5 dc in next sc), skip 2 sc, sl st in next sc* repeat around to form scallops. At pointed ends, work 3 sets of 5 dc to form a triangular tip. Join with sl st to first sl st.
Info :
Adjust the number of skipped stitches to shape scallop size. If scallops look sparse, shorten skip to 1; if crowded, skip 3. Blocking after this round will dramatically improve scallop curves.
Round 3 :
Switch to a solid Pumpkin Orange or Bright Gold. Ch 1, sl st into the center of each 5-dc scallop, ch 3, (tr, ch 3, tr) into same center to form a small fan; sl st into the base between scallops to anchor. Repeat around. At tips, work (tr, ch 3, tr, ch 3, tr) for a taller point.
Round 4 :
Change to black yarn. Ch 1, sl st in next st, *sc in each st across scallop base (3 sc across small fans), ch 1, sl st to top of fan; repeat.* Around entire runner work a fine black ridge to frame the scallops. Fasten off and weave ends.
Info :
If you prefer a subtler border, use purple instead of black for Round 4. For a more textural finish, add a picot edge: (ch 3, sl st in 3rd ch from hook) at the top of each scallop.
— Additional Decorative Rounds & Texture Layers :
Round 1 :
With contrasting gold yarn, work spaced star stitches onto the purple field between scallops and medallion center. Use a star stitch or extended popcorn for dimension. Work 3-5 stars per medallion in symmetrical pattern. This is done by surface embroidery or by small appliques as earlier described.
Info :
Space stars according to your aesthetic. On the photographed runner stars appear at the mid-field surrounding the hat; replicate by spacing each star about 8-10 stitches from center depending on your gauge.
Round 2 :
Use black yarn to add a thin surface slip-stitch outline around each hat and star to make them pop visually. Work carefully with small stitches to avoid puckering the purple fabric.
— Finishing and Assembly :
Info :
Once all medallions are joined and appliques sewn, weave in all ends at least 5 cm into fabric using a yarn needle. Lightly steam-block or wet-block the entire runner, shaping scallops and points. Pin scallops into a neat curve while blocking and allow to dry completely.
Final Touch :
Trim any loose ends and check for symmetry. If desired, add non-slip backing strips or small dots of fabric glue on the underside to keep the runner from sliding on smooth tabletops.
Info :
For an heirloom finish, press a light starch into the runner after blocking and dry flat. This will keep scallops crisp for display during the season.
Finishing this runner is so rewarding — the five medallion centers, bright stars and playful witch hats come together into a show-stopping Halloween centerpiece. The scalloped multicolor border gives it a handmade heirloom feel that’s both festive and elegant. I hope this pattern inspires you to make a set for your autumn table or as a gift for a friend who loves seasonal decor. 🧶🎃✨