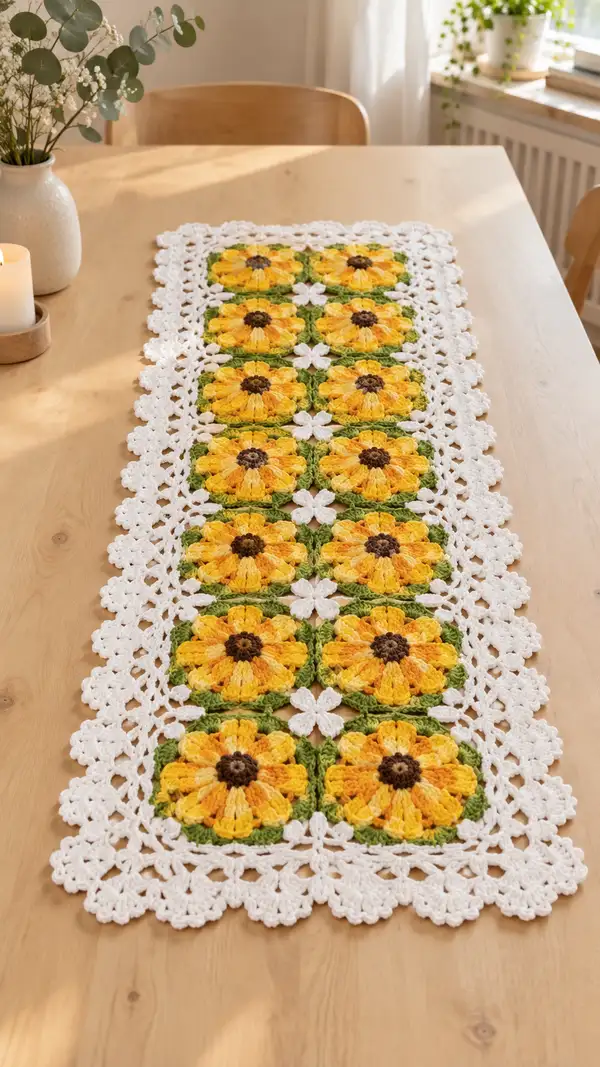
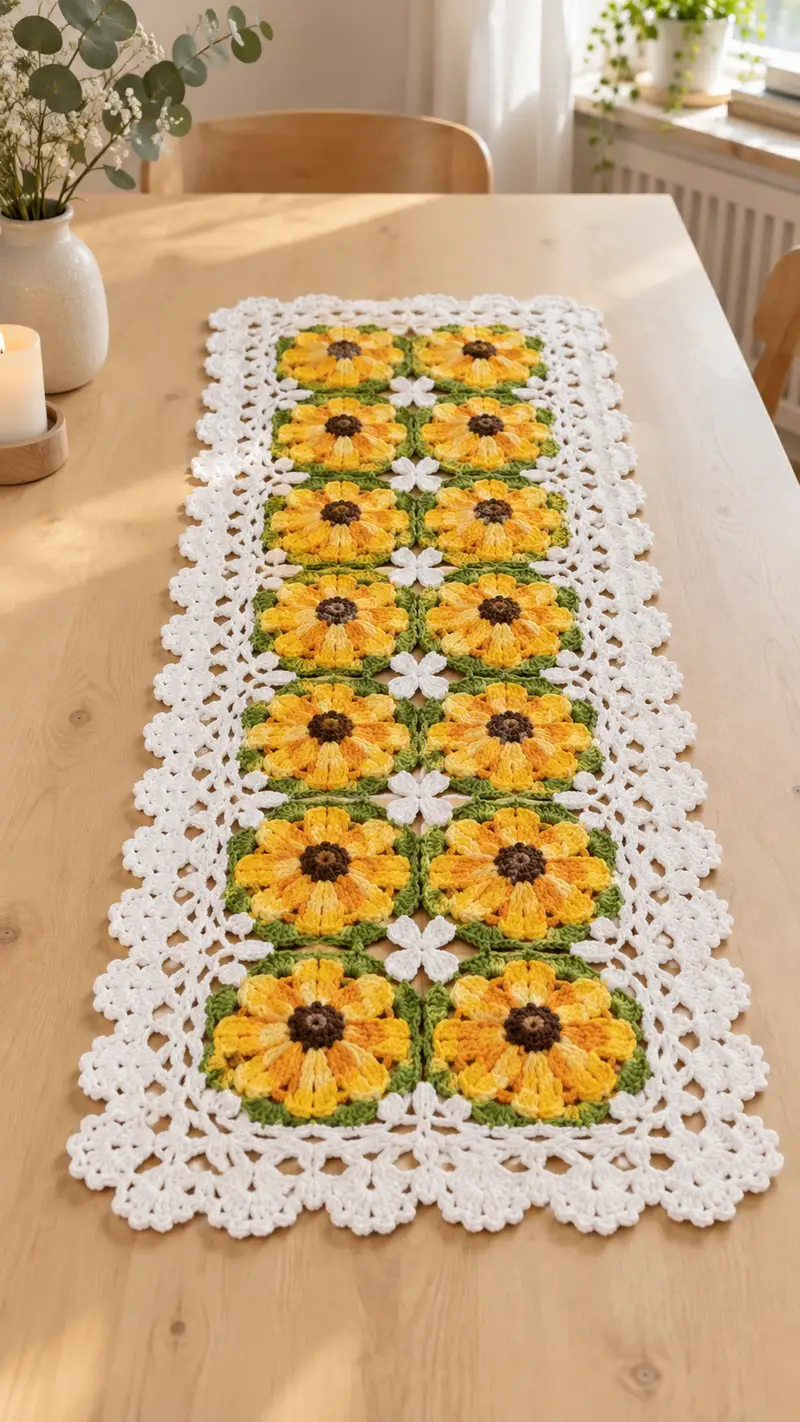
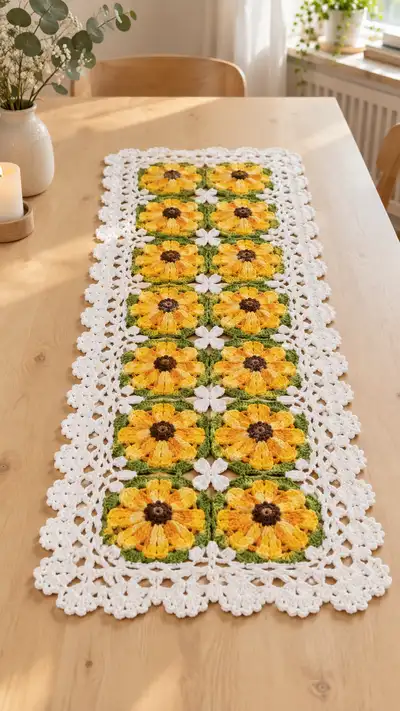
A warm, sunny table runner made from sunflower granny squares framed with a delicate white lace border. Bright golden petals, a textured brown center and leafy green squares create a cheery runner that dresses any table. Perfect for spring and summer decor, this pattern includes step-by-step rounds, joining and finishing instructions to recreate the look in the photo.
Progress Tracker
0% Complete
— Pattern Notes :
Info :
This pattern is modular. You will make 15 sunflower granny squares and 8 small white spacer blooms to recreate the photographed runner (3 columns x 5 rows). If you want a shorter or longer runner, add or remove motif rows/columns before joining. Gauge is flexible; this tutorial uses DK/light-worsted yarns and a 3.5mm hook to achieve a finished runner approximately 38cm x 120cm. Work tightly for defined petals so stuffing through isn’t necessary — motifs are solid fabric.
Info :
Terminology: 'petal anchor' refers to the stitch where a puff or popcorn petal is worked; counts in rounds refer to the number of counting stitches after the round is complete. Keep a sticky note or row counter to track rounds when making multiple identical squares.
— Sunflower Motif (Make 15) :
Round 1 :
With dark brown, mr, 6 sc in ring (6)
Round 3 :
(1 sc, 1 inc) x 6 (18)
Info :
Pull center tight and secure the ring. These first three rounds create a stable center to anchor the textured center ring and the first brown round. Keep tension even; the center should be slightly domed to give depth to the sunflower.
Round 4 :
(2 sc, 1 inc) x 6 (24)
Info :
We will use the 24 stitches as anchor points for 12 sunflower petals (one petal around every second stitch). Change to golden yellow at the end of this round and carry brown tail to weave in.
Round 5 :
Change to sunflower yellow. *(Sc in next st, 5-dc popcorn in next st) rep from * around, ending with sc in final anchor st (note: you will create 12 popcorn petals plus 12 sc anchors) (24 anchors total: 12 sc anchors + 12 petal anchors)
Info :
To make a 5-dc popcorn: work 5 dc into the same stitch, remove hook, insert into the first dc of the group, pull loop through to close the popcorn, ch1 to secure. Keep popcorns uniform by working the dc at the same height for each petal.
Round 6 :
Working behind the petals, sc in each sc anchor and sc in the top of each popcorn to secure petals - 24 sc (24)
Round 7 :
(1 sc, 1 inc) x 12 (36)
Info :
This increase establishes a slightly raised petal ring and helps petals sit proud. Keep stitches even and place a stitch marker at the beginning of round 7 for repeated motifs.
Round 8 :
1 sc in each st around (36)
Round 9 :
(2 sc, 1 inc) x 12 (48)
Round 10 :
1 sc in each st around (48)
Info :
We will now build the green frame around the circle to begin forming a square. The next rounds create a wide green border that will be squared at the corners later. Use leaf green yarn and change in the last st of Round 10.
Round 11 :
Change to leaf green. (3 sc, 1 inc) x 12 (60)
Round 12 :
1 sc in each st around (60)
Round 13 :
(4 sc, 1 inc) x 12 (72)
Info :
At the end of Round 13 you have a wide circular disc in green; we will begin shaping corners to form a square by creating four corner chain-spaces. Mark quarter points (after every 18 stitches) with stitch markers to assist corner placement.
Round 14 :
1 sc in next 15 sts, (sc, ch4, sc) in next st as corner, 1 sc in next 15 sts, (sc, ch4, sc) in next st as corner, rep 2 more times to create 4 corners. You will work 4 corner ch4 spaces spaced evenly. (St count: 72 sc + 4 ch4 corners - maintain 72 sc count; corners create chain spaces for squared layout)
Info :
When working corners with ch4 spaces, the stitch count of sc remains consistent (we count only the sc for stitch counts). The chain spaces form the corners and are not counted as sc stitches. Ensure corners are spaced every 18 sc to keep a balanced square.
Round 15 :
Working into both legs of corner sts and into chain spaces: sc in next 15 sts, (2 sc, ch3, 2 sc) in corner ch4 space, sc in next 15 sts, (2 sc, ch3, 2 sc) in corner, rep twice (72 sc - corners are expanded)
Round 16 :
Sc in each st and in each corner stitch space: this round flattens and evens the square - 72 sc
Info :
At this point the sunflower motif has a textured center, petals and a small leafy square frame. Block each finished motif lightly to square up before joining — wet block or steam carefully and pin to a 12cm square template if desired.
Round 17 :
FLO: 1 sc in each st FLO to form a subtle ridge on the frame (72)
Round 18 :
Optional decorative ridge: *(hdc, sc) x 3 in next 6 sts, sc in next 6 sts* rep twice - maintain 72 sc overall (72)
Round 19 :
Slip stitch around to neaten edge; fasten off leaving a 20cm tail for joining (no change in count)
Info :
We recommend making all 15 sunflower motifs using identical rounds and blocking them flat before joining. Keep tails long for whipstitch joining if preferred over crochet joining.
— Small White Spacer Flower (Make 8) :
Round 1 :
With white, mr, 6 sc in ring (6)
Round 3 :
Change to petal technique: *(ch2, 3 dc cluster) in next st, sl st in next st* rep around to create 6 small petals and 6 small sl st anchors (12 anchor spaces)
Info :
This small flower is a delicate four or six petal spacer depending on how it's used. In the runner photograph, small white four-petal blooms sit between columns; the next rounds will shape into four-loop little blossoms. Make 8 for the sample runner.
Round 4 :
Convert to quatrefoil: sc in next st, ch3, sc in next st; *ch3, sc in next st* around to create four ch3 loops spaced evenly (count will be 12 sc anchors with ch loops)
Round 5 :
Work 3 dc into each ch3 loop for fuller petals, sl st to join and fasten off leaving a 15cm tail for sewing (no counted change)
Info :
Block these small flowers slightly to have petals lay flat. They will be sewn between columns of sunflowers to echo the white lace border and create airy gaps seen in the photo.
— Joining Motifs: Join-As-You-Go and Decorative Join (Whole Runner) :
Info :
Arrange sunflower motifs in three columns x five rows (total 15 motifs). Place small white flowers between each column in the central gaps (8 flowers in runner layout). The pictured join uses a decorative crochet join that creates a lattice-like connector with small white trefoils and open squares — we replicate that here in white yarn.
Round 1 (Join Base) :
Lay motifs wrong sides up. Using white, pick up tail on the right-hand side of the first motif and sc evenly around the green square edge (work into top loops only) creating 72 sc around as a base to join (72)
Round 2 (Join) :
With right sides out, align next motif beside the first. Join motifs using a single crochet join by inserting hook through next sc of motif A and corresponding sc of motif B, sc together (sc join) across the seam. For five rows and three columns, join motifs vertically then horizontally. The resulting join does not change stitch counts on motif rounds but secures them into a panel.
Info :
When joining, place motifs with petal directions consistent (petals pointing outward the same way). Use pins to keep edges aligned. Use contrasting thread tails for temporary basting if needed and remove after final joining.
Round 3 (Decorative Lattice Insert) :
Change to white and work a decorative lattice into the join gaps: Along each joined seam, *ch4, skip 2 sc, sl st in next sc* creating an open chain motif bridging squares. Repeat across all internal seams to form a grid of chain loops where the small white spacer flowers will be attached later. This round adds chain spaces and decorative sl sts but does not alter the motif sc counts.
Round 4 :
Work a round of sc around the entire joined panel in white, working 1 sc into each sc and 3 sc into each corner ch3/4 to maintain square corners. (Total sc count varies by panel size; aim for even distribution so border rounds sit flat)
Info :
At positions where three motifs meet (intersections), leave a ch3 loop to stitch the small white spacer bloom later. The lattice will provide anchor points for small flowers and decorative openwork seen between sunflower blocks in the photograph.
Round 5 :
Attach small white flowers: place each small flower in the central lattice gap and sew using the long tails. Use a neat ladder stitch or whipstitch and secure with several passes. Weave in ends inside nearby stitches to hide them.
Info :
Check panel carefully for even joins and gaps before proceeding to the wide lace border. It is much easier to correct joins now than after the border is complete.
— Wide Lace Border (Work in White) :
Info :
The wide white scalloped lace border in the photo is worked around the entire assembled panel. It’s built in multiple rounds to create a scalloped floral shell effect. The following rounds describe a 10-round border with precise stitch tallies and decorative clusters. Add extra rounds if you want a wider border.
Round 1 :
With white attached at any corner, 1 sc evenly around the panel’s edge, working 3 sc into each corner to maintain shape. (Count varies by panel perimeter — maintain even spacing.)
Round 2 :
Ch3 (counts as first dc), *skip 2 sc, (5 dc shell) in next sc, skip 2 sc, dc in next sc* rep around, adjusting at corners with (3 dc in corner sc) to keep flat. This creates the first shell row. (Shells spaced evenly along perimeter)
Round 3 :
Sc in each stitch and in the middle of each 5-dc shell to anchor (no change in sc anchors overall). This creates a neat foundation for layered shells.
Round 4 :
*(Ch4, sl st in middle dc of next shell, ch4, (5 dc shell) in next sc) rep around to create staggered shell peaks; work 3 dc into corners as needed
Info :
We are layering shells and chain spaces to mimic the airy floral lace edging pictured. Keep stitch counts proportional by maintaining equal spacing between shells; mark every 4th shell if you have a long edge to keep symmetry.
Round 5 :
Sc across, placing 2 sc in each chain-space created last round and 3 sc in corners to stabilize. This reinforces the chain arches and keeps the lace even.
Round 6 :
*Into each sc between shell groups work: (ch3, tr, ch3) in the top of sc to form an arch, sl st into next sc* repeat to create open arches aligned with shells (no sc count change noted, follow spacing)
Round 7 :
Inside each arch, work 5 dc cluster (pc or puff) to create little flower daisies along border: *(sc in next sc, 5-dc popcorn in arch top, sc in next sc)* repeat around. This creates a scalloped floral rim similar to the photo.
Info :
If you want larger scallops, make 7-dc shells instead of 5-dc. Keep popcorns consistent and close the popcorns with a ch1 to secure. Use the same method as motif petals for uniform texture.
Round 8 :
Sc around to anchor popcorns and arches, inserting 3 sc in each corner and adjusting spacing to keep the border flat.
Round 9 :
Edging scallops: *(ch5, sl st into base to form small loop, sc in next two sc) repeat to create a delicate picoted scallop. Work a small picot (ch3, sl st into first ch) at the peak of each scallop for vintage lace detail
Round 10 :
Finish by sc in each st and sl st into the first sc to close. Fasten off and weave in ends thoroughly. Block the entire runner to stretch the scalloped border and set the lace shape.
Info :
Blocking is essential to open the lacework and flatten motifs. Use rust-free pins and a blocking board. Mist with water and allow to dry completely before moving the runner. The final shape and symmetry are set during blocking.
— Alternate Border Option (Optional Extra Rounds) :
Round 11 :
For an even wider decorative border add another shell row: *Work (3 sc, ch4, 3 sc) in spaces between existing scallops* to create larger floral points (work evenly to keep border flat)
Round 12 :
Work a row of 7-dc shells into the new ch4 spaces, then sc around to anchor and finish with a small picot on each shell peak (adjust shell size if necessary to maintain straight edges)
Info :
These optional rounds greatly increase the border’s width and presence. If you use a heavier yarn or bigger hook for the border, it will take on a more dramatic lace look similar to heirloom table linens.
— Finishing Touches :
Info :
Weave in all tails using a yarn needle. Use hidden weaving (weave into several stitches in the same color) to secure tails rather than knotting on the surface. Trim ends close to fabric.
Info :
If any petals or popcorns look uneven after blocking, gently shape them with a damp finger or point with a small amount of steam from an iron held at a distance. Avoid pressing directly to keep the popcorn texture intact.
Round 13 :
Optional: add small embroidered brown seed accents in the sunflower centers using a few French knots for extra texture. Secure knots at the back and weave in tails.
Info :
Care instructions: hand wash gently or machine wash on delicate inside a laundry bag. Reshape while damp and lay flat to dry. Avoid tumble drying which can distort lace and shells.
Completing this sunflower table runner is such a satisfying experience — each cheerful sunflower block joins into a radiant whole! The contrast between the bright petals and the delicate white lace border creates a piece that's cozy and elegant. I love how the petals add texture and the border adds a vintage finish. Display it on your table or gift it to someone special — you'll smile every time you see it. 🧶🌻