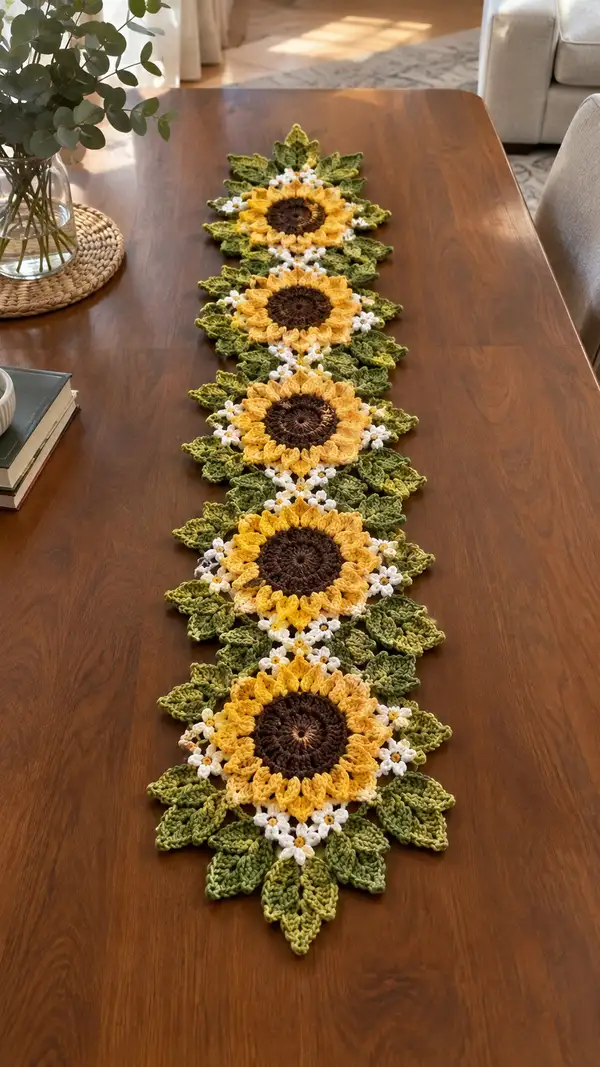
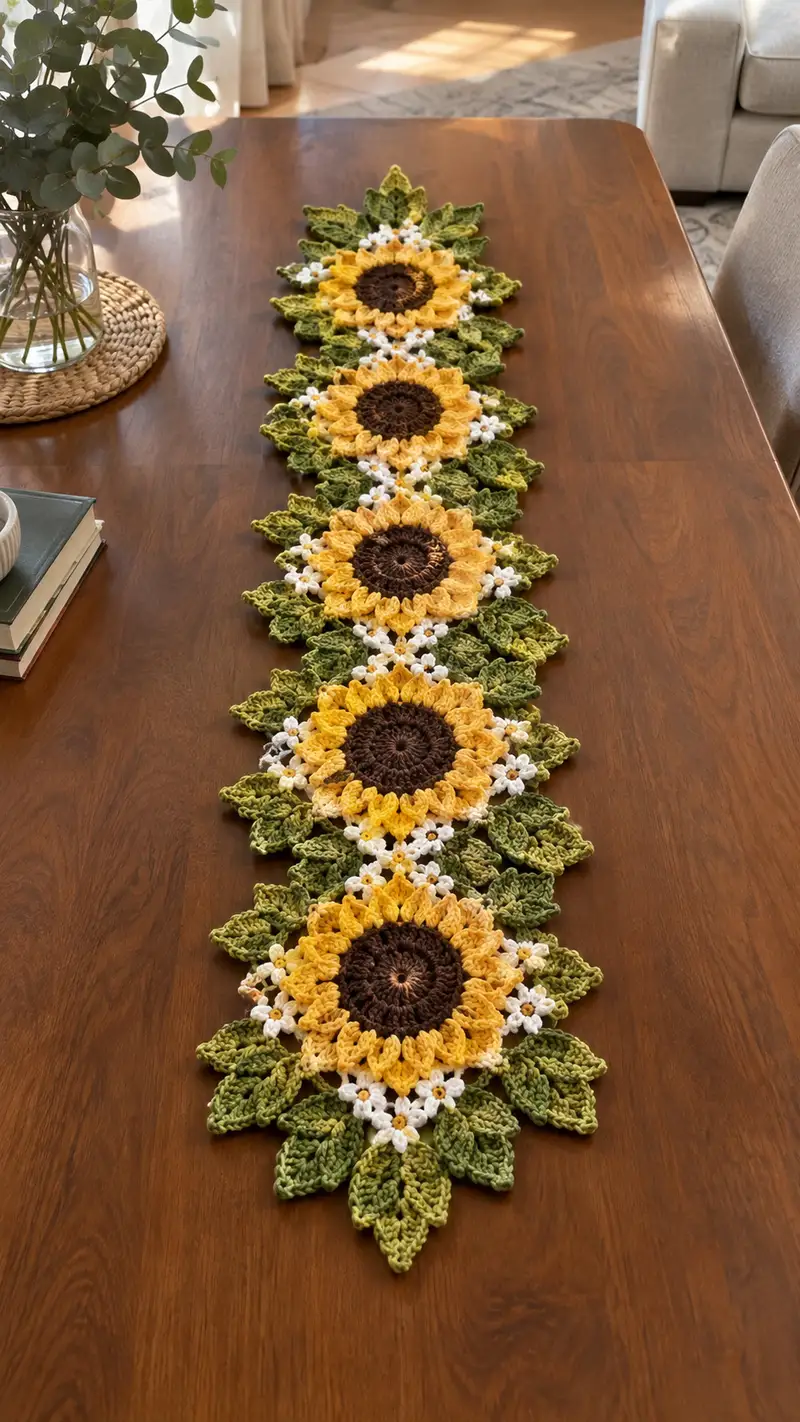
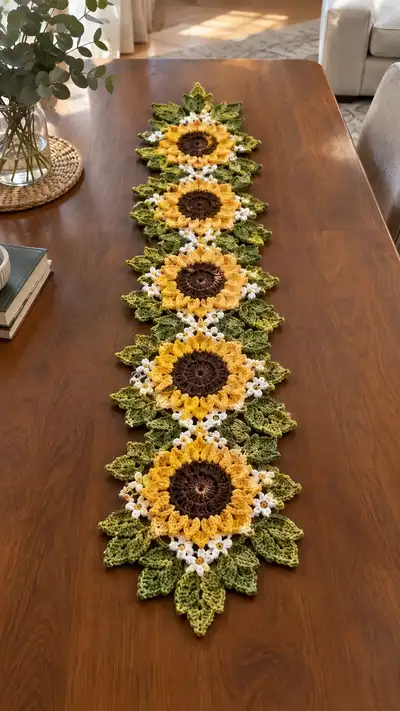
A bright and cheery sunflower table runner made from joined floral motifs, layered leaves and tiny daisies. This pattern creates a long, elegant centerpiece with realistic sunflower centers, textured yellow petals, mossy green leaves and delicate white daisies that nestle between blooms. The design uses worsted weight yarn and basic crochet techniques—perfect for sprinkling sunny charm across your dining table or sideboard.
Progress Tracker
0% Complete
— Overview & Notes :
Info :
This pattern is composed of a repeated Sunflower Motif (center + petals + surrounding join square), Leaf Motifs worked as separate pieces attached during join-as-you-go, and small Daisy Connector motifs. You will make multiple sunflower units and join them in a straight line. Choose a hook and yarn combination that yields a firm fabric; a 4.0mm hook with worsted weight yarn is recommended.
Info :
Gauge is not critical for this decorative runner; however keeping consistent tension ensures motifs match size and join neatly. Each completed sunflower unit measures approximately 6.5-7 inches across the petals. The sample runner in the photo contains five sunflower motifs for a finished length around 50-55 inches including joins and leaf tips.
— Sunflower Motif (Make X, repeat per length) :
Round 1 :
6 sc in magic ring (6)
Round 3 :
(1 sc, 1 inc) x 6 (18)
Round 4 :
(2 sc, 1 inc) x 6 (24)
Round 5 :
(3 sc, 1 inc) x 6 (30)
Round 6 :
(4 sc, 1 inc) x 6 (36)
Round 7 :
(5 sc, 1 inc) x 6 (42)
Round 8 :
(6 sc, 1 inc) x 6 (48)
Info :
These first 8 rounds form the sunflower center (dark brown). Keep stitches tight so the center is solid. Place a stitch marker at the beginning of each round to track your rounds easily.
Round 9 :
1 sc in each st (48)
Round 10 :
1 sc in each st (48)
Round 11 :
1 sc in each st (48)
Info :
Rounds 9-11 add height to the center, creating a subtle raised disk. If you prefer a flatter center, work only two even rounds instead of three.
Round 12 :
Change to mustard yellow yarn. Join with sl st to the next stitch and ch 2 (counts as first dc).
Round 13 :
*dc in same st, ch 1, skip 1 st, dc in next st* repeat around to create a base with 48 dc placements spaced by ch1 (48 dc with ch spaces)
Info :
Change to yellow before starting the petal base. Carry the brown tail to weave in later; fasten off if you prefer a cleaner join.
Round 14 :
Working into ch-1 spaces from Round 13: *(ch 2, 3 tr cluster into same ch-1 sp, ch 2, sl st into next ch-1 sp) x 24* — This creates elongated cluster petals arranged in 24 paired clusters across the round. (24 clusters)
Round 15 :
In each 3-tr cluster from Round 14, work a shell to bulk the petal: sl st to center tr, (ch 1, hdc, dc, tr, dc, hdc) into center tr of the cluster; sl st to base between clusters. Repeat around. (24 petals)
Round 16 :
1 sc in each st around the base of petals to secure (count will vary: approx 120 sts); adjust if needed to make even. Work slowly and place a stitch marker every 10-12 sts for counting reference.
Info :
Round 14-16 create the first layer of petals. The count inflates because petals are worked as clusters; ensure petals sit flat by tensioning the base evenly. If petals curl up, try a slightly larger hook for this round to relax fabric.
Round 17 :
Change to a slightly lighter yellow (optional) for dimensional effect. In the back loops only (BLO) of Round 16, 1 sc in each BLO around to create a ridge and foundation for second petal layer (approx 120 sc)
Round 18 :
Working into the BLO ridge spaces: *(ch 3, 4 dc cluster in same base st, ch 3, sl st into next base st)* repeat around. This forms a taller decorative petal layer. (24 larger petals)
Round 19 :
For each tall petal from Round 18, anchor with a sc around its base, placing 2 sc per petal to secure the layer (approx 48 sc total). Adjust counts to maintain even spacing.
Info :
If you want fluffy petals, place a small amount of fiberfill at the base of each petal before securing. Alternatively, skip stuffing for a flatter runner. Place a stitch marker at the start of Round 20 to keep track while shaping the petal tips.
Round 20 :
Edging round: *sc across petal bases in front loops only (FLO) working evenly to shape a scalloped petal edge; where a petal tip sits, work 1 sc, ch 2, 1 sc to accentuate tip.* Repeat around. Fasten off and weave in ends if you are satisfied with petal shape.
Info :
Placement :
Each sunflower motif will be framed by a surrounding join-square where leaves and daisies attach. You can stop here for a single medallion, but for the runner proceed to create the join square foundation in green to provide anchor points for leaves and to facilitate join-as-you-go.
— Join Square Foundation (worked in green) :
Round 1 :
Attach moss green yarn with sl st to the back of the petal base at a point roughly 1/4 around the motif. Ch 3 (counts as first dc), work 11 dc evenly spaced around to form a 12-dc arc (12 dc)
Round 2 :
Turn work and ch 2, 1 hdc in same st, (hdc, dc, tr) in each dc across to build a raised petal backing. At the center top of the arc, ch 2 and work 3 tr as a corner. Continue down opposite arc mirroring the other side; create a square-ish border with 4 corners (counts will be approx 48-56 sts)
Info :
This first green round sets the foundation for leaf placement and provides an area where the small daisies will be attached. Keep the join square flat by blocking lightly before attaching leaves.
Round 3 :
1 sc evenly around the outer edge of the foundation to create a uniform border (approx 60 sc). At each corner, work (sc, ch 2, sc) to maintain squared corners.
Round 4 :
In FLO, 1 sc in each st to create texture and a small ridge for leaf joins (approx 60 sc)
Info :
Repeat Rounds 3-4 if you want a larger foundation square. The sample uses two rounds of green to give enough anchoring points for the leaves and small daisy connectors.
Round 5 :
If you plan to use two shades of green, change to olive green on this round. Sc around as before, then fasten off and weave in ends, leaving the square ready for leaf attachment.
— Leaf Motif (Make many; attach around each sunflower) :
Round 1 :
With olive green, ch 6. Sl st into 2nd ch from hook, 1 sc in next, hdc in next, dc in next, tr in last (creates a tapered starting chain). Turn to work along the other side of the chain: dc, hdc, sc, sl st to the base to close leaf (approx 10 sts)
Round 2 :
Ch 1, 1 sc in base, (1 sc, inc, 2 sc) along sides to form a fuller leaf shape. At tip, work (sc, ch 2, sc) then repeat on the opposite side. Fasten off (approx 14-18 sts depending on increases)
Info :
This creates a small single-leaf unit. The runner uses layered leaves of two sizes and two colors. Make a mix of small and medium leaves: about 6-8 leaves per sunflower, alternating olive and moss green for depth.
Round 3 :
Optional texture: attach moss green to the center line of the leaf and work a central rib using BLO 1 sc per st down the center to create a raised vein. Fasten off and weave in ends.
Round 4 :
For larger leaves (outer layer), repeat R1 but increase chain to 8 and add more hdc/dc on the sides to create 20-24 stitch leaves. Add a final picot (ch 3, sl st in 3rd ch) at the tip for a decorative point.
Info :
Make sure leaves have consistent direction when attached: pointed tip outward from the runner centerline so the final assembly looks like a leafy garland framing the sunflowers.
Round 5 :
Edge each leaf with 1 round of sc in contrasting green (BLO) to create a defined outline and unify the color palette.
— Small Daisy Connector (Make many) :
Round 1 :
With white yarn, make a magic ring. Ch 1, work 10 sc into ring; pull tight and join with sl st (10)
Round 2 :
*ch 2, sl st into same st* repeat around to create 10 small loops (10 loops)
Round 3 :
Into each loop: (sc, hdc, dc, hdc, sc) to form five-petal mini-daisies; repeat for 5 evenly spaced loops to make 5 petals (you can skip half of the loops to keep daisies small). Fasten off. Add a tiny bright yellow French knot or small embroidered center with yarn for contrast.
Info :
These small daisies act as decorative connectors between motifs. Make enough to place three small daisies between each pair of sunflowers along the runner centerline.
— Leaf-to-Motif Attachments (Join-as-you-go tips) :
Info :
Pin leaves around the join square before attaching. Leaves are attached by sewing through the join-square foundation and the leaf base, or by slip-stitching directly into the outer border of the foundation while the foundation round is still live (join-as-you-go).
Round 1 :
With foundation round still on hook: where you want a leaf, ch 1, sl st to leaf base, ch 1, sl st back to foundation. This secures the leaf without additional sewing. Repeat for all leaves around the motif (approx 6-8 leaves per motif).
Info :
If you prefer sewing, position leaves with pins and stitch with yarn needle using whip stitch through the leaf base and foundation rounds for a hidden join.
— Joining Sunflower Motifs Into Runner (Join-As-You-Go Method) :
Info :
Lay two completed sunflower units side by side with their join-squares touching. Using white yarn (connector color), join the corner points by slip-stitching through corresponding sc in both join squares. Work from the center outwards to keep alignment even.
Round 1 :
Position two join squares so corners align. At the corner, insert hook through both corner ch-2 spaces and sl st to join. Continue along the outer edge, sl st into each sc pair across the join to create a flat seam. Repeat for all joins across the runner.
Info :
Between motifs, attach 3 small daisies evenly to fill the negative space along the centerline. Use a yarn needle to sew them through both grounds for stability. The daisies sit slightly raised above the runner surface for a delicate accent.
Round 2 :
For added stability, once all motifs are joined, work a round of sc along both long edges of the runner connecting outer leaves. Insert hook under both loops of the outermost leaf edge and into adjacent join-square edges, sc evenly to create a continuous border. (Count depends on runner length; maintain even spacing.)
Info :
Pin the runner on a flat surface before working the border to ensure leaves and daisies are lying how you want them. Blocking at this stage helps the border sit uniformly.
— Outer Border & Finishing Rounds :
Round 1 :
With moss green, join at one long edge corner. Ch 2, 1 hdc in same st, hdc evenly along edge, working around leaf tips with (sc, ch 2, sc) at leaf tips to give scalloped look. Work down opposite edge mirroring work. Fasten off and weave ends. (Total stitches will vary by number of motifs.)
Round 2 :
Switch to olive green for a lighter outer accent. In BLO of previous round, 1 sc in each st to create a fine ridge. Where scallops are, work (sl st, picot, sl st) to highlight points. Fasten off and weave ends.
Round 3 :
Optional decorative edging: with contrasting yarn (off-white or gold), work crab stitch (reverse single crochet) along the very outer edge to give a tidy, raised finish. This trims any uneven leaves and seals joins. Fasten off and weave ends securely.
Info :
Blocking now is highly recommended. Lightly spray with water and pin the runner shape on blocking mats, paying special attention to leaf tips, petal curves and the outer scalloped edge. Allow to dry completely.
— Alternate Petal & Leaf Variations (Optional) :
Round 1 :
If you prefer more dramatic petals, work three layers: base clusters, tall clusters, then a final surface crochet of tiny picot tips to sharpen the petal outline. Each additional layer adds 1-3 rounds per motif depending on size.
Info :
Try using two shades of yellow for the petal layers to create depth: darker yellow at base, brighter yellow at top. Alternate leaf colors (moss + avocado) for a more natural variegated look.
— Additional Reinforcement Rounds (If runner will be used heavily) :
Round 1 :
With matching green, run a ladder stitch along interior seam lines using a yarn needle to further secure joins and prevent stretching. Work through the backs of the join-squares only for an invisible reinforcement.
Info :
Consider using a small amount of fabric glue applied sparingly beneath heavily trafficked leaf tips to keep them from flipping up over time.
— Final Finishing & Care :
Info :
Weave all yarn tails securely through multiple stitches and trim close to work. Lightly steam-block the runner or pin and mist to reshape. Hand wash gently in cool water and reshape to dry flat. Avoid machine washing or tumble drying to preserve the three-dimensional petals and leaves.
Info :
Store flat or rolled to avoid crushing petals; if stacking, place tissue paper between layers to protect delicate petals and leaf tips.
This sunflower table runner brings a little garden to your table—each sunflower motif is crafted with textured petals and layered leaves for a lifelike, handmade centerpiece. The joining technique and delicate daisies add a vintage-inspired charm that brightens any room. I hope this makes your dining space feel sunny and welcoming! 🧶🌻✨