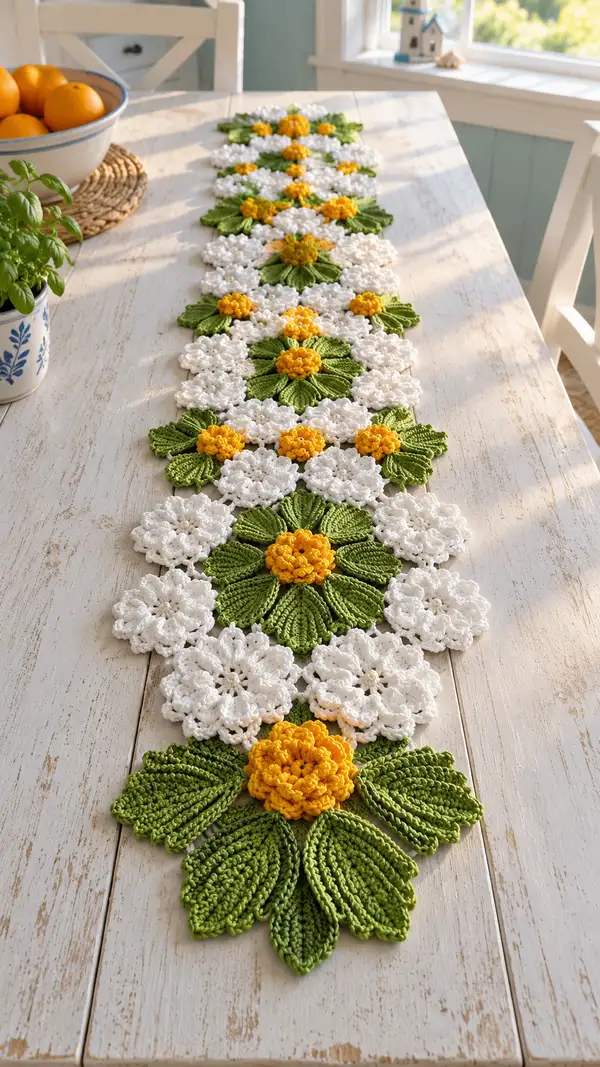
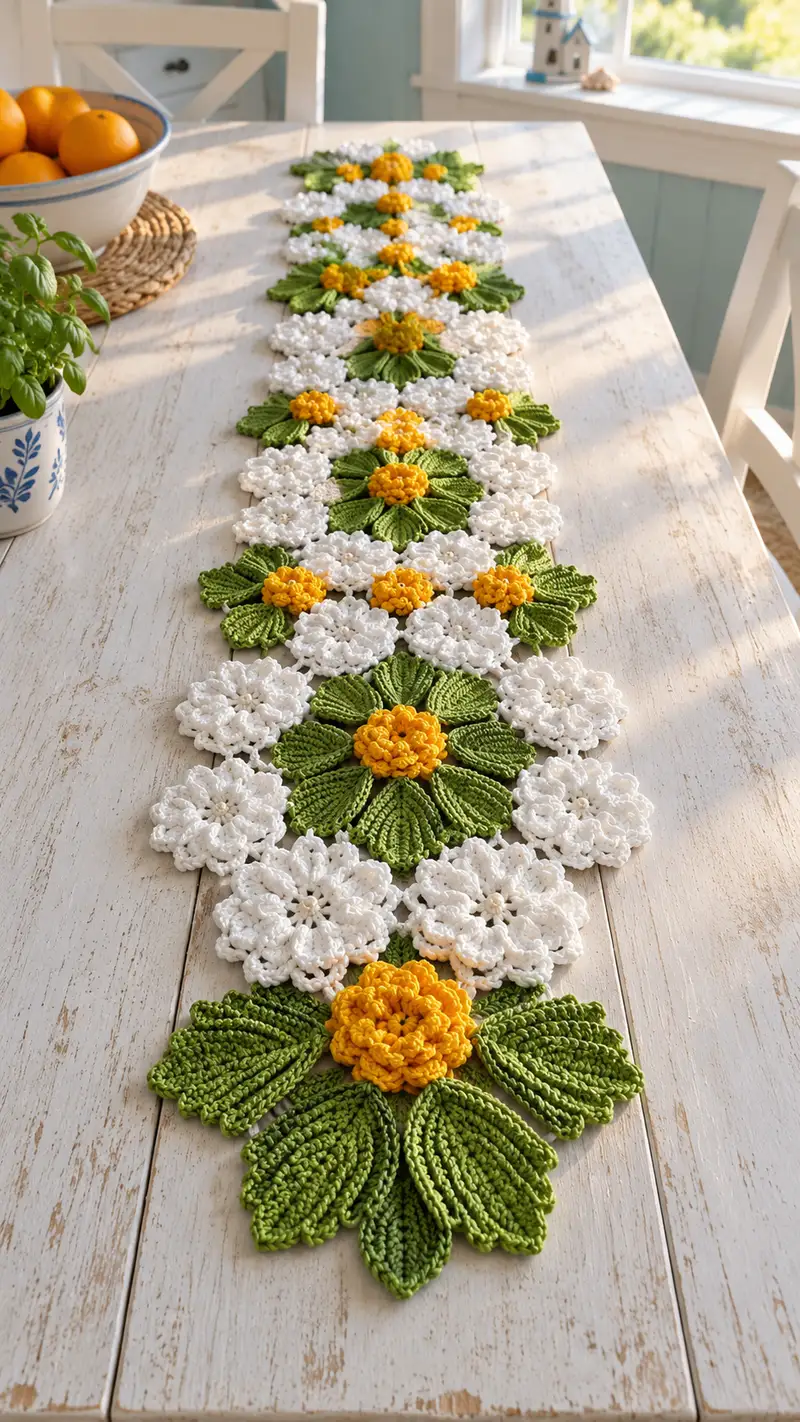
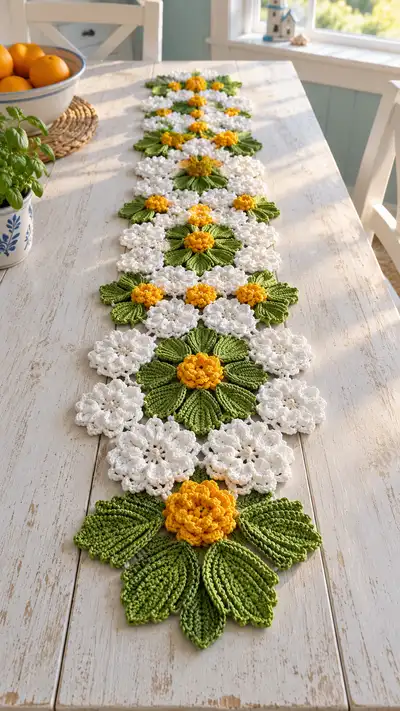
Create a long, fresh floral table runner made from repeating daisy-like motifs — bright yellow puff centers, crisp white cluster flowers and sculpted green leaves. This runner is worked as individual motifs (large daisy, small clusters and leaves) then joined to form a long, decorative strip. The textured petals, raised centers and openwork give a light, summery look perfect for a kitchen table or windowsill display.
Progress Tracker
0% Complete
— Notes & Gauge :
Info :
Runner is constructed from three motif types: Large Daisy Motif (big green petals + yellow center), Small Cluster Flower (white flowers that surround the large motif), and Leaf Connectors. Gauge is not strict for a decorative runner, but for consistent motif size: 12 sts x 12 rows = 4 in in single crochet in worsted cotton using 3.5mm hook. Block motifs lightly for best alignment.
Info :
Throughout the pattern, work tight enough so that puff/popcorn centers maintain their texture. Use stitch markers to mark the beginning of rounds when working closed rounds. All rounds are worked in continuous rounds (do not join) unless noted.
— Large Daisy Motif (make as many as desired) :
Round 1 :
With yellow yarn. 6 sc in mr (6)
Round 3 :
(1 sc, inc) x 6 (18)
Round 4 :
(2 sc, inc) x 6 (24)
Round 5 :
(3 sc, inc) x 6 (30)
Round 6 :
1 sc in each st (30)
Info :
This little disc is the structural base for the textured center. Keep stitches even and do not stretch. If you prefer a flatter center, stop at Round 5.
Round 7 :
Switch to same yellow. *Ch 2, 4-trpuff into next st, ch 1, sl st in next st* rep around to create 10 puff anchor points; if spacing requires adjustment, distribute puffs so 10 textured bumps are visible (30 base sts allow placing a puff in every 3rd st). Count after placement: base remains 30 (puffs count as 1 each for next rounds)
Round 8 :
Working around and into puff clusters: * (sc around puff cluster, ch1) x1, sl st in next base st* rep 10 times to tidy the base and even out the round (30)
Round 9 :
*(1 sc, 1 hdc, 1 dc) in next st (the puff anchor), ch 1, sl st in next st* rep around to build a raised bobble texture (30)
Round 10 :
1 sc in each st (30)
Info :
Optional: Add a very small amount of stuffing or a tiny pad of scrap yarn behind the center now to add loft. Do not overstuff; a little padding helps the center pop.
Round 11 :
Change to green yarn at end of last stitch. Ch 3 to begin petal foundation, *ch 6, sl st in next base st* rep around to form 10 loops (10 loops)
Round 12 :
Slip into loop 1, ch 2, 10 sc evenly in loop, sl st to next loop; rep for all 10 loops to create 10 small base petals (10 petals; each petal base = 10 sc)
Info :
We will transform these small bases into larger sculpted petals with layered rounds. If you prefer wider petals, increase sc in each loop by 2 sts per loop on Round 12.
Round 13 :
Work petals in rounds: Petal (work in each petal base individually): [ch1, sc in same st, (hdc, dc, hdc) in next 3 sts, sc in next 2 sts, picot (ch3, sl st in top of last sc)] — finish petal. Repeat petal pattern in each of the 10 bases (petal width varies but base stitch count remains equivalent) (10 petals)
Round 14 :
Turn petal shaping into layered folds: In each petal: *sl st to base at petal middle, (3 sc in same st) to form a raised rib, 1 sc in next st across petal face* Repeat across all petals to emphasize center ridge (petal round maintains evenness with 10 petal segments)
Round 15 :
Work 1 sc in each stitch around the motif to tidy and prepare for outer sculpting. If you counted 60 effective sts around the outer edge, work 60 sc (60)
Round 16 :
*(4 sc, inc) x 10 (50)
Info :
These increases create a smooth margin for attaching the surrounding white cluster flowers. Verify your outer stitch count (50) and adjust to keep spacing even. If you have 10 petals, aim to have five stitches between petal ridges for visual proportion.
Round 17 :
1 sc in each st (50)
Round 18 :
BLO 1 sc in each st for a subtle ridge at the petal base (50)
Round 19 :
Edging round: *(ch3, sl st in next st) x2, sc in next 6 sts* rep around to create slight scallop (approx 50 sts engaged)
Info :
Fasten off, leaving a long tail if you intend to join immediately to neighboring motifs. Block this motif lightly to flatten the back and open petals for neat joining.
— Small White Cluster Flower (make multiples to surround large motifs) :
Round 1 :
With white yarn. 6 sc in mr (6)
Round 3 :
(1 sc, inc) x 6 (18)
Round 4 :
1 sc in each st (18)
Round 5 :
*Ch 4, sl st in next st* rep around to create 6 loops (6 loops)
Round 6 :
Work into each loop: (sc, hdc, 3 dc, hdc, sc) and sl st to base to form a rounded petal; rep for 6 petals (6 petals)
Round 7 :
Round to tidy: 1 sc in each st around the motif to unify petal joins (approx 36 sc depending on petals)
Info :
These small clusters are slightly textured but flatter than the central yellow puff. Make a mixture of sizes if you want varied visual interest for the runner.
Round 8 :
Optional puff round for extra texture: *in next petal top, make puff (yarn over, insert, pull up, repeat 3 times, close) then sl st* rep around (counts as 6 puff accents)
Round 9 :
1 sc in each st to tidy (count dependent on previous work; aim for even edge)
Info :
Make at least 3 small cluster flowers to surround each large daisy motif — in the pictured runner three small clusters are arranged around each large motif to create the lacy look.
Round 10 :
Fasten off leaving a tail for sewing (do not stuff). Block lightly to set shape.
— Leaf Connector (make multiples for placement between motifs) :
Round 1 :
With green yarn. Ch 13, sc in 2nd ch from hook and across to end (12 sc) — this forms a leaf foundation row (12)
Round 2 :
Ch 1, turn, (sc, hdc, 3 dc, hdc, sc) across center, then sc to end to create a gentle arch (12)
Round 3 :
Work around the other side of the chain foundation: 1 sc in each stitch on the opposite side to mirror the first row (12)
Round 4 :
Decrease shaping: *sc in next 2 sts, dec* rep 3 times per side to taper tip evenly (8 per side after shaping)
Round 5 :
Slip to the leaf center and work fpdc ribs: *fpdc around next 2 sts, bpdc around next 2 sts* across leaf to create raised veins (total stitches worked remain consistent for the leaf)
Info :
To make full, sculpted leaves like those pictured, crochet two identical leaf halves and seam them together along the center with a slip stitch seam or whip stitch. Alternately, work the leaf flat and block over a tapered form to emphasize the ridges.
Round 6 :
Edge round: *sc, picot (ch3, sl st in same st), sc* around leaf edge to create a fine decorative rim. Fasten off leaving long tail for sewing to motifs.
— Joining Motifs & Layout :
Info :
Layout your motifs: For the runner in the photo the sequence from one end is: one leaf cluster (as visual cap), then Large Daisy Motif, then 3 Small Cluster Flowers alternating on sides, then Large Daisy Motif, and so on. The photographed runner shows 6 large motifs linked by small clusters creating a long repeating strip. Measure and plan motif count to reach desired runner length.
Round 1 :
When joining, place large motif flat, position three small white clusters around it, and tuck leaf connectors in the gaps. Use mattress stitch or whip stitch with green or white yarn depending on the seam area. Begin sewing at visible seam points: I recommend attaching small clusters to the outer scalloped edge of the large motif every ~10 outer stitches (matching the scallops from Round 19 of the large motif).
Round 2 :
Sew small clusters to large motif by aligning cluster base with scallop edges. Use long tail and yarn needle to weave through both motif edges in an invisible manner. Use at least 8 passes per small cluster to secure flat and stable joins.
Info :
Keep right sides facing out as you sew. Pin motifs first using rust-proof pins to ensure straight alignment along the runner axis. Place motifs edge-to-edge so decorative scallops slightly overlap for a lacy connection.
Round 3 :
Attach leaf connectors between joined motifs. Leaves tuck beneath small clusters and are sewn to both adjacent large motif edges and neighboring small clusters to create a solid, non-gaping seam. Use flat whip stitch and pull tail snug but not tight to avoid distorting petals.
Round 4 :
Once a small chain of motifs is sewn, measure across the runner width; ensure each seam is consistent and that the runner lays flat. If any motif flares upward, wet-block and pin to flatten before final seam reinforcement.
Info :
For a stronger runner that will be used on a working table, use an additional running stitch on the backside through several loops of each motif to hold them together securely. Decorative seams on the front should still be neat and nearly invisible.
— Long Edge Finishing (optional scallop border) :
Round 1 :
With white yarn, work a slip-stitch round through the very outer loops or scallops of all motifs along both long edges to unify them into one continuous runner edge. Work sl st evenly across motif edges, keeping tension consistent.
Round 2 :
Scallop round: *ch3, sl st in same st, skip 2 sts, sc in next 3 sts* rep along whole edge to create a consistent scalloped rim. This may vary depending on how many stitches you encounter across the seam edge.
Round 3 :
Picot edge round: For a delicate finished look, 1 sc in each scallop, then picot (ch3, sl st in top of sc) at the center of each scallop; repeat to end.
Info :
Finishing round count will vary since motif joins create irregular stitch counts. The goal is visually even scallops. If necessary, add or remove single crochet bridge stitches between scallops to keep spacing even across the entire runner length.
— Optional Center Reinforcement & Loft Adjustment :
Round 1 :
If you want extra height on yellow centers, use scrap yarn or a small piece of polyfill to pad the centers slightly. Insert padding behind the yellow center before final full edge is sewn. Use mattress stitch to close and secure the padding in place.
Info :
Alternatively, crochet an additional small disc (6 sc in mr, inc round to 12, fasten off) and stitch to the underside of the yellow center to create more loft without loose stuffing.
— Blocking & Final Finishing :
Round 1 :
Pin each motif to blocking mat shaping petals and leaves to desired flat look. Steam lightly or spray with water and allow to dry completely. Pay special attention to leaf veins and petal ridges — pin them to flatten evenly for a uniform look.
Info :
After blocking, weave in all loose tails to the back of motifs. For security, weave tails through 3-4 motifs' backs before trimming. If the runner will be washed, test a small sample of yarn first to check colorfastness of yellow and green yarns.
— Care Instructions :
Round 1 :
Hand wash in cool water with mild detergent and lay flat to dry. Avoid tumble drying to preserve shape and puff texture. Iron on a low setting from the reverse with a pressing cloth if needed to reshape after washing.
Info :
If you plan to use the runner frequently, consider placing a clear vinyl liner under dishes to prevent direct moisture contact with the crocheted fabric.
Completing this table runner is like bringing a small sunlit meadow into your home — every motif builds the pattern and the texture makes the whole piece feel special. The layered petals, raised yellow centers and crisp white clusters catch the light beautifully and brighten any table. I hope you enjoy stitching each floral tile and watching the runner grow — it's a wonderfully satisfying project! 🧶🌼