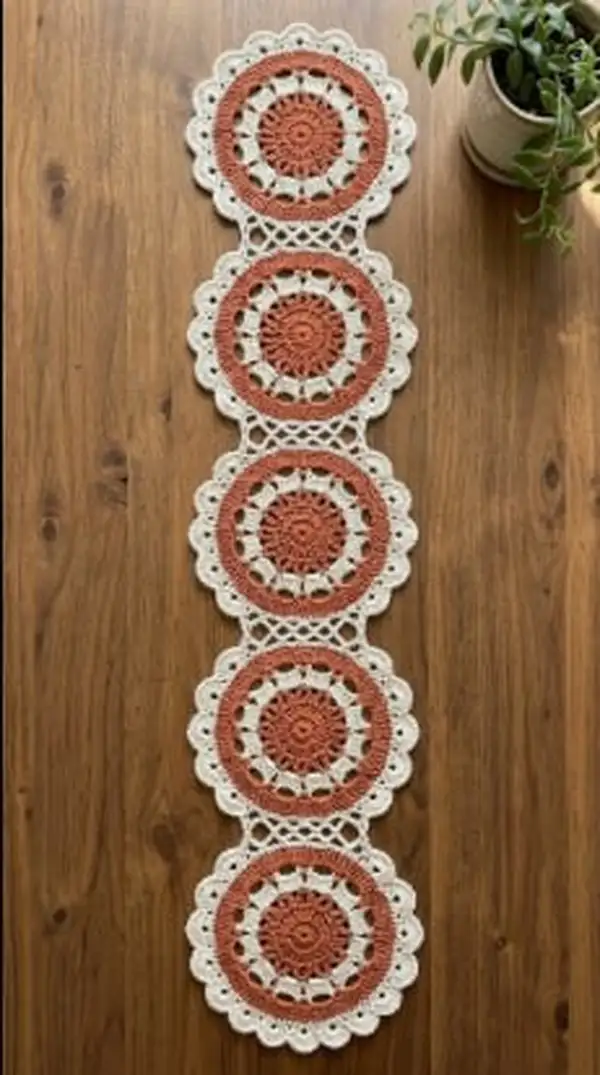
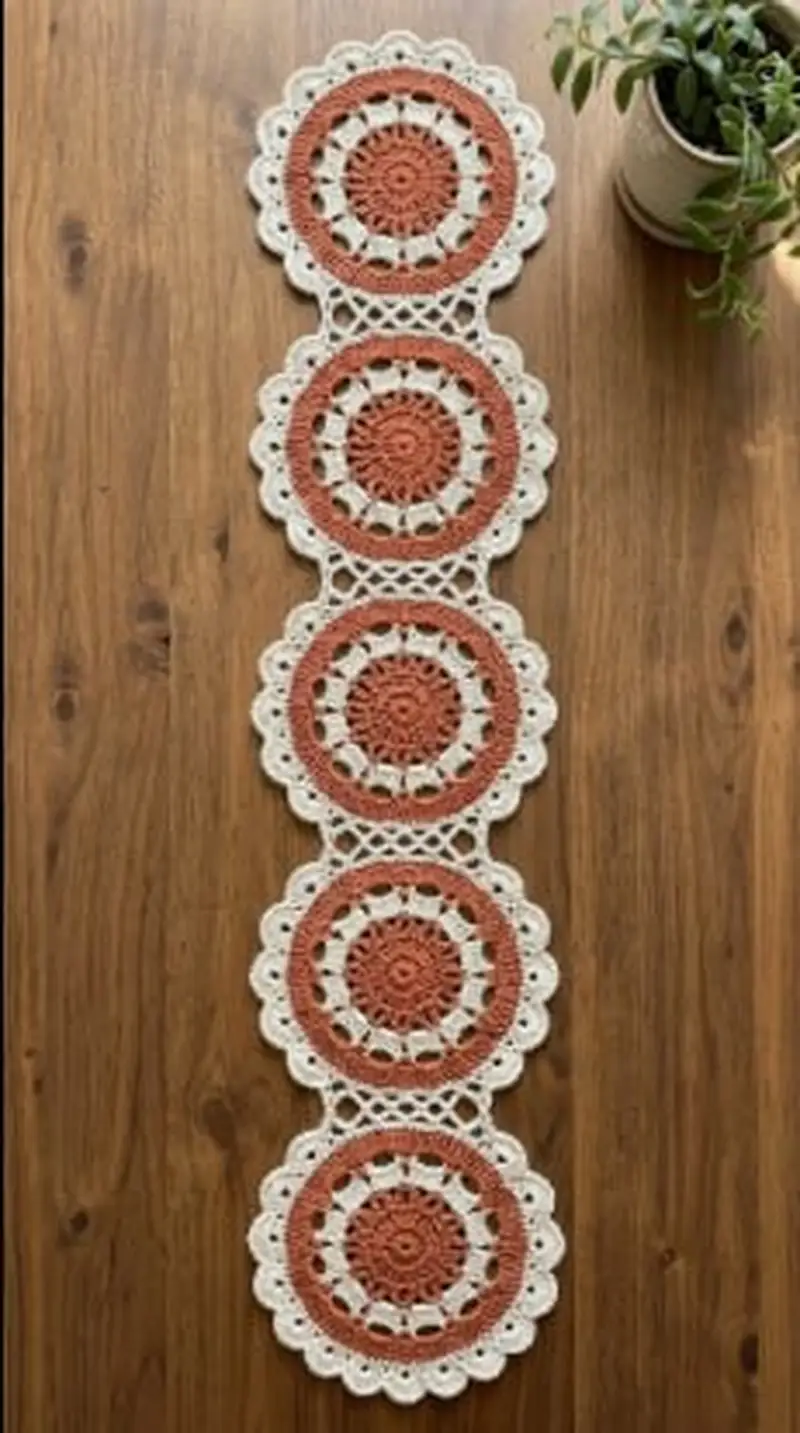
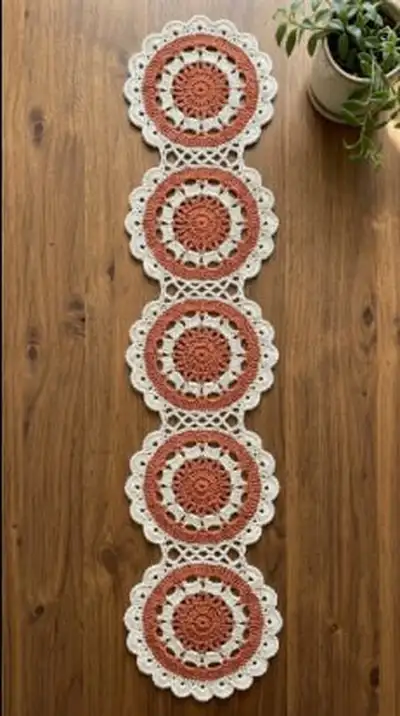
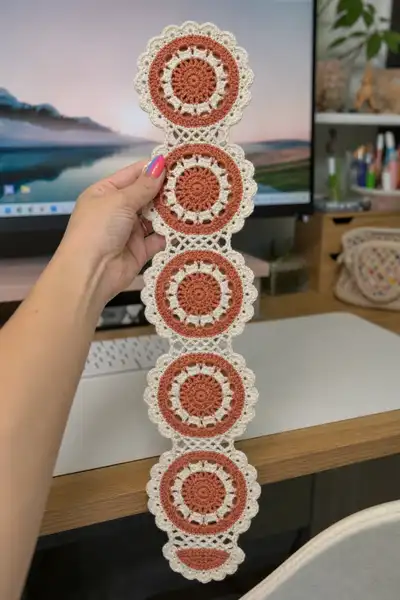
Create a lovely terracotta-and-cream mandala table runner made from five joined circular motifs. Each mandala features a warm terracotta center with lacy cream rings and a scalloped edge for a vintage-inspired farmhouse look. The motifs are joined with a delicate lattice connector to form a narrow, elegant runner—perfect for hallways, small tables, or shelf displays. This pattern includes full round-by-round instructions, joining steps, and finishing tips to recreate the runner pictured.
Progress Tracker
0% Complete
— Overview & Gauge :
Info :
This pattern describes one circular mandala motif and the joining scheme to create a runner of five motifs as pictured. Make 5 motifs identical in stitch count and gauge. Recommended gauge: one completed motif measures approximately 11-12 cm (4.25-4.75 in) across when blocked. Use the same hook for all rounds for consistent fabric. Adjust hook to match gauge if your motif is larger or smaller.
Info :
Terminology: counts in parentheses at the end of each round are the total number of main structural stitches (dc/hdc/sc clusters) or repeat groups for that round. When using clusters or shells that span multiple stitches, counts refer to the number of repeated motifs in the round unless otherwise noted.
— Mandala Motif (Make 5 identical motifs) :
Round 1 :
Using terracotta yarn: work 12 dc in magic ring, join with sl st to first dc to close (12)
Round 2 :
Ch3 (counts as dc), *1 dc in next st, 2 dc in next st* rep around—work (1 dc, inc) x6 to expand evenly, join with sl st to top of ch3 (18)
Round 3 :
Ch3, *2 dc in next 2 sts, 1 dc in next st* rep around—(2 dc, 1 dc) pattern equivalent to (2 dc, inc) x6 to create (24)
Round 4 :
Ch3, *3 dc in next 3 sts, 1 dc in next st* rep around—(3 dc, inc) x6 (30)
Round 5 :
Ch3, *4 dc, 1 dc in next st* rep around—(4 dc, inc) x6 (36)
Info :
These early rounds build a flat disc. Keep an eye for slight cupping or ruffling—if disc cups, reduce increases in the next round; if ruffling, add an extra increase evenly spaced to flatten. Use stitch markers to mark every 6th increase point for easier counting.
Round 6 :
Ch3, *5 dc, 1 dc in next st* rep around—(5 dc, inc) x6 (42)
Round 7 :
Ch3, *6 dc, 1 dc in next st* rep around—(6 dc, inc) x6 (48)
Round 8 :
Ch3, 1 dc in each st around (48) join with sl st
Round 9 :
Ch1, sc in each st around (48) join with sl st (48)
Round 10 :
Change to cream yarn. Info: Fasten off terracotta and join cream at any stitch. Carry terracotta inside if you plan color reversals later, otherwise fasten securely and weave in tail after blocking.
Round 11 :
Ch1, *sc in next 2 sts, ch3, sk 2 sts* rep around to form 12 ch-3 spaces; if counts differ, adjust spacing to land 12 evenly spaced chain spaces (48 structural sts, 12 ch-3 sps)
Round 12 :
Sl st into first ch-3 sp, *(ch3, 2 dc, ch2, 3 dc) in same ch-3 sp (shell), sl st in next sc* rep around to create 12 shell clusters separated by single sl st anchors (12 shells)
Info :
Shells form the decorative ring. Keep shells consistent by making all cluster stitches worked into the same chain space and using the sl st anchors to maintain spacing. Use a stitch marker at start of round to maintain orientation for later scallop alignment.
Round 13 :
Ch1, sc in same st, *ch5, sc in middle dc of next shell (anchor)* rep around to make 12 ch-5 arches between shells (12 arches)
Round 14 :
Sl st into first ch-5 sp, *(sc, ch3, 3 trcl in ch-5 sp, ch3, sc) in first ch-5 sp, sl st in next sc anchor* rep around to create raised star arches—12 repeats (12)
Round 15 :
Ch1, sc in same st, *ch7, sc in middle tr-world anchor* rep around creating 12 longer arches (12 ch-7 sps)
Info :
At this point the motif begins to get decorative and airy. Keep loops even; if an arch looks too large, tighten the next ch repetition slightly. Counting the arches confirms even distribution; you should have 12 around.
Round 16 :
Switch to working into ch-7 sps: sl st into first ch-7 sp, *(ch3, 5 dc, ch3) all in same ch-7 sp (a larger shell), sl st in next sc anchor* rep around (12 larger shells)
Round 17 :
Ch1, sc in first dc of shell, *ch3, sk next 2 dc, sc in next dc, ch3, sc in top of shell (center dc), ch3, sc in next dc* rep to create lacy gaps and anchor points—maintain 12 repeats (12)
Round 18 :
Ch2 (counts as hdc), *hdc in each of next 7 sts across shell to make a firm round for the lattice edge* rep around to smooth shell tops (approx 48 hdc) join with sl st
Round 19 :
Ch1, sc in each st around in BLO to create a defined ridge between shell ring and outer lattice (48)
Info :
If you want a slightly larger motif, add one more even round of dc here before the next lacy round. Blocking will also increase diameter by about 5-10% depending on yarn; account for this if you need a precise runner width.
Round 20 :
Change to terracotta yarn, join in any sc. Ch4 (counts as tr), *sk 2 sts, tr in next st, ch1* rep around to form a terracotta picot-style ring of tr separated by ch-1 earrings — aim for 12-16 tr groups depending on spacing (total group repeats 16 in my sample)
Round 21 :
Sl st to nearest ch-1 sp, *(ch5, sc in next ch-1 sp) rep around to make an even round of ch-5 arches over the terracotta tr ring (16 arches)
Round 22 :
Switch to cream yarn. Info: Carry terracotta inside or fasten off and weave in. Join cream to any ch-5 sp.
Round 23 :
Sl st into ch-5 sp, *(sc, ch3, 3 dc, ch3, sc) in the ch-5 sp (shell), sl st in next sc anchor* rep around to create 16 smaller shells forming the scalloped shape (16 shells)
Round 24 :
Ch1, sc in same st, *ch4, sc in top of next shell* rep around to create chain arches between scallops (16 ch-4 sps)
Info :
At this stage the outer scalloped ring is taking shape in cream. Make sure shells are evenly worked into ch-5 sps beneath to keep scallop shapes regular. Blocking after finishing motifs helps scallops sit neatly and match across motifs when joining.
Round 25 :
Sl st into first ch-4 sp, *(sc, ch3, sc) in ch-4 sp, sl st in next sc anchor* rep around to add small picot loops between scallops (16 picot units)
Round 26 :
Ch1, sc in each st and picot unit around working evenly to tidy up edges—this round should smooth any unevenness (approx 64 sc) join with sl st
Round 27 :
Ch2, *2 hdc in next 3 sts, ch2, sk 2 sts* rep around to create a short bridge ring that will later accept lattice connectors (repeat groups 16 times resulting in approx 64 structural units)
Round 28 :
Ch1, sc in each hdc and ch-2 sp around to reinforce bridge round and create points for joining (approx 64 sc) join with sl st
Info :
Fasten off and weave in all terracotta and cream tails for the motif. Block motif flat with blocking pins to the recommended diameter. Repeat these 28 rounds to make 5 identical motifs. Count shells and picots to ensure all motifs have the same number of scallops for matching during joining.
Round 29 :
Optional decorative finishing round: join cream, ch1, sc around the outside working 2 sc in each shell crest and 1 sc between scallops to exaggerate scalloped shape—approx 80 sc (optional)
Info :
If you make the optional Round 29, this will slightly increase motif diameter and create a firmer, more visible scallop edge. Use for a bolder look. Otherwise skip to joining instructions after weaving in ends and blocking motifs flat.
— Repeat Motif Assembly :
Info :
Make 5 motifs following Rounds 1-28 (or 1-29 if using optional final round). Block all motifs now, pinning scallops round and flattening lattice bridges to identical dimensions. Number motifs lightly on the wrong side (paper pins or small safety pins) to maintain order when joining. Ensure scallops and bridge points line up between adjacent motifs.
Info :
Before joining, place motifs face up in the order you want and make sure each adjacent pair has corresponding scallop peaks and ch-2/hdc bridge points that align. If some motifs have slightly different counts, add or remove an extra sc in a tidy place to match counts before joining.
— Joining Motifs: Lattice Connector (Repeat between each motif pair) :
Round 1 :
With cream yarn join to a bridge point (choose the ch-2 space or small sc anchor on motif A). Ch4, sl st into corresponding bridge point on motif B to form the first chain arch connection (counts as 1 arch)
Round 2 :
*Ch6, sk next bridge point on motif A, sl st into next bridge point on motif B, ch6, sl st into next bridge point on motif A* Work a crisscross of chain-arches alternating between motifs to form an X-lattice across the gap. Repeat across all aligned bridge points until motifs A and B are fully connected by a row of arches (approx 8-12 arches depending on spacing)
Info :
Keep tension on chain arches slightly snug but not tight—this forms the openwork lattice seen in photos. Adjust ch lengths to match your motif spacing; the pattern's ch6 worked for my yarn and gauge to create a measured lattice that sits flush between scallops.
Round 3 :
Work a return row in cream: sl st into first ch arch, ch1, *sc, ch3, sc* in each ch-6 arch across to create small decorative nets filling the arch spaces (approx equal to number of arches from Round 2)
Round 4 :
Edge the lattice by working sc around each sl st join and ch space to tidy joins and reinforce connections—work 1 sc in each sl st and 2 sc in each point where arch meets motif shell (approx 2x anchors per join)
Round 5 :
Switch to a small decorative scallop along the connector edges: sl st to edge, *ch4, sl st into same stitch* rep along edge for tiny picot-like loops that mirror motif scallops and strengthen the lattice (repeat across both sides)
Info :
Repeat these 5 joining rounds between each pair of motifs (motif 1-2, 2-3, 3-4, 4-5). The lattice connector is intentionally delicate; reinforce any busy household-use placements with an additional sc round if runner will be handled frequently.
— End Cap / Half-Motif (Optional) :
Round 1 :
If you prefer a finished half-circle at each end instead of a full scallop, make a half-motif cap: follow Mandala Motif Rounds 1-14 to create a solid disc, then work the outer rounds only over half of the circle to make the half scallop. Use same stitch counts halved and maintain even increases so the half-motif lies flat against end scallop.
Info :
In the sample runner pictured the lower end shows a half motif for a neat finish. To make the half-motif, pick a semicircle of worked stitches and do mirror shaping: when working shells or scallops, work only into designated half-space and finish rounds by turning with an unfinished edge; finish with a neat sc border to hide the open side. Block to shape.
— Final Edging & Reinforcement :
Round 1 :
With cream yarn, work a final edging around entire runner: sc evenly around outer scallops and across connector edges joining motifs. Work 2 sc in shell peaks and 1 sc in connector spaces to balance tension (approx 8-12 sc per motif scallop, total will vary by number of motifs)
Round 2 :
Optional decorative picot round: *(ch3, sl st in next sc) across—this will form small picots between scallops and add a crisp finish to edges*
Info :
Weave in all tails securely. Lightly steam-block or wet-block the whole runner pinned to measured dimensions so scallops and lattice lie flat and even. Avoid heavy pressing which can flatten the lace texture.
— Finishing Notes & Care :
Info :
Hand-wash the runner in cool water with gentle detergent and lay flat to dry to preserve shape. If using cotton yarn, expect slight shrinkage until after first wash—block after washing to restore shape. Store flat to avoid bending scallops.
Info :
Customization: change number of motifs, colors (swap terracotta for mustard, sage, or deep blue), or use finer yarn and smaller hook for a more delicate runner. To lengthen, make extra motifs and join with the same lattice connector pattern.
This Terracotta Mandala Table Runner brings warmth and vintage charm to any space. Each crocheted mandala combines structured center stitches with airy lacy rounds and scalloped edges for a handmade accent that feels cozy and refined. The joining lattice creates an elegant, elongated silhouette that looks beautiful on consoles, narrow dining tables, or mantels. Enjoy the rhythmic meditative process of crocheting repeated motifs and the satisfaction of blocking and joining them into a polished runner you’ll be proud to display. 🧶🍂