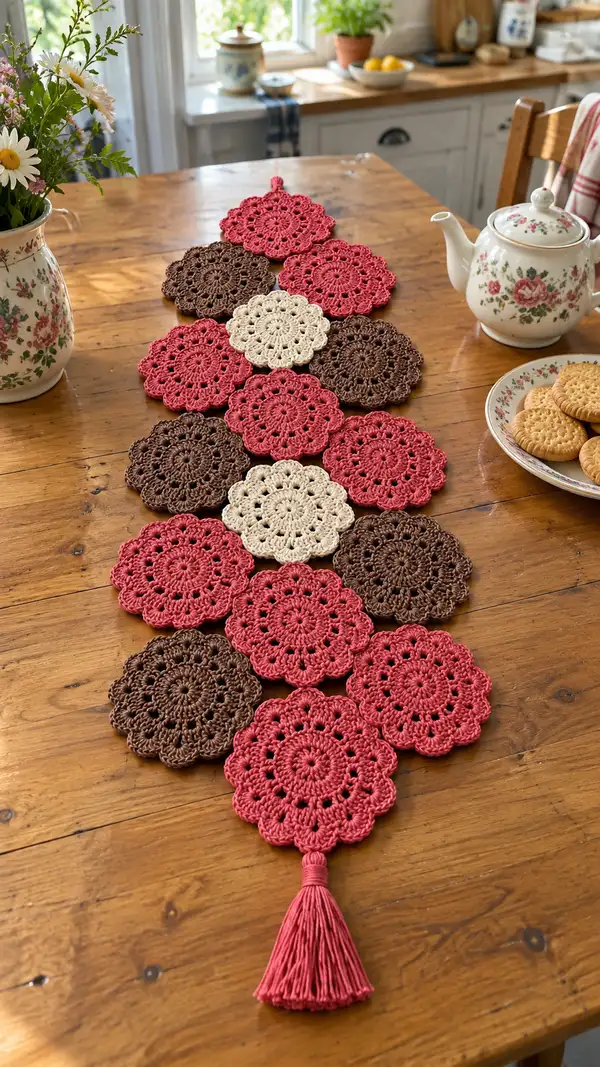
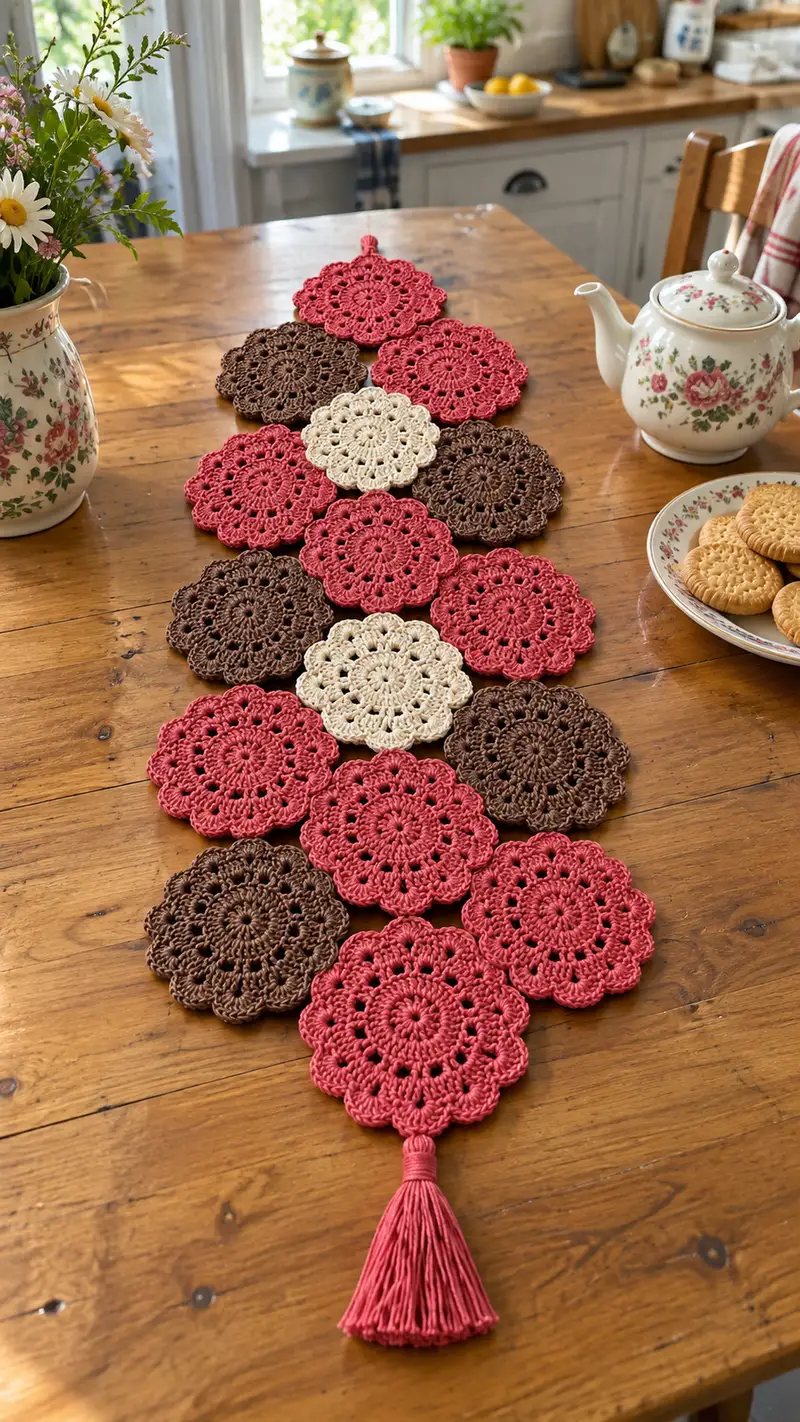
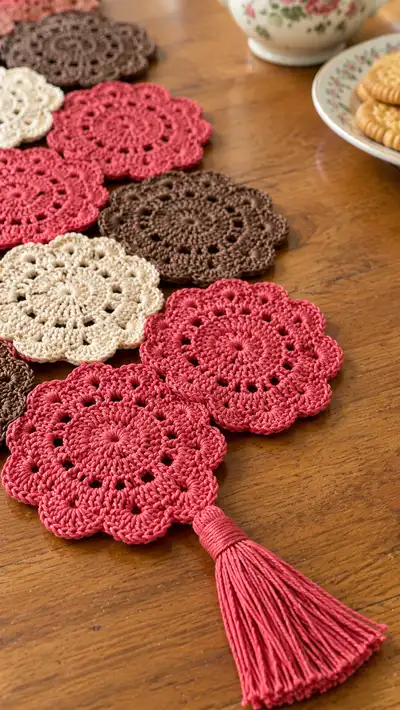
Create a charming vintage-inspired table runner made from stacked floral crochet motifs in warm rose, cocoa and cream shades. This pattern shows how to make the round lacy motifs, join them into a runner, finish with a neat edge and add a long tassel. The motifs have a soft scalloped petal edge and open lacy rounds that make a delicate, table-friendly texture.
Progress Tracker
0% Complete
— Pattern Overview :
Info :
Make identical round floral motifs and join them into a linear runner. Sample uses 15 full motifs plus one central motif and a tassel at one end. Each motif is made in one color then joined using join-as-you-go rounds for a neat, flat finish.
Gauge/Size :
One finished motif measures approximately 4.5-5" (11.5-12.5 cm) across when made with worsted-weight cotton yarn and a 3.5mm hook. Runner in photo assembled from 15 motifs measures roughly 45" long (including tassel). Adjust yarn/hook to change size.
— Motif (Make many) :
Round 1 :
mr, ch1, 6 sc in magic ring; pull ring tight (6)
Round 2 :
Inc in each st around (6 inc) (12)
Round 3 :
(1 sc, inc) x 6 (18)
Round 4 :
(2 sc, inc) x 6 (24)
Info :
At this point you have a small, flat disk. Place a stitch marker at the first stitch of the round to track round starts in later rounds when shaping petals.
Round 5 :
(3 sc, inc) x 6 (30)
Round 6 :
(4 sc, inc) x 6 (36)
Info :
Switch to your chosen motif color if beginning with a different core color. Carry ends to back and weave in later or cut and join new yarn as preferred.
Round 7 :
Ch1, sc in same st, *ch4, skip 2 sts, sc in next 3 sts; rep from * around ending with ch4, join with sl st to first sc. You will have 6 ch-4 loops and short sc groups between them (36 sts accounted as groups)
Round 8 :
Work petal foundation into ch-4 loops: *in next ch-4 loop work (1 sc, ch1, 5 dc, ch1, 1 sc) as a petal shell; rep from * around (6 petals)
Info :
Ensure each petal shell is worked evenly; adjust tension to keep petals flat and not cupped. If petals curl up, block flat while damp.
Round 9 :
Ch3 (counts as dc), dc in first st of petal shell center, *(ch2, 2 dc in center of next petal shell, ch2, 2 dc in center of same shell), sl st into base between petals; rep from * around, join (petal clusters interconnected)
Round 10 :
Ch1, sc in same st, *ch3, skip to next shell center, sc into base between shells; rep from * around to create small open arches (this round evens spacing) (approx 36 sc/arch placements)
Info :
If you prefer a more lacy motif, work ch4 arches instead of ch3. If you prefer a tighter motif, use ch2 arches so petals sit closer.
Round 11 :
Working into arches: *(hdc, 3 dc, hdc) into each ch-3 arch to make a small scallop; sl st to next arch base; rep around (approx 6 larger scallops)
Round 12 :
Ch1, sc in same st, *ch5, sc in top of next scallop; rep from * around to make tall shell loops ready for final petal edge (6 ch-5 loops)
Round 13 :
Final petal shaping: Into each ch-5 loop work (1 sc, ch1, 7 dc, ch1, 1 sc) to make full petals with defined points; rep around and join with sl st to first sc (final motif edge formed)
Round 14 :
Edging round: Ch1, sc in same st, *ch2, sl st in between petals to create a small picot-like notch; rep from * around, fasten off and weave ends (for a firm edge do one more round of sc around in BLO)
Info :
Count petals and ensure you have six large petals from Rounds 8-13; if your motif appears too small, you can add an extra increase row between Rounds 6 and 7 (eg. (5 sc, inc) x6 to bring the motif diameter out slightly).
— Alternate Slightly Larger Motif (Make optional accent motifs) :
Round 1 :
mr, ch1, 6 sc in mr (6)
Round 3 :
(1 sc, inc) x6 (18)
Round 4 :
(2 sc, inc) x6 (24)
Round 5 :
(3 sc, inc) x6 (30)
Round 6 :
(4 sc, inc) x6 (36)
Round 7 :
(5 sc, inc) x6 (42)
Info :
This larger version uses seven rounds of increases to reach a wider disk which yields more petals (7 or 12 small petals depending on final shell shaping). Use where you want a slightly larger decorative piece.
Round 8 :
Ch1, sc in same st, *ch4, sc into the group of 3 sc below, rep around, join (42 sts grouped)
Round 9 :
Into each ch-4 loop work 1 sc, ch1, 9 dc, ch1, 1 sc to make larger petals (7 petals), join
Round 10 :
Edging: ch1, sc in same st, *ch2 sl st in middle between larger petals; rep around, fasten off (gives scalloped finish)
Info :
These larger motifs can be used at the runner ends or as feature centers; make as many as you need. Blocking will even out petal shapes and diameters between motif sizes.
— Center Mini Motif (Make 1 or 2 accent centers) :
Round 1 :
mr, ch1, 6 sc in mr (6)
Round 3 :
Ch3, dc in each st around (12 dc), join (12)
Round 4 :
Ch1, sc in same st, *ch2, sc in next dc; rep around, join, fasten off (12 small arches)
Info :
Mini motif sits attractively in the runner center or between two full motifs to break color sequence. It is intentionally small and flat.
— Joining Motifs (Join-as-you-go method) :
Info :
Lay out your motifs in the intended runner pattern. The sample layout stacks motifs in a staggered, tree-like column: four rows diminishing toward the top. Plan left-to-right joining so sl st or single crochet joins can be worked into the next motif's edge petal loops during its final round.
Join Round 1 :
Work motif through Round 12 as described but on the final petal edge (Round 13 in the full motif), when you reach a petal that touches an already-made neighbor motif, proceed as follows: work 1 sc into your ch-5 loop, then instead of completing the full petal, insert hook into the corresponding ch-5 loop on the neighboring motif, sl st to join, then resume working the remaining stitches of the petal on current motif. This creates a secure join point that sits within the petal.
Join Round 2 :
For each position where two petals meet, join on every second or third petal depending on desired openness. Aim for 2-3 joins per motif edge to hold shapes flat (for a motif with 6 petals you will typically make 3 joins across the side that meets the neighboring motif).
Info :
If joining motifs where three pieces meet at one petal point, make a center join by inserting hook through the two adjacent motif loops and finishing the petal on the third motif; this triple-latch is useful in staggered layouts.
Join Round 3 :
When joining along long edges (two motifs side-by-side) work sl st join into every ch-2 or ch-3 space as you make the final round of the second motif to ensure even seam spacing. Fasten off securely and weave in join tails.
Join Round 4 :
Alternate sewn-join: for an invisible join, block all motifs then place motifs together and whip stitch through the backs of the petals around the border, catching only the base threads (not the outer picots) so the seam remains flat.
Info :
Test a small join before proceeding; tension on join stitches affects how flat the runner lies. If seam pulls, loosen stitch tension or decrease the number of join points.
— Assembling the Sample Runner Layout :
Step 1 :
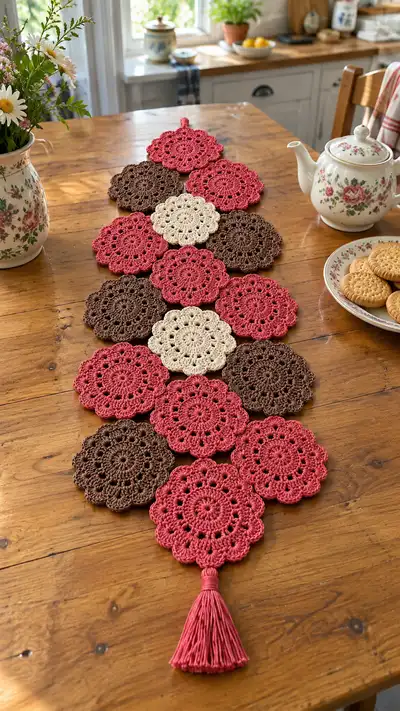
Make motifs in this sequence for the pictured layout: Row from top to bottom (1 motif, 2 motifs, 3 motifs, 4 motifs, 3 motifs, 2 motifs) with a single tassel motif at the bottom tip. Use alternating colors in a pattern like rose, brown, rose, cream as pictured.
Step 2 :
Start at the top motif, work it completely. Make the two motifs in second row, joining them to the top motif at two petal points each when working their final round. Continue expanding, always joining each new motif into any adjacent finished motifs on its final round using Join-as-you-go instructions above.
Info :
Pin motifs to a blocking surface to assemble if you want a guaranteed flat runner and exact alignment before final sewing. Use rust-proof T-pins to hold edges at joining points while you sew or crochet the joins.
Step 3 :
For transitively linked motifs (where a motif has two neighbors already joined), work joins symmetrically: join the outer petal first, then join the inner petal center to keep tension balanced across the motif.
Info :
Where three motif corners meet, ensure you only join equivalent loops to avoid a bulky knot; sometimes skipping one join yields a neater crossover.
— Edge Finishing & Optional Narrow Border :
Round 1 :
With runner assembled and blocked, work a single crochet edging around the whole perimeter into the back loops only of the outermost petal edges: sc evenly into each petal base around to create a continuous edge. Adjust the number of sc per petal so the border lies flat (for standard motif use 6 sc per petal base).
Info :
Work slowly around curves; add an extra sc every other petal if the edge puckers. If the edge waves, remove a sc or two evenly spaced to relax the fabric.
Round 2 :
Optional picot round: ch3, sl st in same st or use (sc, ch2, sl st) at intervals to create small decorative points. Fasten off and weave in ends.
Round 3 :
Optional wider border: after sc round, work a round of (2 sc, ch3, 2 sc) into chosen positions to form scallops between petals for a more formal edge.
Info :
A tidy edge makes a big difference visually on a table. Block again lightly after edging to flatten any minor ripples introduced by the border rounds.
— Tassel Finishing :
Info :
The pictured tassel is long and wrapped tightly. You can use leftover main color yarn for the tassel. Make one tassel approximately 6-8" long (finished) for a balanced look.
Tassel Step 1 :
Cut around 40-60 strands of yarn each twice the desired finished length (for a 7" finished tassel cut 14-15" lengths). Stack them neatly.
Tassel Step 2 :
Fold the bundle in half and tie a short length of yarn around the folded top to form the tassel head loop. Trim the ends neatly to match lengths.
Tassel Step 3 :
For a wrapped head, cut a 12" piece of yarn and wind it tightly around the top section just below the loop 10-20 times until you have a neat neck. Secure by knotting and weaving the tail into the wrap with a yarn needle.
Tassel Step 4 :
Attach tassel to bottom motif by threading the tassel loop through the motif ch-loop or secure with yarn through the motif center and knot inside, hiding ends under a wrap. Trim and neaten.
Info :
You can add a small metal or wooden bead above the wrapped section for extra weight and visual interest. Ensure any beads have smooth holes to not cut the yarn.
— Blocking & Final Care :
Info :
Wet-block or steam-block motifs individually and then again after assembly. Pin each petal flat on a blocking mat in the desired shape and let dry fully. Use a low-temperature steam iron held above the motif if necessary — do not press directly unless the yarn tolerates heat.
Care Instructions :
Hand wash gently in cool water with mild detergent and lay flat to dry. Cotton yarn will soften with washing and may relax slightly, so re-block if needed.
Info :
If you plan to place hot items on the runner, put a protective trivet beneath hot cookware; the motifs are decorative and provide minimal insulation.
This floral motif table runner is a delightful mix of lace and texture that adds instant charm to your dining table. The stacked round motifs create a rhythmic, handcrafted look while the tassel adds personality and movement. It's a satisfying weekend project that yields a gorgeous, functional piece you’ll be proud to display. 🧶🌸 Whether as a gift or for your own home, this runner brings warmth and vintage-inspired style to any space. Happy hooking and enjoy arranging your motifs! ✨