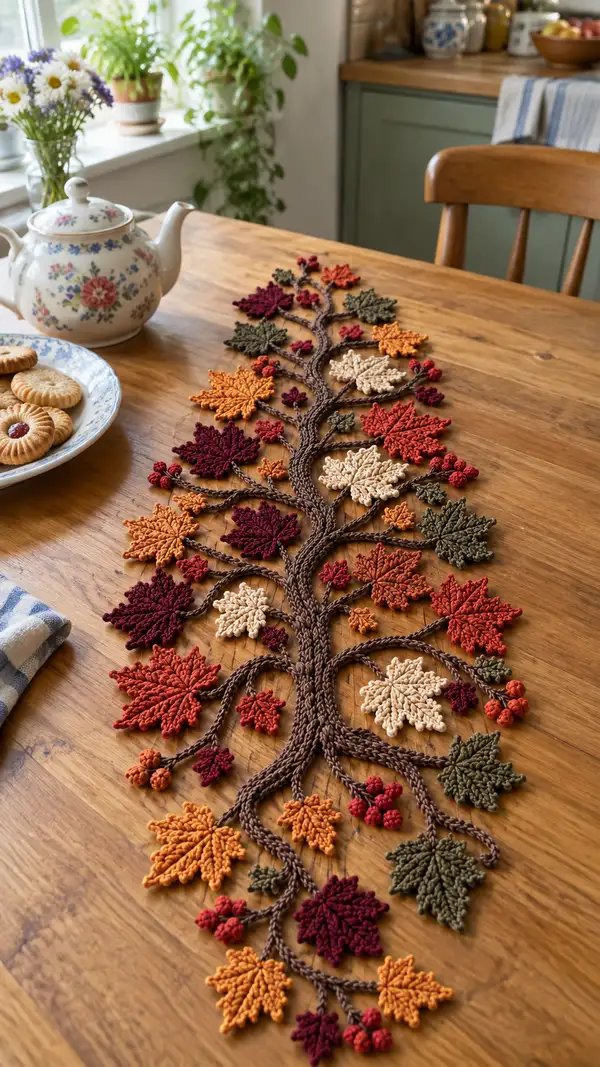
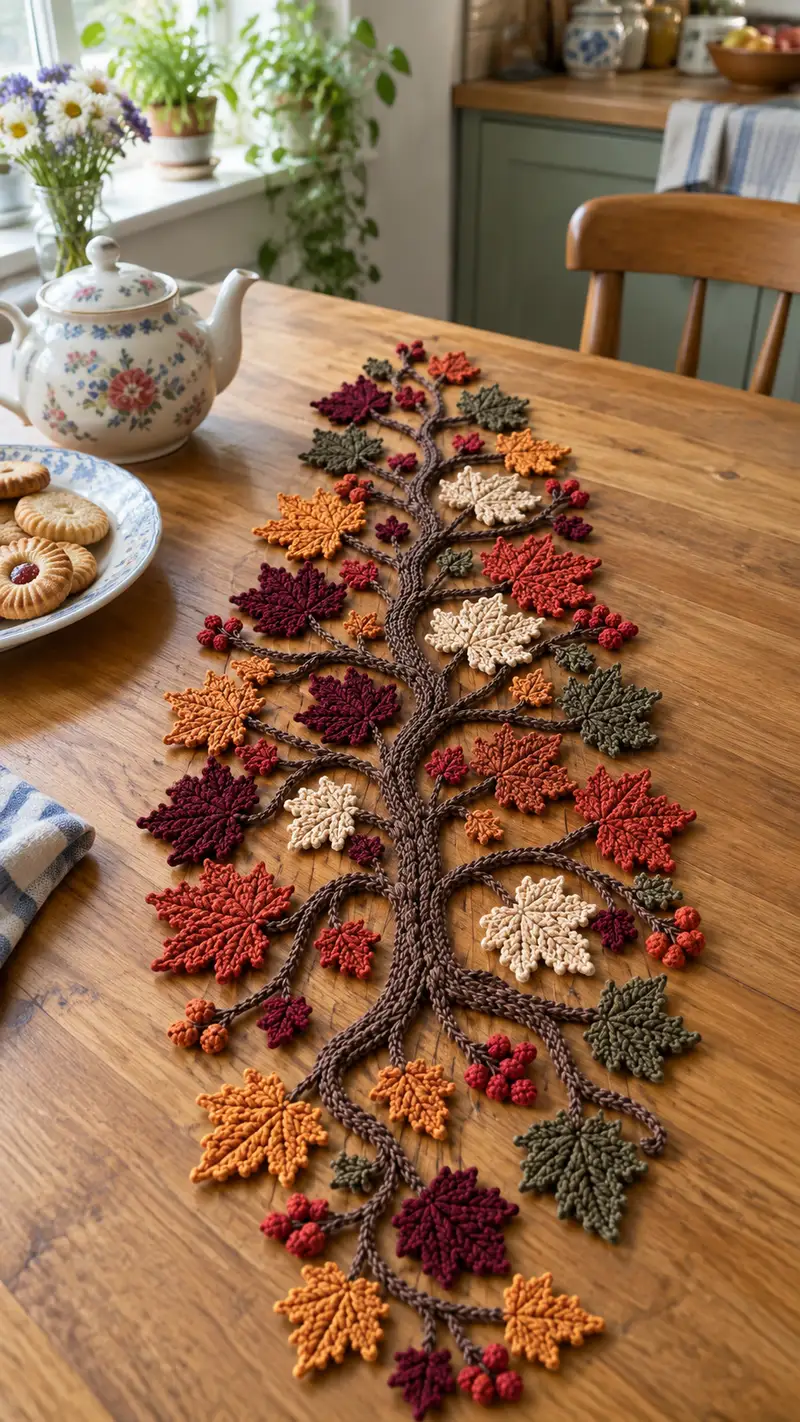
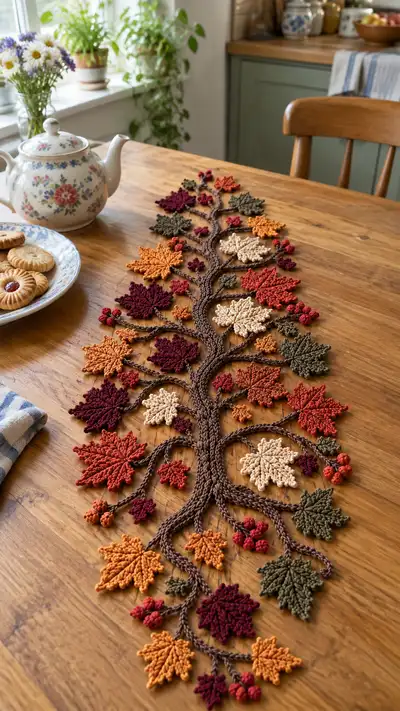
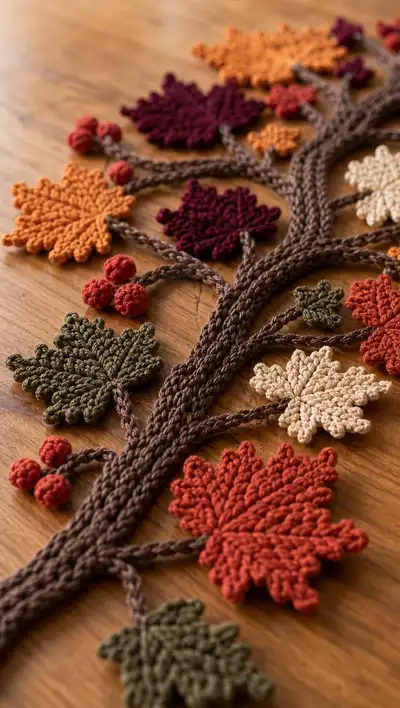
Create a warm, textured autumn table runner shaped like a graceful tree branch with layered crocheted maple-style leaves and tiny berry clusters. This pattern uses simple motifs—tubular trunk cords, multi-sized leaves, and clustered berries—assembled into a flowing runner in rich fall colors. The finished piece lies flat and makes a gorgeous seasonal centerpiece, perfect for the dining table, mantle, or as gift-ready home decor.
Progress Tracker
0% Complete
— Trunk (make 3 tubular cords to braid into main branch) :
Round 1 :
6 sc in magic ring (6)
Round 3 :
(1 sc, inc) x 6 (18)
Round 4 :
(2 sc, inc) x 6 (24)
Info :
These cords form the tubular i-cord-like trunk. Use tight tension and a smaller hook if your fabric is loose. Place a stitch marker at the first stitch of each round to track spirals.
Round 5-8 :
1 sc in each st (24)
Info :
Continue working in continuous spiral (do not join) to create a tube. To lengthen a cord, work additional even rounds. Make three cords of even length: Cord A (center) 120 rounds total length, Cord B and C 110 rounds each so braid tapers.
Round 9-40 :
1 sc in each st (24) — continue spiraling to build length (repeat until desired cord length; counts remain 24)
Info :
After Round 40 estimate, measure cords against desired runner length. The pictured runner used cords of about 40-50 cm each before braiding. Adjust number of rounds to scale your runner longer or shorter.
Round 41-60 :
1 sc in each st (24) — continue spiraling to fill length; fasten off leaving long tails for sewing (24)
Info :
Make 3 cords. Lay cords side-by-side and braid or plait loosely then stitch along the edges to hold braid shape. For a curved trunk, join cords with slip stitches at intervals and twist slightly while sewing so the trunk curves naturally.
— Main Branch Assembly (arrange and sew cords into branching shape) :
Info :
Arrange the three tubular cords into a trunk and primary branches. Use pins to shape trunk curve and branch forks. Secure by sewing through the overlapped cords with matching yarn and whip stitch every 6-8 stitches to hold the braid but keep it flexible.
Step 1 :
Lay Cord A as center trunk. Position Cord B and Cord C as flanking cords and join at base with 6 whip stitches through all layers, leaving ends free for root-like curl.
Step 2 :
Create branch forks by unsewing small sections (6-10 stitches) and separating two cords to form a fork. Pin in place and sew about 8-10 securing stitches close to the fork base to lock the split.
Info :
Work slowly: the trunk is the skeleton. You will later sew leaf stems and berries directly to the trunk at these fork points and along the sides. Keep the trunk slightly flat where leaves will be stitched so motifs lie flat.
— Large Leaf (Maple-style) - Make 8-10 in assorted colors :
Round 1 :
6 sc in magic ring (6)
Round 3 :
(1 sc, inc) x 6 (18)
Round 4 :
(2 sc, inc) x 6 (24)
Info :
These rounds build a small circular center which becomes the leaf base. We will convert the circle into a pointed maple shape using short rows and chains to create lobes.
Round 5 :
1 sc in each st (24)
Round 6 :
(3 sc, inc) x 6 (30)
Round 7 :
1 sc in each st (30)
Info :
Now we begin shaping lobes. Work in rows across a temporary chain extension to form the leaf points, working symmetrical lobes around center. Use FLO and BLO to create raised veins as you go.
Round 8 :
Ch 6, turn; starting at next free st of the round, work 1 sc into that st, 1 hdc in next, 1 dc in next ch, 1 tr in next ch, 1 dc in next ch, sl st into original round to anchor the lobe (this forms first lobe)
Round 9 :
Work 1 sc across 6 st across the next segment of the round, ch 6 and work same lobe sequence to create second lobe; sl st to anchor. Repeat to create 5 primary lobes spaced evenly — you should have 5 ch-lobe attachments around the perimeter
Info :
When working lobes, keep tension slightly looser on chains so lobes sit flat. Use stitch markers to mark lobe anchor points; this helps maintain spacing.
Round 10 :
After all 5 lobes formed, work 1 sc around entire outer edge filling spaces: (1 sc in each st and 1 sc into each ch space along lobes) to create a continuous edge (approx 60 sc)
Round 11 :
Edge shaping: *sc in next 4, (inc) in next* repeat around to create subtle ruffling (approx 72)
Round 12 :
Texture row: 1 sc in BLO in each st (72) — this creates a raised ridge on the outer edge
Round 13 :
Vein detail: Attach contrasting or same color yarn at center base; ch 1, work 7 sc along a straight line across the leaf center (sl st back to anchor) — repeat symmetric veins for 4 main veins; fasten off leaving long tail for sewing (no count change)
Info :
For neat look, weave the vein tail on the underside of the leaf. Slight blocking will open lobes and make the leaf crisp. Large leaf final stitch count around edge ~72; maintain counts if you alter increases.
— Medium Leaf - Make 6-8 :
Round 1 :
6 sc in magic ring (6)
Round 3 :
(1 sc, inc) x 6 (18)
Round 4 :
(2 sc, inc) x 6 (24)
Round 5 :
1 sc in each st (24)
Round 6 :
Ch 5, turn; work 1 sc across next 4 sts, 1 dc in ch3, sl st to anchor to form single point; repeat to create 3-4 lobes; join and sc around edge to tidy (approx 36)
Info :
Medium leaves are simpler, using fewer lobes and a smaller edge count. They give a layered look between the large leaves and tiny ones.
Round 7 :
1 sc in BLO around (36)
Round 8 :
Edge picot detail: *sc 3, picot (ch3 sl st into first ch)* repeat to create decorative edge; fasten off leaving long tail for sewing (36)
— Small Leaf (Make 10-14) :
Round 1 :
6 sc in magic ring (6)
Round 3 :
(1 sc, inc) x 6 (18)
Round 4 :
Ch 4, turn; work 1 sc in next 3 sts, 1 hdc in ch2, sl st to anchor to create tiny point; repeat to create 3 points; sc around to finish (approx 24)
Info :
Small leaves act as filler and nestle under larger leaves. Work tight tension; smaller hook (3.0mm) optional for neat tiny leaves.
Round 5 :
1 sc around in BLO (24) — fasten off leaving long tail (24)
— Tiny Spur Leaves and Accent Bits (Make many) :
Round 1 :
4 sc in magic ring (4)
Round 3 :
1 sc around (8) — fasten off leaving short tail to stitch into trunk as tiny accents
Info :
These tiny elements are stitched directly to branches as accent leaves or to fill gaps. Use them to create natural clusters near berry stems.
— Berries (Make clusters: sets of 3-5 berries; make 10-16 berries total) :
Round 1 :
6 sc in magic ring (6)
Round 3 :
(1 sc, inc) x 6 (18)
Round 4 :
1 sc around (18)
Round 5 :
(1 sc, dec) x 6 (12)
Round 6 :
6 dec (6) — stuff slightly with tiny amount of polyester fill for roundness and close by sl st; fasten off leaving tail for sewing
Info :
Make berries in brick red and small orange to create natural clusters. Sew groups of 3-5 with a short chain stem between them for realistic spacing.
— Leaf Stem and Branchlets (worked as short crocheted stems to attach leaves) :
Round 1 :
Ch 20 (or desired stem length), sl st back along chain to create a corded stem; fasten off leaving long tail for sewing
Info :
For thicker stems, work a tube of 6 sc into a magic ring then continue even rounds for length (6 sc in each round). Make stems of varying lengths to give natural look.
Round 2 :
To create forked branchlets, make ch 12; in the 6th ch attach a 2nd short chain by slip stitching into chain and continue — result is a Y-shaped fork
Info :
Attach stems to underside of each leaf with whip stitch using longer tail. Pin leaf in place on trunk, then sew stem to trunk with several passes for stability.
— Construction Notes & Texture Techniques :
Info :
Use BLO rows to create slightly raised edges and veins. For deeper veins, use front post sc (FPsc) or a short line of dc worked in FLO along the center before flattening leaf. Wet-block or spritz leaves lightly and pin to desired shape until dry to open lobes.
Info :
Maintain consistent gauge for leaves to keep sizes uniform. If a leaf is too puffy, press lightly with an iron over a damp cloth at low setting to flatten and set shape.
— Detailed Attachment Plan (where to place motifs) :
Info :
Arrange large leaves along the main forks with medium leaves filling spaces between. Small leaves nestle near the branch ends and around concentrated berry clusters. Balance colors by alternating warm tones and dark burgundy for rhythm.
Step 1 :
Lay the trunk on table and pin final shape. Start placing large leaves at the major forks (approximately at trunk cord rounds 22-26 of central cord). Keep 6-8 stitches clear between leaf placements so they do not overlap haphazardly.
Info :
Use long sewing tails from leaves and stems. Sew leaves to trunk with a needle and matching yarn using mattress stitch or whip stitch. Secure each leaf with at least 6-8 close passes around base and stem for durability.
— Finishing & Edge Work :
Round 1 :
Optional neat edge around entire runner: pick a fine yarn color and work slip stitches along exposed trunk edges and small stems to tidy joins. Work sl st evenly approximately every 4-6 stitches.
Round 2 :
Optional binding: Work 1 sc every 3 sl sts along trunk sides to create a subtle border (no global stitch count)
Info :
Weave in all tails deeply into trunk cords and leaves. If the trunk feels too floppy at joins, add a few hidden stitches through all cord layers to firm up shape, or add a thin ribbon or fabric strip glued/sewn into underside for reinforcement.
Round 3 :
Final blocking: Lay runner flat, pin leaves in desired positions and lightly steam or spritz to set shape. Let dry fully before moving. Trim any stray fibers.
Info :
For longevity, avoid placing heavy items directly on delicate leaves; this runner is decorative and best used with light centerpieces.
— Optional Variation: Single-piece Crochet Branch (alternative method) :
Info :
If you prefer fewer sewn joins, you can work a continuous base chain equal to desired runner length and then pick up stitches along the chain to work trunk “tubes” and leaves directly from chain points. This method requires careful planning and is more advanced.
Info :
When working continuous method, mark leaf anchor points on chain before beginning. Work tubes by joining yarn at anchor and crocheting 6 sc into MR then continue spiraling to produce attached cords. This reduces finishing sewing but increases complexity.
This autumn branch table runner is a cozy, handcrafted centerpiece that instantly warms any room. Layering leaves, textured veins, and tiny berry clusters give it a museum-quality botanical feel while remaining delightfully tactile and homey. Arrangement and color choices make this pattern endlessly customizable—perfect as a thoughtful gift or seasonal touch in your own home. 🧶🍁 Enjoy the meditative pleasure of stitching each motif and then watch them come together into an elegant branch you’ll be proud to display. Happy stitching! 🌿