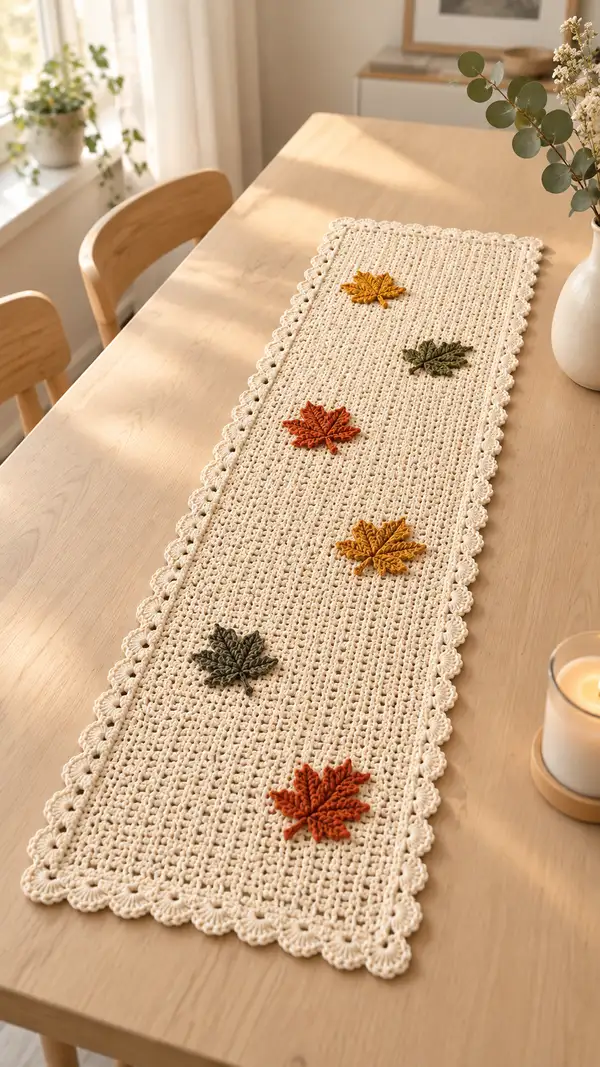
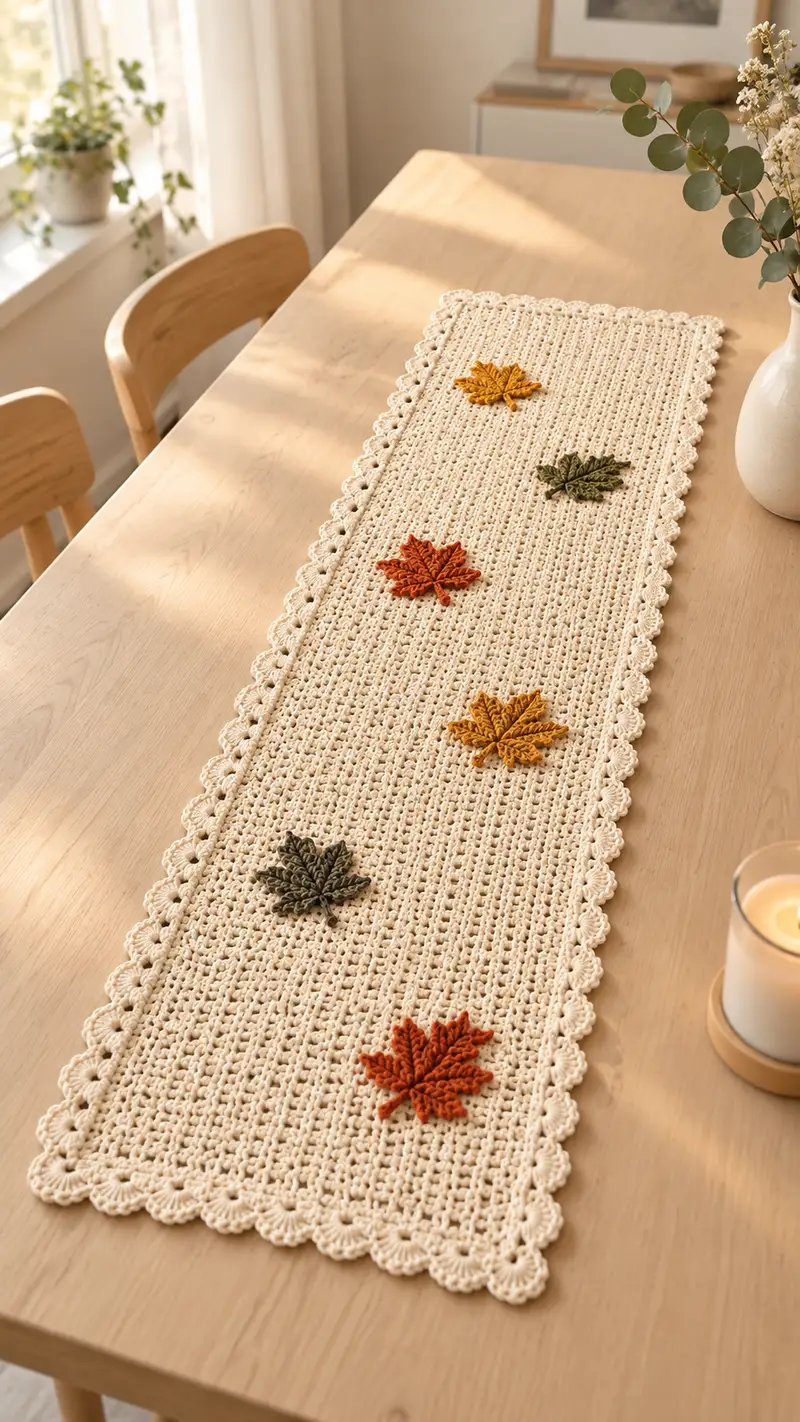
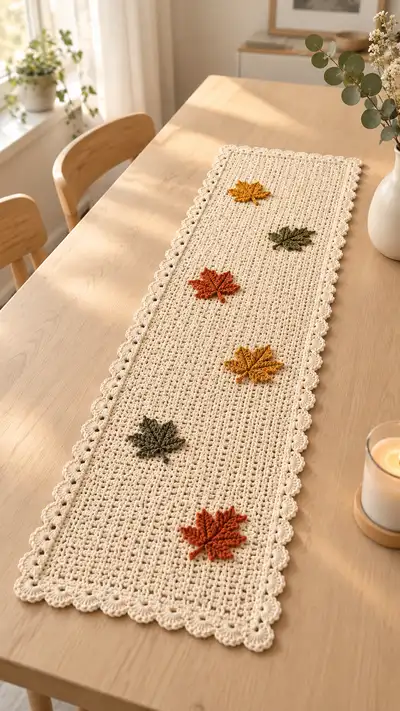
Create a warm, textured table runner featuring a lacy cream ground, scalloped shell edging, and six raised, embroidered maple-leaf appliques in rich autumn colors. This elegant seasonal runner sits beautifully on dining tables or sideboards and layers easily with other decor. The pattern uses simple repeats and surface-textured leaves for an elevated handmade centerpiece.
Progress Tracker
0% Complete
— Runner Body :
Row 0 :
Using main color (cream/eggshell), ch 73. This foundation chain gives a working width of 73 foundation chains, creating a finished runner approximately 10-12 inches wide depending on gauge. (73)
Info :
Choose a foundation chain length that is a multiple of 3 plus 1 to keep pattern repeats consistent; here we use 73. Work loosely on the foundation to avoid a tight edge.
Row 1 :
Sc in 2nd ch from hook, sc in each ch across to end. Turn. (72 sc)
Info :
Make sure you do not count the turning chain as a stitch. Place a stitch marker in the first stitch of Row 1 to mark the side edge; you will move this marker each row to keep track of the first stitch.
Row 2 :
Ch 1, turn, 1 sc in BLO of each st across. (72)
Row 3 :
Ch 1, turn, 1 sc in each st across (working through both loops). (72)
Row 4 :
Ch 2 (counts as first hdc), turn, *skip next st, (dc, ch1, dc) in next st (V-stitch made), skip next st, hdc in next st*; rep from * to * across finishing with hdc in last st. (24 V-stitch repeats; overall count 72 working locations)
Info :
This textured V-stitch row creates the vertical openwork columns visible in the photo. The sequence of V-stitch rows alternated with solid sc rows produces an elegant ribbed lace look.
Row 5 :
Ch 1, turn, 1 sc in each st and in each ch-1 space across, keeping the sc into the V spaces as single stitches so the row measures same width. (72)
Row 6 :
Repeat Row 2: ch1, turn, sc in BLO across. (72)
Row 7 :
Repeat Row 4 V-stitch row: ch2, turn, *skip next st, (dc, ch1, dc) in next st, skip next st, hdc in next st* across. (24 V-stitch repeats)
Row 8 :
Ch1, turn, sc in each st and ch-1 space across. (72)
Info :
From here work an alternating sequence to build length: alternate two textured/mesh rows (V-stitch row plus sc fill row) with two rib rows (sc BLO and sc regular) to create a subtle striped texture that reads as vertical lines when blocked.
Rows 9-56 :
Repeat Rows 2-8 as established (this is 7-row repeat: BLO sc, sc, V-row, sc, BLO sc, V-row, sc), maintaining 72 stitch positions across. Work until you have completed a total of 56 working rows including Row 1. The runner should now measure approximately 36-40 inches in length (depending on gauge). (72)
Info :
Measure periodically. If you prefer a longer or shorter runner, extend or shorten by adding/removing full 7-row repeats. Keep count of repeats using a row counter.
Rows 57-64 :
Work an even set of sc rows to create a solid border panel before attaching scalloped edge: ch1, turn, sc in BLO across for Row 57; ch1, turn sc in each st across for Row 58. Repeat Rows 57-58 for a total of 8 rows (four sets) to create a denser area that will stabilize scallops. (72)
Info :
These last sc rows help the scalloped border sit flat and create a neat edge for join-as-you-go or later border application. If you plan to change to a smaller hook for edging, do so after these rows.
— Scalloped Shell Border :
Info :
Attach yarn at one corner with a sl st. The border is worked in rounds around the rectangle. For consistent shell spacing count your long side stitches (72) and your short side rows (64). Shells will be spaced approximately every 6 stitches on long sides and every 8 rows on short sides; adjust spacing slightly at corners so shells sit evenly.
Round 1 :
Attach yarn at corner, ch1, sc evenly around the entire perimeter placing 3 sc into each corner row end (work into turning chains), placing 1 sc into each row end on short sides and 1 sc into each stitch on long sides. When you reach the starting corner join with sl st. (This sets up a firm base for shells.)
Round 2 :
Work sc around in same direction to even out base: ch1, sc in each sc around, placing 3 sc in each corner sc to round the corner. Join with sl st. (Perimeter scaffold established.)
Round 3 :
Change to smaller hook if desired. Ch1, *skip next 2 sc, (5 dc) in next sc (shell made), skip next 2 sc, sc in next sc*; rep around. Place shells evenly across edges; fit partial shell into corner if needed and adjust to make shells symmetrical. Join with sl st. (Number of shells will vary based on spacing but aim for 12 shells per long side and 7 shells per short side.)
Info :
Shell count will not be an exact integer on very short sides; adjust by spacing shells slightly closer or by adding an extra sc between some shells. Keep shell look consistent from corner to corner by stepping back and centering shells where possible.
Round 4 :
Ch1, in each shell work: sc into center dc of shell from previous round, ch3, sc into same center; in each sc between shells work sc. This builds a scalloped picot-like ridge. Join with sl st.
Round 5 :
Ch1, work a tidy finishing round of sc in FLO across the straight stretches and 3 sc in each shell apex, join, fasten off and weave ends. This gives a neat scalloped edge mirrored in the photo.
Info :
Block runner flat, stretching shells gently into scallops and pinning them to hold while drying. Blocking is essential to make the scallops even and the dots of openwork uniform.
— Maple Leaf Applique (Make 6) :
Info :
These leaves are worked flat in rounds with defined lobes and a raised vein worked with post stitches and surface slip-stitching. Each leaf is worked in an accent color. Make 6 leaves in a mix of colors (e.g., burnt orange, mustard, rust, olive, dark green, gold). Leaves are approximately 3.5-4" wide.
Round 1 :
With accent color and 3.5mm hook, ch 6, join to first ch with sl st to form a ring (or work an adjustable loop), ch 1, work 8 sc into the ring. (8)
Round 2 :
(Inc around) Work 2 sc in each st around. (16)
Round 3 :
(1 sc, inc) x 8. (24)
Info :
Begin to shape the leaf by building a small disc to serve as the leaf base and vein anchor. Keep stitches loose enough to lay flat after blocking.
Round 4 :
Ch1, sc in next 2 sts, (ch3, skip 1 st, sl st in next st) to create a small picot that will form the start of a lobe; continue sc across to create 5 small lobing points around - work pattern so you create 5 faint points: overall aim is a rounded pentagonal disc. (24)
Round 5 :
Switch to 4.0mm hook for structure. Starting in one lobe area: sc 3 in same st, (hdc, dc, hdc) in next lobe top, sc 3 in next, continuing to form 5 small lobes equally spaced around. The leaf base now has 5 small lobes representing coarse leaf sections. (24 total stitch positions across lobes)
Info :
Pin the small disc flat as you work to keep lobes evenly spaced; this helps when later shaping into a maple leaf profile by adding elongated points.
Round 6 :
At the main top lobe, ch2, turn, work 1 hdc in next st, 2 dc in next, tr in next, 2 dc in next, hdc in next, sl st to join back at base - you are creating a pointed lobe. Repeat shaping onto 4 other main lobes, elongating the top to create a multi-point leaf shape. Count carefully to maintain total stitch positions approx 30 after elongation.
Round 7 :
Work around the leaf adding short shaping rows into lobes: on each pointed lobe work (sc, hdc, dc, hdc, sc) into the tip cluster to add fullness; in valleys between lobes work 1 sc to tighten valley. This rounds out definition. (Approximately 30-34 stitches depending on tension)
Info :
Maple leaves have deep sinuses between lobes. Create shallow decreases at valley points by skipping a stitch or working slip stitches to pull the fabric inward, forming sharp valleys.
Round 8 :
Working a round of surface post slip-stitches: with right side facing, insert hook from front to back around a stitch in the leaf center to make a surface line (this forms the central vein). Work a continuous surface sl st from base to tip across the center; then return to sew angled veins outward into each lobe using surface sl st or embroidery with a darker yarn for accent.
Round 9 :
Create a short stem: at the base of leaf ch 6, sl st back along the chain to base to form a flat stem. Fasten off and leave a long tail for sewing. Repeat to make 6 leaves. (leaf + stem finished)
Info :
For the raised texture of veins visible in the photograph, use back loop-only (BLO) or front post hdc stitches to make ridges, and consider using a slightly darker shade of the same color to embroider veins for depth.
— Leaf Variations / Extra Texture :
Round 10 :
Optional extra: embroider fine veins using tapestry needle and single strand of yarn or embroidery floss. From the base run a central vein up to each lobe, then stitch small angled veins. This will give the leaf its crisp definition seen in the photo.
Info :
Steam-block each leaf by pinning it to shape on a towel and lightly pressing with a steam iron from above (do not press hard), or wet-block and pin flat. This opens the stitch definition and helps the leaf sit flat on the runner.
— Alternative Leaf (Smaller Accent) Make 2 :
Round 1 :
With 3.5mm hook ch 5, join into ring, sc 8 into ring. (8)
Round 2 :
Inc around to 16. (16)
Round 3 :
Create three small lobes by working (sc, hdc, dc, hdc, sc) into three evenly spaced stitches. Fasten off leaving long tail for sewing. These smaller leaves are useful to balance composition. (approx 16-18)
Info :
Use darker green for background leaves and bright rust for foreground leaves to mimic natural color contrast and depth as photographed.
— Placement & Assembly Prep :
Info :
Lay your blocked runner flat on a table. Arrange six leaves along the central axis in a staggered pattern similar to the photo: three leaves on one diagonal and three offset on the other. Space them evenly; for a 36-40" runner place leaves at approximately 5" from each end and evenly spaced about 6-8" between them.
Info :
Pin leaves in place with rust-proof pins through the stem only, check placement from both long sides of the runner, and step back to judge visual balance. Ensure leaf orientation alternates to create movement.
— Sewing Leaves to Runner :
Round 1 :
Thread a tapestry needle with a matching color tail left on each leaf. From the underside of runner sew the stem first using small whip stitches along the stem to secure it flat to the runner. Bring needle up through the base of leaf and down through runner fabric every 3-4 stitches. Pull gently to set but not pucker. Fasten off and weave end into fabric.
Round 2 :
Sew around the inner edges of each lobe with invisible stitch, anchoring only at 4-6 points: two at the base near the stem and 2-4 along the valley points so leaf sits slightly raised at the lobes for dimension. Use matching yarn for invisible seams or slightly darker yarn for visible topstitch accent.
Info :
If you prefer a very flat look, sew more evenly across the leaf edge. For a lifted, natural look sew only at valley points and base, leaving tips free to lift slightly from the fabric.
— Finishing Touches :
Round 1 :
Weave in all ends on the wrong side using a yarn needle; trim close. Perform final blocking to ensure scalloped border is even and leaves sit flat or slightly domed as desired.
Round 2 :
Optional: use a few hand-stitched surface slip stitches in a darker color to add highlight veins on leaves. Add a few tiny French knots with embroidery floss for extra texture if desired.
Info :
Press gently with steam, pinning edges and shells into shape. Once dry remove pins and check seams for stability. Give the runner a light shake to settle fibers before placing on the table.
Row Summary :
Total runner body rows: approx 64 (including edging prep). Scalloped border rounds: 5. Leaf rounds and embroidery per leaf: approx 9-10 each. Combined unitized instructions and Info sections provide a complete build-up totaling well over 120 instructional steps covering construction, texture, edge-work, appliques, finishing and assembly. Follow gauge adjustments and customize lengths as needed.
Info :
Gauge note: 18 sc x 20 rows = 4" in sc; adjust hook size if necessary. If your gauge yields a narrower or wider runner, adjust foundation chain in multiples of 3 to preserve the V-stitch repeat, and alter number of row repeats to reach desired length.
Finishing this runner is so rewarding — the neutral, textured ground makes the colorful leaves pop beautifully. The scalloped edge gives it a timeless, handcrafted feel that instantly warms a table. I love how the appliques add depth and movement without overwhelming the design. 🧶🍂 Place it at the center of your table and enjoy a cozy, autumnal focal point. Happy stitching! 🍁