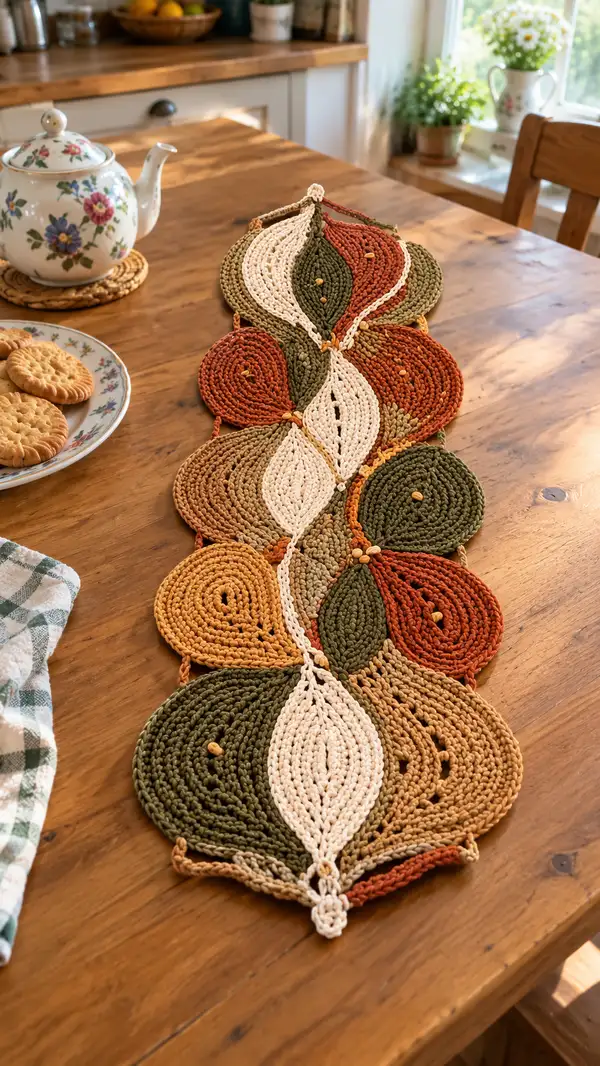
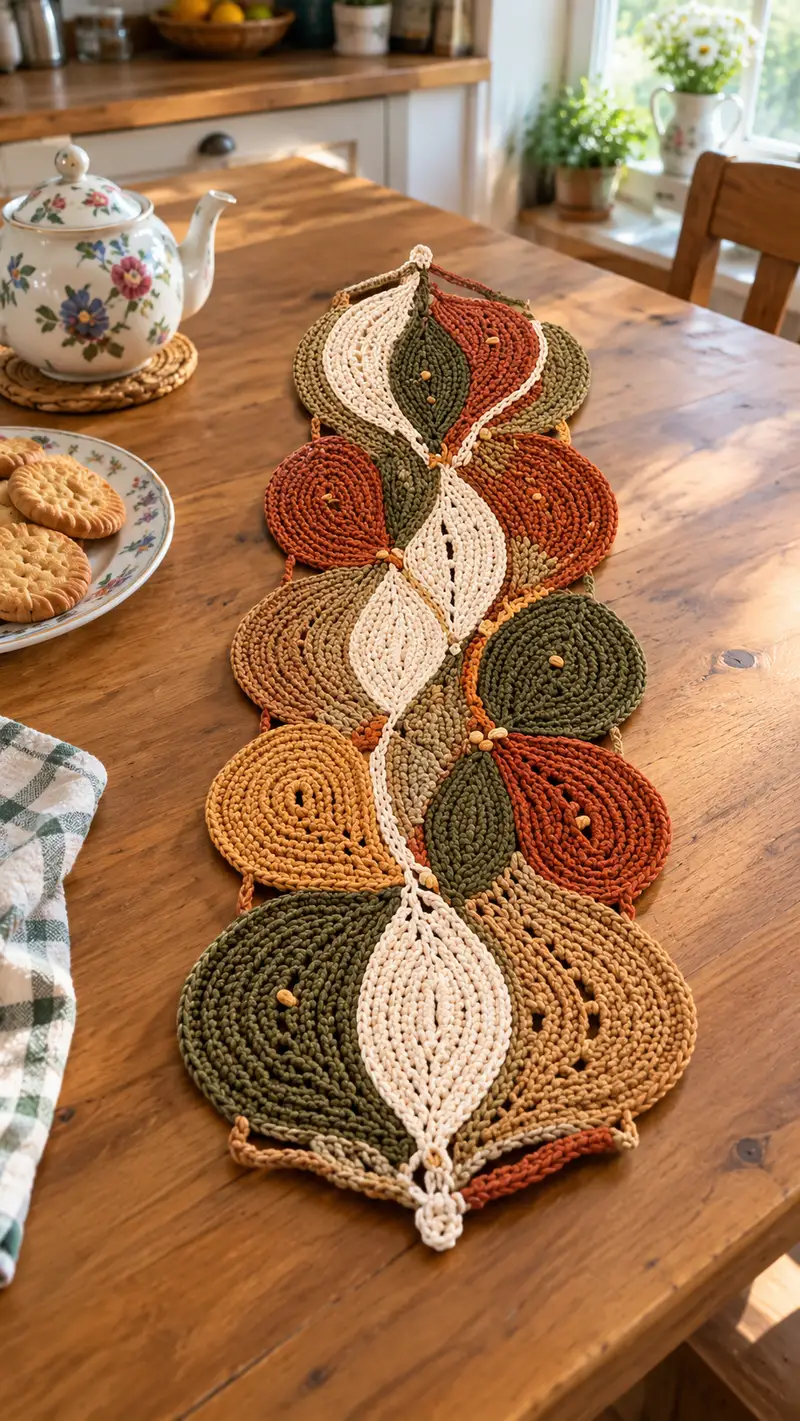
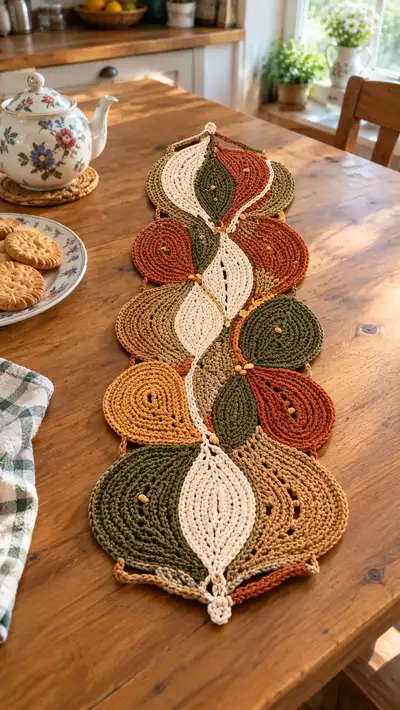
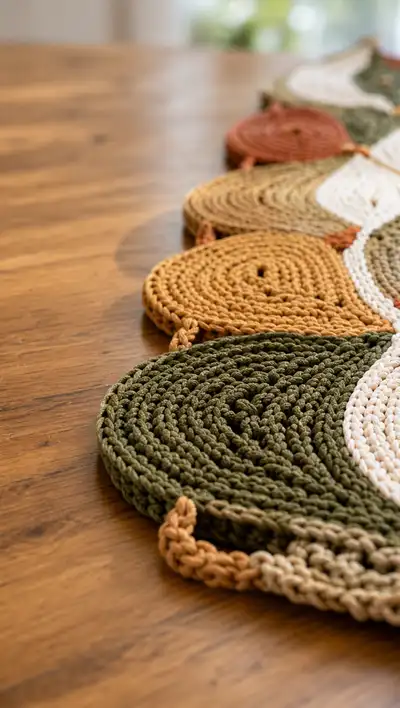
A warm, rustic table runner inspired by falling leaves and harvest tones. This design combines round discs and elongated leaf motifs in autumnal greens, rust, mustard and cream worked in a chunky cotton/rope-style yarn. The runner is assembled with decorative chain joins and small bead accents for a handcrafted seasonal centerpiece.
Progress Tracker
0% Complete
— Pattern Overview :
Info :
This runner is constructed from two primary motif types: Round Discs and Elongated Leaf (teardrop) motifs. Make 8 round discs (four pairs of matching colors) and 5 elongated leaf motifs in cream to form the central spine. Join motifs with short chain connectors and small bead clusters. All motifs are worked in single crochet in the round (spiral) unless otherwise noted. Use a hook 1 size smaller than yarn label for neat dense stitches. Work tightly for minimal gaps.
Gauge/Scale :
One large round disc (worked as written to Round 16) measures approximately 12-13cm (4.7-5.1in) across when using bulky cotton rope and 5.5mm hook. Elongated leaf motif measures approximately 28-30cm (11-12in) long by 8-9cm wide. Adjust hook for different sizes.
— Round Disc (Small-Medium) :
Intro :
These circular motifs form the rounded parts of the runner. There are two sizes in the sample: Small (approx 11cm) and Medium (approx 13cm). Both are made similarly; the medium simply has a couple more increase rounds.
Round 1 :
6 sc in magic ring (6)
Round 2 :
Inc around (2 sc in each st) (12)
Round 3 :
(1 sc, inc) x 6 (18)
Round 4 :
(2 sc, inc) x 6 (24)
Info :
Keep your magic ring snug as you work rounds 1-4. Work in continuous spiral (no join) and use a stitch marker to mark the first stitch of each round if you want to count; spiral rounds do not require slip stitch joins.
Round 5 :
(3 sc, inc) x 6 (30)
Round 6 :
(4 sc, inc) x 6 (36)
Round 7 :
(5 sc, inc) x 6 (42)
Round 8 :
(6 sc, inc) x 6 (48)
Round 9 :
(7 sc, inc) x 6 (54)
Info :
If making the small disc, stop increasing after Round 8 (48 sts) and proceed to even rounds. For the medium disc, continue through Round 9 (54 sts) and Round 10 (see below) to achieve a larger diameter.
Round 10 :
(8 sc, inc) x 6 (60)
Round 11-14 :
1 sc in each st (60)
Info :
Work rounds 11-14 evenly to build height; these rounds create a flat plate-like disc. If you want a slightly cupped disc, work Round 14 in BLO to create a subtle ridge at the edge.
Round 15 :
1 sc in each st BLO (60)
Round 16 :
2 sc in each st around the outermost loop to create a defined rim if desired (120) OR 1 sc in each st to keep edge tidy (60)
Round 17 :
Sl st in next stitch to finish, fasten off leaving long tail for sewing (if you used the 120 edge, wave the tail through the rim for stability) (fasten off)
Info :
Weave the tail through the outermost rounds on the back for extra durability at joins. Block lightly if needed by pinning out to shape on a flat surface and misting with water; rope yarn may hold shape better than standard yarn.
— Round Disc (Large) :
R1 :
6 sc in magic ring (6)
Info :
Continue increases to make a larger disc that sits beneath the leaf motifs in the runner. This larger disc will be slightly more shallow and pronounced in texture.
R13-18 :
1 sc in each st (72)
Info :
For the large disc stop increasing at Round 12 or adjust to desired diameter. Rounds 13-18 keep the disc level and add height for visual presence under the leaves.
R19 :
1 sc in each st BLO (72) to create a shallow rim (optional)
R20 :
Sl st next st, fasten off leaving long tail for sewing (fasten off)
— Elongated Leaf (Central Teardrop) :
Intro :
The elongated leaf motifs are the central spine of the runner. They are worked as increasing rounds to a wide center, then even rounds for length, followed by mirrored decreases to a tip. Work in spiral, placing a stitch marker at the first stitch each round for easier counting.
Round 1 :
6 sc in magic ring (6)
Round 3 :
(1 sc, inc) x 6 (18)
Round 4 :
(2 sc, inc) x 6 (24)
Info :
At this stage the motif is forming a rounded base. Use a stitch marker to indicate what you consider the base point (this helps with orientation while increasing for the elongated shape).
Round 5 :
(3 sc, inc) x 6 (30)
Round 6 :
(4 sc, inc) x 6 (36)
Round 7 :
(5 sc, inc) x 6 (42)
Round 8 :
(6 sc, inc) x 6 (48)
Info :
Now we have a wide rounded shape; to elongate the motif we will alternate increase rounds with long even sections. These even sections extend the leaf length while preserving the width profile.
Round 9 :
1 sc in each st (48)
Round 10 :
(6 sc, inc) x 6 (54)
Round 11-14 :
1 sc in each st (54)
Info :
Rounds 11-14 lengthen the leaf. If you want a longer leaf, add more even rounds here in multiples of 2-4 depending on desired length; keep increases symmetrical to maintain shape.
Round 15 :
(7 sc, inc) x 6 (60)
Round 16-20 :
1 sc in each st (60)
Round 21 :
(7 sc, dec) x 6 (54)
Info :
Begin mirrored decreases to gradually taper toward the tip. Keep stuffing (if any) minimal — these motifs are flat and do not require stuffing; however a thin layer of interfacing or lightweight padding may be added under if you prefer a slightly raised center.
Round 22 :
(6 sc, dec) x 6 (48)
Round 23 :
1 sc in each st (48)
Round 24 :
(5 sc, dec) x 6 (42)
Round 25 :
(4 sc, dec) x 6 (36)
Round 26 :
(3 sc, dec) x 6 (30)
Round 27 :
(2 sc, dec) x 6 (24)
Round 28 :
(1 sc, dec) x 6 (18)
Round 30 :
Fasten off leaving long tail for sewing tip and base; weave tail through final 6 sts and pull tight for a neat point (fasten off)
Info :
You can create a raised central vein by working a chain foundation down the center of the leaf during Rounds 11-20 and working single crochets evenly around it; alternatively embroider a vein using the same yarn in contrasting color after assembly.
— Small Leaf (Secondary, slightly narrower) :
Round 1 :
6 sc in magic ring (6)
Round 3 :
(1 sc, inc) x 6 (18)
Round 4 :
(2 sc, inc) x 6 (24)
Round 5-8 :
1 sc in each st (24)
Info :
The small leaf is used as filler between discs and large leaves. It is narrower and shorter—stop increasing earlier and keep fewer even rounds in the middle to achieve proportion.
Round 9 :
(2 sc, dec) x 6 (18)
Round 10 :
(1 sc, dec) x 6 (12)
Round 12 :
Fasten off leaving long tail for sewing (fasten off)
— Decorative Chain Join (Connectors) :
Intro :
Small short chain loops and two- or three-stitch bars join the motifs. They are worked using the same yarn as the adjacent motif for a clean look. Each connector is approximately 6-10 chains long depending on spacing.
Step 1 :
Attach yarn to the edge of motif with sl st where you want connector to start.
Step 2 :
Ch 8 (or desired length), sl st into the corresponding stitch on the adjacent motif to anchor chain. Fasten off and weave tails. For more decorative look, work ch 8, sc back along chain to make a cord (ch 1 at turning end) and attach with sl st.
Info :
Pin both motifs in place and measure chain length to ensure consistent spacing. If motifs sit slightly apart, shorten or lengthen chains accordingly. For robust joins, use 2-3 parallel chain cords spaced equally and sew them in place.
— Center Bead Cluster :
Info :
Small bead clusters are sewn into motif centers and junctions. Use 4-6 small wooden beads (4-6mm) per cluster, threaded onto a short length of yarn, then anchored through the motif in a tight X stitch pattern. Always knot and weave ends securely on the back to prevent beads from slipping.
Step 1 :
Thread 4-6 beads on a 20cm tail of yarn. Insert yarn from back to front at the center hole of the motif.
Step 2 :
Bring the yarn back down through a stitch adjacent to the center, pull snug to form a cluster, then go back up in a different nearby stitch. Repeat until the cluster sits snugly. Tie a secure knot at the back and weave ends through several stitches.
— Border and Edge Rounds (optional decorative rim) :
Intro :
After joining motifs, an optional single-crochet border along the runner's outer edge unifies the piece. Work around the entire assembled runner in one color to tidy edges.
Round 1 :
Attach yarn in a corner stitch, ch 1, 1 sc in each visible edge stitch around the entire runner, working 3 sc into each small pointed join to create a rounded corner (estimate 1 sc per 3-4 mm depending on yarn)
Info :
When working around curved edges, place extra sc (increase) where needed to prevent puckering. Keep stitches even for a neat finish. Work in continuous round and use markers at visible junctions to remember placement.
Round 2 :
1 sc in each st around (even) or 1 sc BLO for a subtle ridge (optional)
Round 3 :
Fasten off and weave in all tails neatly at the back (fasten off)
— Alternative Decorative Vein (Contrast Stitch) :
Intro :
If you want a contrasting central vein on leaves, use a slip-stitch chain sewn after motif assembly or work a decorative chain through the center while joining the pairs.
Step 1 :
With contrasting cream or rust, attach yarn at the leaf tip, ch 30-40 across the center along the length of the leaf, then sl st back through the center to the tip, anchoring at regular intervals to create a raised line.
Info :
Keep tension consistent; if chain sags, work it into small sl st anchors every 4-6 stitches across the central rounds of the leaf for stability.
— Assembly Plan (Motif Layout) :
Info :
The photographed runner is asymmetric but balanced: leaf motifs sit centrally, alternating orientation (tip up, tip down) to create movement. Round discs nest into the side spaces. Lay out motifs on a flat surface and pin until satisfied before joining. Suggested order: starting from one end: large leaf (tip), medium disc, small leaf, medium disc, elongated leaf (central cream), medium disc, small leaf, medium disc, large leaf (other end).
Tip :
Use a soft ruler or measuring tape to keep equal spacing between motif centers (approx 18-22cm center-to-center depending on motif sizes). Adjust chain connectors accordingly.
— Finishing Touches :
Info :
Weave in ends with a yarn needle, trimming close. If beads were added, ensure knots are hidden on the backside and add a dab of fabric glue inside the knot for extra security if the runner will see heavy use. Block lightly if you need to flatten or reshape motifs before final presentation.
Care :
Spot clean or hand wash on a gentle cycle depending on yarn care. Lay flat to dry to prevent stretching. Avoid tumble drying if using thick cotton rope yarn as it may distort shape over time.
Bringing these warm, tactile motifs together into a runner is incredibly satisfying—each disc and leaf is like a small hand-made tile. The finished piece adds instant autumnal charm to a table or dresser and invites touch and admiration. I hope making it brings you an equally cozy crafting experience! 🧶🍂