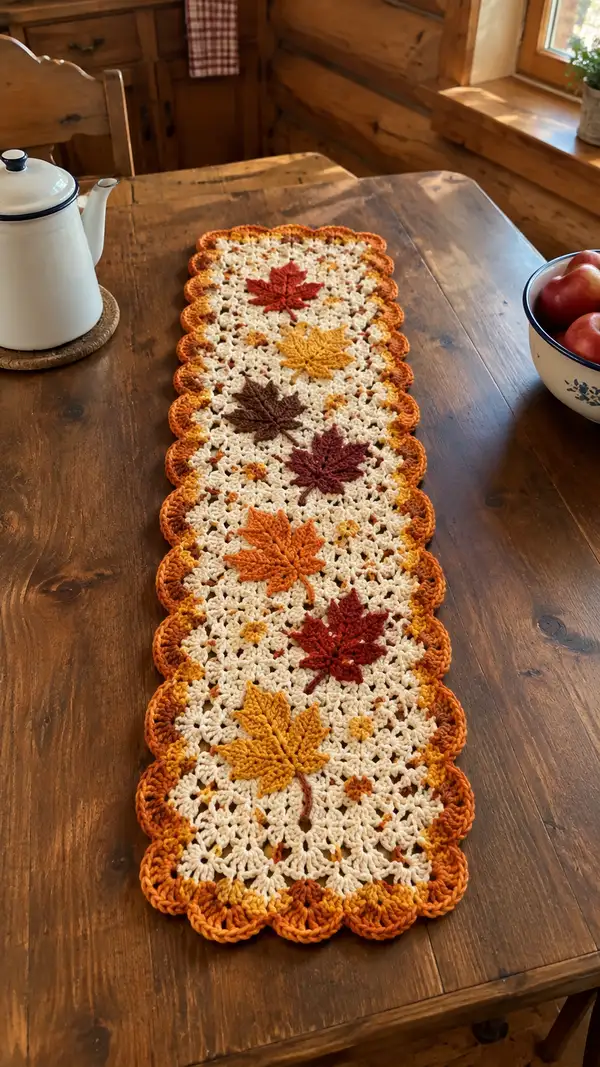
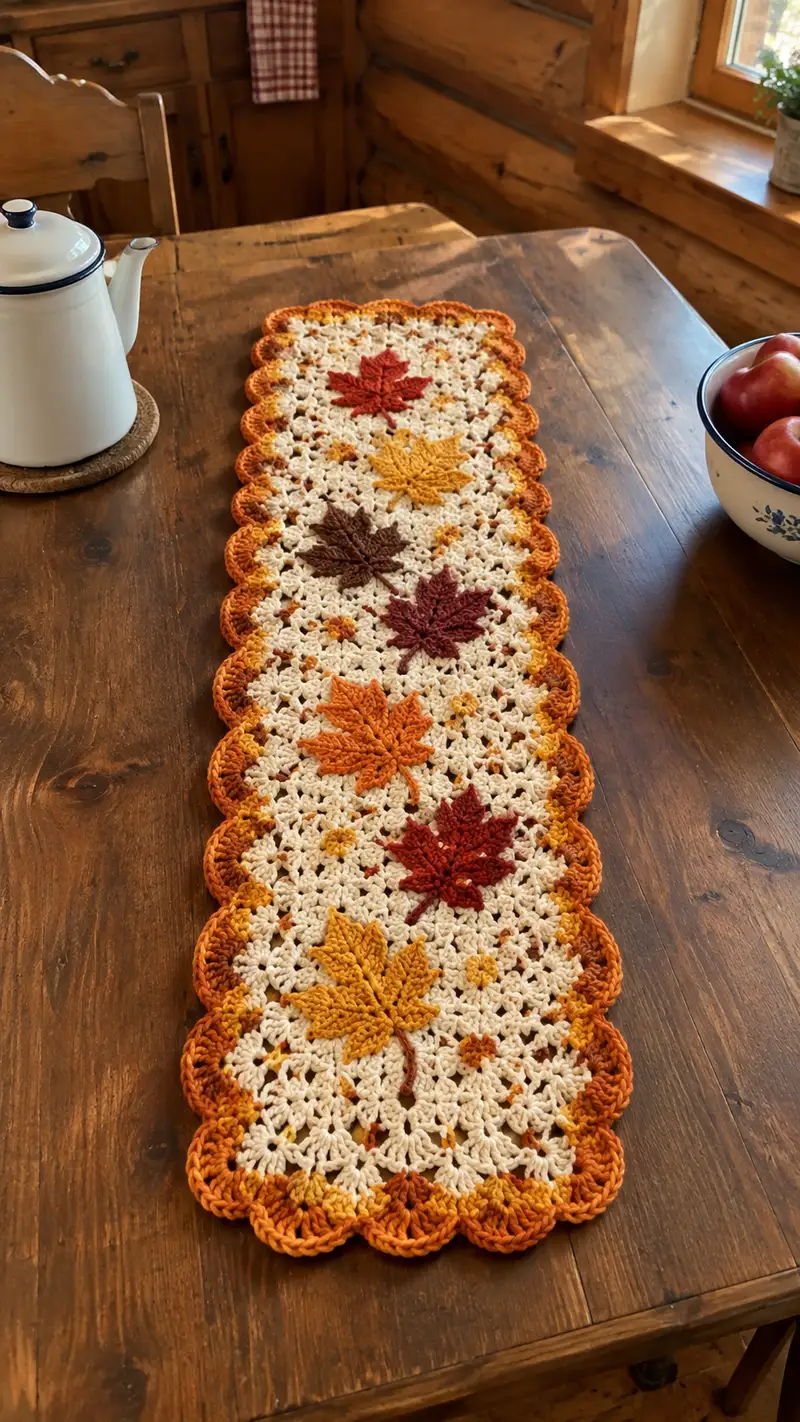
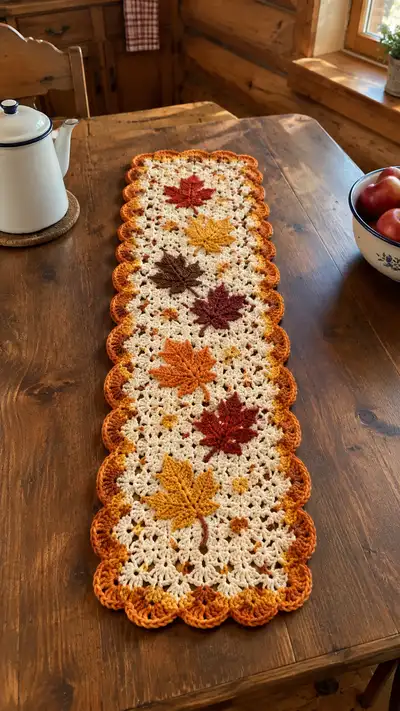
A warm, lacy table runner inspired by crisp autumn leaves and cozy farmhouse tables. This rectangular runner features an openwork cream background, six textured maple leaf appliques in fall tones, and a layered scalloped border in variegated orange and rust. The pattern is written for worsted weight yarn and creates an heirloom-style accent perfect for seasonal tables and gift-giving.
Progress Tracker
0% Complete
— Gauge & Finished Size :
Info :
Gauge is not critical for this decorative runner but for reference 12 shell repeats (row pattern, shell = 3dc cluster) across = approx 4" with worsted weight yarn and 4.0mm hook. Finished size as written is approximately 12" (30 cm) wide x 36" (92 cm) long after blocking.
— Notes & Construction Overview :
Info :
This runner is worked flat in straight rows using a lacy shell/cluster repeat in the main background color. Six maple leaf appliques are worked separately and sewn to the surface. The final step is a multi-round scalloped border worked around the entire rectangle. The pattern lists 'Row' rather than 'Round' where appropriate but keeps consistent numbering. Use stitch markers at the beginning of each row and block panel before attaching leaves.
— Materials Prep :
Info :
Choose a smooth worsted yarn in a cream for the background. Leaves look best in semi-solid or tonal fall colors. The border uses a variegated yarn for blended color. Wind small balls for leaves to avoid color pooling.
— Foundation Chain :
Row 1 :
Ch 123 (multiple of 6 + 3 turning ch). This foundation creates 20 shell repeats across (approx 120 working stitches across). (123)
Info :
Count your chains carefully. 123 ch gives 120 chain spaces plus turning ch (ch 3 at row starts counts as first dc where required). If you want a narrower or wider runner, adjust by multiples of 6.
— Main Panel (Lacy Shell Background) :
Row 2 :
RS: Dc in 4th ch from hook (counts as first dc), *sk 2 ch, (3 dc) in next ch (shell), sk 2 ch, dc in next ch; rep from * across to last ch, end with dc in last ch. Maintain 20 shell repeats across. (120)
Row 3 :
Ch 3, turn. Work 1 dc into the space between the first shell and the previous dc, *ch 1, (3 dc) cluster into ch-2 sp of next shell, ch 1, dc into space between shell and next dc; rep across. (120)
Row 4 :
Repeat Row 3. Keep counts steady—20 shell repeats across. (120)
Row 5 :
Repeat Row 3. This settles pattern alignment; check edges are straight—120 stitches equivalent across (20 shells).
Info :
Place stitch markers in the first dc at the beginning of each RS row to track the start. The pattern now proceeds with an established 3-row repeat (establishing the lace). Work these repeats to build the background to accommodate applique placement.
Row 6 - Row 10 :
Repeat Row 3 for 5 more rows (Row 6,7,8,9,10). Maintain 20 shell repeats across. (120)
Info :
After 10 rows total your panel will be approximately 4.5-5" long depending on tension. Measure and compare to photo spacing between leaves: leaves are spaced roughly every 5-6 rows; plan placement accordingly.
Row 11 :
Ch 3, turn. *Dc in next space, ch 1, (3 dc) cluster in next ch-1 space, ch 1, dc in next space; rep across to end. (120)
Row 12 :
Repeat Row 11. (120)
Row 13 :
Repeat Row 11. (120)
Info :
Mark the right side: this is where you will stitch the first leaflet placement. The panel is reversible but it's tidiest with leaves on RS. Leaves will be sewn onto Row positions 12–15, 20–23, etc. See applique placement section below for exact stitch counts and spacings.
Row 14 - Row 20 :
Repeat Row 11 for 7 more rows (Rows 14–20). Maintain 20 shell repeats across. (120)
Info :
At this point you've worked roughly 20 rows. The runner in the photo has six leaves spaced fairly evenly down the middle. You will continue the panel to a total of 60 rows and then finish with border rounds. If you want a shorter runner reduce the number of repeats proportionally, spacing leaves evenly.
Row 21 - Row 30 :
Repeat Row 11 for Rows 21–30. (120)
Info :
Begin preparing leaves: wind small balls of each leaf color and block a practice leaf if desired. Leaves are worked separately; pattern for each leaf is below. For even spacing, plan attachments centered on the center column of shells (the central shell group across the width). See 'Applique Placement' Info for exact stitch offsets.
Row 31 - Row 40 :
Repeat Row 11 for Rows 31–40. (120)
Info :
The center of the runner (lengthwise) will align near Row 30–32. Place the middle leaf at Row 30 if you prefer symmetrical layout. The pictured runner stacks leaves in a single central column, alternating colors. Leaves are centered on the third stitch of a shell cluster — see placement diagram in text.
Row 41 - Row 50 :
Repeat Row 11 for Rows 41–50. (120)
Info :
Check your length periodically. The runner in the image is approx 36" long; with our gauge you will reach this around Row 60. If you prefer a longer runner, continue more repeats before moving to border.
Row 51 - Row 55 :
Repeat Row 11 for Rows 51–55. (120)
Row 56 :
Ch 3, turn. Work 1 dc in first space, *ch 1, 3 dc cluster in next shell sp, ch 1, dc in next space; repeat across ending with dc in last space. (120)
Row 57 :
Repeat Row 56. (120)
Row 58 :
Repeat Row 56. (120)
Row 59 :
Repeat Row 56. (120)
Row 60 :
Repeat Row 56. Fasten off. This completes the main panel. (120)
Info :
Fasten off and weave in ends. Block the panel gently: pin it to rectangular dimensions (approx 12"x36" depending on your gauge). Block until dry to open the lace and even the rows. Once dry, position your leaves and stitch them on.
— Applique: Maple Leaf (Make 6 total — each leaf is worked separately) :
Info :
Leaf pattern below creates a textured maple leaf approx 3.5"–4" long. You will make six leaves in your chosen colours. Use a slightly smaller hook (3.5mm) for crisper stitch definition. Each leaf is worked flat in rounds/rows; rounds refer to shaping rows on the flat leaf.
Leaf 1 (Color A - Golden Mustard) Round 1 :
With Color A and 3.5mm hook, ch 10. (10)
Round 2 :
Row 1 (RS): Sc in 2nd ch from hook and in next 7 ch, 3 sc in last ch; working on opposite side of foundation ch, sc in next 7 ch, 2 sc in final ch. (20)
Round 3 :
Ch 2 (counts as hdc), turn. Hdc in next 3 sts, 2 hdc in next, hdc in next 4, (hdc, ch 1, hdc) in tip ch-1 space to create point, hdc in next 4, 2 hdc in next, hdc in remaining sts—symmetrical shaping. (22)
Round 4 :
Ch 1, turn. Sc evenly around edge with 2 sc in each corner/point region to round tip and create small scallops—work 24 sc total. (24)
Round 5 :
Ch 2, turn. *Work front-post dc (fpdc) along top of leaf to create raised vein: fpdc around next st, ch 1, skip 1, fpdc in next; repeat symmetrical from other side. End with 1 hdc into tip to bridge. This round builds bulk for veins. (24)
Info :
Use surface slip stitch or embroidery later to add fine veins. For realistic texture, work the central vein as a raised row of front post stitches on the RS.
Round 6 :
Ch 1, turn. Sc in each st across to tidy edge. For a serrated look on the leaf edge, work *(sc, ch 1, sc) in every 3rd st; rep across. (24)
Round 7 :
Switch to 4.0mm hook if you want the leaf to lie flatter; ch 1, sc in each st. At this point, use small embroidery yarn or contrasting darker tone to make surface veins: using tapestry needle and sl st technique, stitch the main stem line from tip to base. (24)
Round 8 :
Ch 1, fold base slightly and sc across base to narrow if you prefer a trunk; finish with 1 sl st at very base. Fasten off leaving 8" tail for sewing. (24)
Info :
For tiny stem: with dark brown, embroider a thin stem 1.5" long downwards from leaf base after placing leaf on panel. Optionally add a small knot at base to anchor in place.
Leaf 2-6 :
Repeat Rounds 1–8 with chosen colors: Burnt Orange, Rust, Deep Red, Chestnut Brown, and another Golden Mustard or your preferred mix. Make 6 leaves total. Block leaves lightly on foam or cloth to shape veins before sewing on panel.
Info :
If you wish more leaf detail: add a second smaller leaf by decreasing initial foundation chain (ch 8) and working rounds proportionally — great for corner accents or layered look.
— Applique Attachment & Placement :
Info :
Position leaves centered in the runner: map them along the central column of shell clusters (the center-most shell group across the width). On the blocked panel, count shells across and find the central shell. Attach the top of the first leaf to the RS centered on Row 6–8 area; attach subsequent leaves centered at Rows 16–18, 26–28, 34–36, 44–46 and 54–56. This spaces six leaves evenly down the runner.
Info :
To attach: use long tail from leaf. Pin leaf in place with multiple pins to prevent shifting. Use a matching yarn and small whip stitch through the underside edge of leaf and through the loops of the panel (preferentially through ch-1 spaces in shell rows) to leave the top textured surface untouched. Sew with small, even stitches and knot securely on WS. Weave ends 2" into fabric and trim.
Info :
For a stitched-down stem: use dark brown and run a few small straight stitches downward to mimic a stem, anchoring at the base of the leaf and tacking to the panel in three places only to keep leaf slightly lifted on edges.
— Scalloped Border (worked around entire panel) :
Info :
Once all leaves are attached and panel is blocked, work border rounds. Join variegated border yarn at any corner with an RS facing you. Border rounds are worked evenly around edge with shells to create scallops. Keep stitch counts even on each side and work 3 shells into each corner repeat to round corners gracefully.
Round 1 :
With variegated yarn, join with sl st to any corner, ch 1, work sc evenly around edge placing 3 sc in each corner space (approx 120 sc around). Join with sl st to first sc. (Approx 120)
Round 2 :
Ch 3 (counts as dc), *sk 1 sc, 5 dc in next sc (scallop shell), sk 1 sc, dc in next sc; rep across each side placing (5 dc shell, dc) across edges and 5 dc in corner scs to build the scallop. Join with sl st to top of ch-3. (Approx 24 shells around)
Round 3 :
Ch 1, sl st into center of each 5-dc shell from previous round, *ch 3, sl st into shell center; rep across to form picot spacing on scallops. Fasten off color if you want to switch to solid for final edge. (24 picots)
Info :
For deeper scallops as in photo, work one more round of shells over Round 2 centers: join contrast orange and work (sc in seam, ch 2, 7 dc in center of previous shell, ch2, sc in seam) to make pronounced scallops. Keep corners neat by working 3 large shells into corner 3-sc cluster.
Round 4 :
Join contrasting orange (or continue variegated), ch 1, sc in first st, *ch 2, 7 dc in center of next shell from Round 2, ch 2, sc in next seam; rep across. End with sc in final seam and join. (24 large scallops)
Round 5 :
Ch 1, in each 7-dc scallop work (sc, hdc, 3 dc, hdc, sc) into the center to create a smooth rounded scallop with a slight raised edge. Fasten off and weave ends. (24 scallops)
Info :
If your panel has slight variance on sides, add or remove one small sc in Round 1 at the seam to even out shell spacing before the shell rounds. Take time here — consistent scallops make the runner look professional.
Round 6 :
Optional finishing round: With cream color, sc evenly in spaces between scallops for a soft inner border or add a thin picot round by working *(sc, ch3, sl st in 3rd ch) across. Fasten off and weave ends. (Approx 120)
Info :
Lightly steam block scalloped edge to coax shells into smooth rounds. Do not press too hard; variegated yarn dyes may bleed — use a damp cloth test first if necessary.
— Extra Decorative Stars (Optional tiny flower motifs between shells) :
Info :
Small 5-petal flower/star motifs can be made using leftover gold yarn and sewn into selected ch-1 spaces in the main panel for extra color flecks (photo shows tiny gold dots). Pattern: ch 6, join; (sc, hdc, dc, hdc, sc) in ring; fasten off leaving tail to sew.
— Finishing Touches :
Info :
Weave all yarn ends through the wrong side and secure. Re-block the runner after attaching appliques to flatten seam joins and unify edges. If appliques need extra lift, tack the outer points with tiny invisible stitches to the panel leaving center raised slightly for dimension.
Info :
Pressing note: use steam or a damp towel over the runner on low heat. Do not press variegated yarn directly to iron if color-safe is unknown.
This cozy autumn table runner brings seasonal warmth with lacy texture and layered leaf details. Handcrafted stitches add personality and charm to any tabletop, making it a beautiful centerpiece for fall gatherings. Enjoy the rhythmic repetition of the shell rows and the satisfying finishing of sewn-on leaves as each section comes together. 🧶🍁 Your handmade runner will be a delightful heirloom accent or thoughtful gift — the perfect finishing touch for cozy gatherings. Happy stitching! 🎨✨