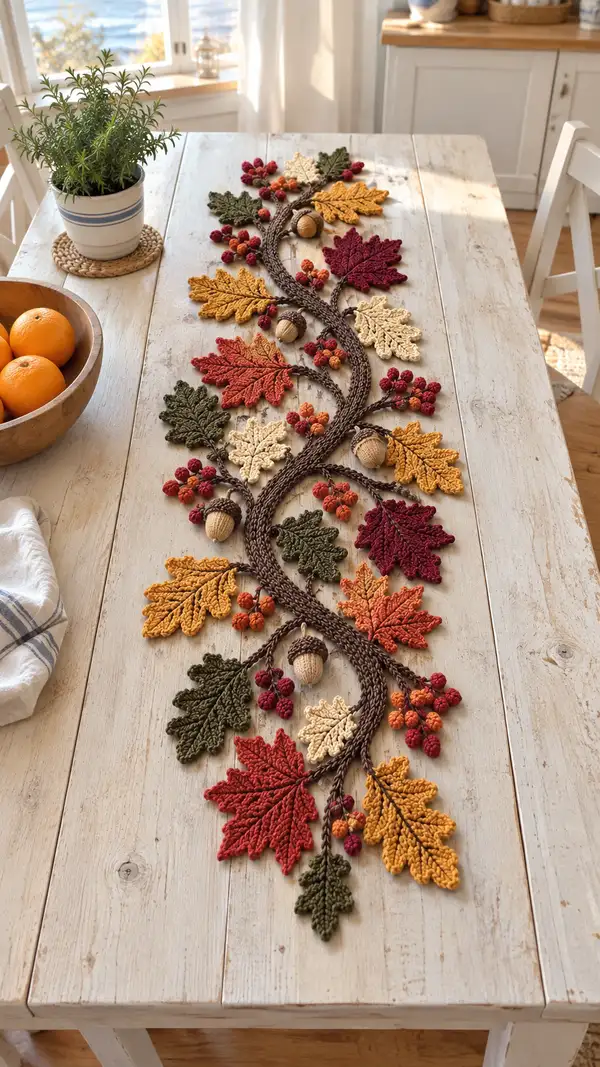
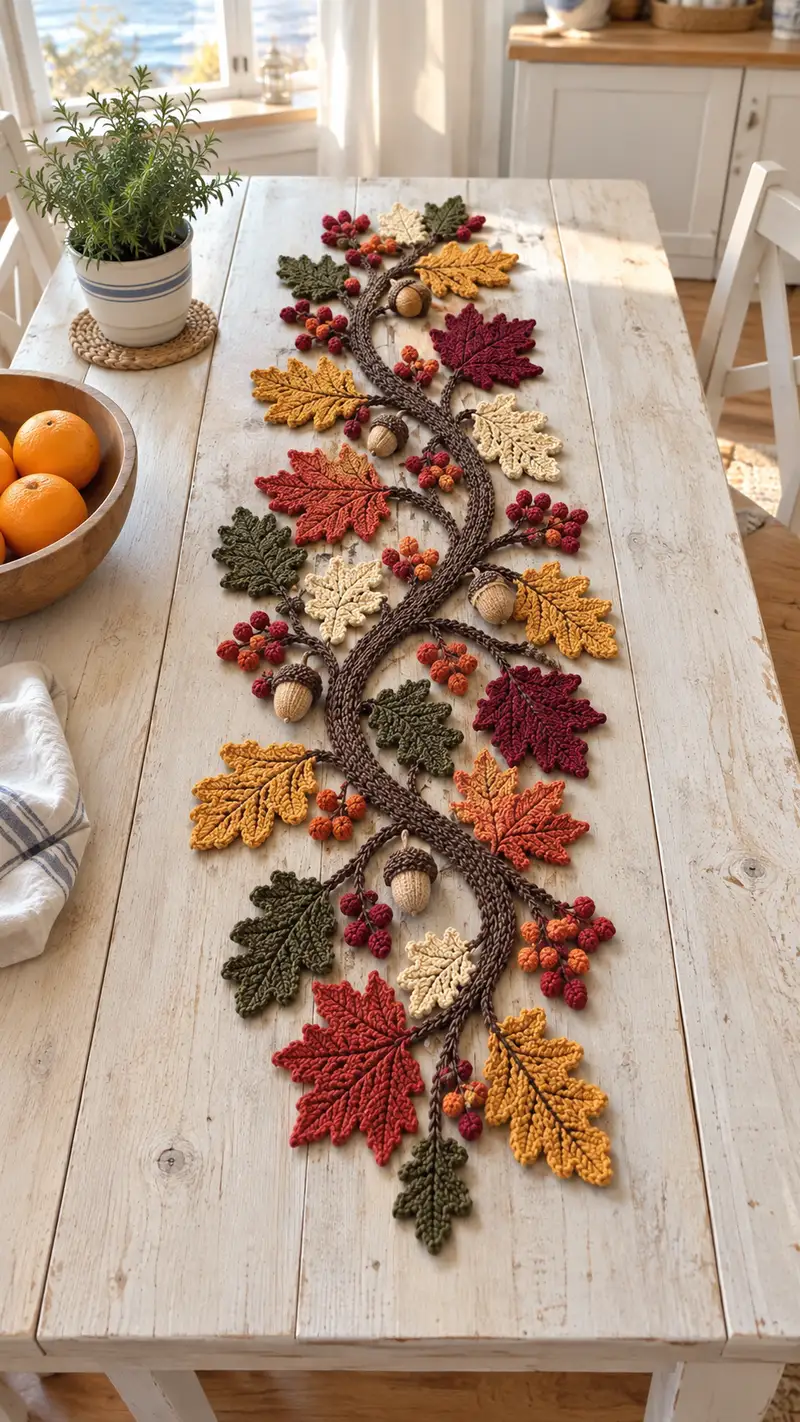
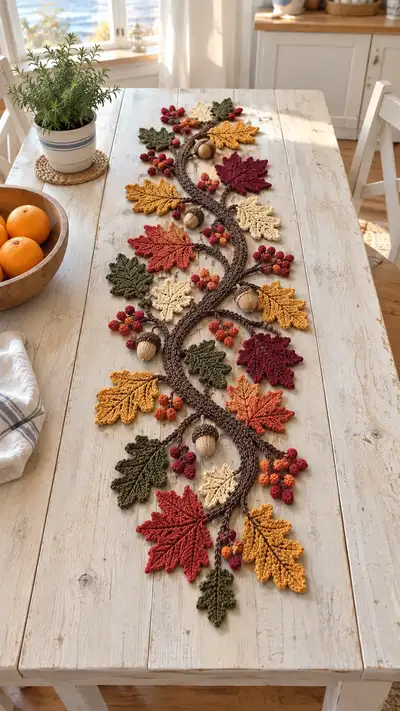
A warm, textured table runner inspired by an autumn branch—crocheted leaves, acorns, and berry clusters connected by a braided vine. Rich fall colors (mustard, olive, deep red, cream, and brown) give a cozy farmhouse feel. The runner lays flat and decorative, perfect for seasonal centerpieces or mantel displays. Repeat motifs allow you to scale length to fit your table.
Progress Tracker
0% Complete
— Vine / Braided Stem :
Info :
The central vine is worked as three long crocheted cords that are then braided and stitched together. Each cord is worked as an I-cord-style tube in rounds for stability. Make three cords of equal length to match your table; the sample cords are each approximately 120 cm long. Use brown worsted yarn and a 3.25mm hook for a slightly firm fabric.
Cord (Make 3) - Round 1 :
Ch 6, join with sl st to first ch to form a ring, or alternatively work into a chain for a starting edge; work 6 sc into the ring (6)
Round 2 :
Inc in each st around (12) - place marker for beginning of round
Round 3 :
1 sc in next st, inc, rep around (18)
Round 4 :
1 sc in each st around (18)
Info :
From here you will work even in the round to create a thin tube. If you prefer a flatter cord, work in only FLO for the next rounds; the sample uses full rounds for a rounded cord.
Round 5-60 :
1 sc in each st (18) - continue until cord reaches desired length (sample cord length ~120cm; each additional round length depends on hook and tension)
Info :
Fasten off leaving a long tail for sewing. Make three cords matching the same length. When all three are finished, braid them loosely. Lightly tack braid with matching brown yarn every 10-15 cm to keep it together and maintain the organic curve seen in the runner.
— Large Maple Leaf (Make 6 or as desired) :
Info :
Large maple leaves are worked flat from the base up, increasing to widest point and decreasing to shape lobes. These are worked in joined rows (we label rows as rounds for consistency). Use 3.5mm hook and worsted yarn. The counts below assume working rows along both sides of the central spine; math is provided for clarity.
Round 1 :
Ch 4, sc into 2nd ch from hook, hdc in next ch, dc in last ch (3 sts on spine), turn (work begins left side)
Round 2 :
Ch 1, sc in first st (base), inc in next st (hdc -> 2 hdc in same st) to begin shaping, sc in spine top (5 sts total when including edge chain)
Round 3 :
Ch 1, 1 sc in each st across to tip, at tip work 3 dc in last st to form point, continue down opposite side: 1 sc in each st back to base (increase total width) (11)
Round 4 :
Ch 1, turn, 1 sc in base to anchor, (1 sc, inc) x 3 along left lobe edge, sc across to tip, 3 dc at tip, sc back, (inc, 1 sc) x 3 on right lobe edge (increase symmetrical shaping) (17)
Round 5 :
Ch 1, 1 sc in base, *1 sc, 1 hdc, inc* along each lobe edge to add texture, sc across center to tip, 3 dc at tip, repeat on return edge (23)
Round 6 :
Ch 1, 1 sc in base, (2 sc, inc) across each lobe edge to form distinct lobes, sc across center, 3 dc tip, sc back (29)
Info :
To create the ribbed vein that runs down the middle of the maple leaf, we will add post stitches and raised slip stitches after row 8. Use a contrasting slightly darker yarn for veins if desired or work in same color for subtlety.
Round 7 :
Ch 1, sc across entire edge working evenly (29)
Round 8 :
Ch 1, BLO 1 sc in each st (29) - working in BLO creates a raised edge on the right side for definition
Round 9 :
Switch to FLO and work 1 sc in each st (29) - this creates a two-sided texture that helps the leaf sit flat
Round 10 :
Ch 1, *sc2tog, 1 sc, hdc in next* around each major lobe area to shape serrated edges (reduce slightly) (26)
Round 11 :
Ch 1, sc in each st (26)
Round 12 :
Begin vein: with a tapestry needle and matching yarn, embroider a central v-stitch vein from base to tip. Alternatively, work a line of fpdc along the center row: place 1 fpdc in each of 8 center sts to form a raised spine.
Info :
Wet-block the leaf to open the points and help it sit flat. Pin points outward, mist with water and allow to dry. Leaves will flatten and the texture will mature.
Round 13 :
Optional finishing: add a row of crab stitch (reverse sc) around the whole leaf for a neat edging: 1 reverse sc in each st (26)
Round 14 :
Fasten off leaving a 25-30 cm tail for attaching leaf to vine. Weave tail through base so seam sits neat. Trim excess.
— Medium Oak Leaf (Make 7-9) :
Info :
Oak-style leaves are narrower and have multiple lobes along the sides. Work from the base up. Use 3.5mm hook. The pattern below creates a 14-16 cm leaf similar to those in the runner.
Round 1 :
Ch 5, sc in 2nd ch from hook, hdc in next, dc in next, hdc in last (5)
Round 2 :
Ch 1, turn, sc in first, 2 sc in next, sc in next three along center, 2 sc in next (increase edge lobes) (8)
Round 3 :
Ch 1, sc across to tip, at tip work (2 dc, ch 1, 2 dc) to form rounded point, sc down opposite side (12)
Round 4 :
Ch 1, (sc, inc) x 3 down each lobe section to form deeper lobes, sc across center (18)
Round 5 :
Ch 1, sc across even (18)
Round 6 :
Ch 1, (sc2tog, sc) x 4 to give crisp indentations between lobes (14)
Round 7 :
Ch 1, sc in each st (14)
Info :
Add veins using fpdc rows: work a row of fpdc up one side of the center from base to tip (6 to 8 fpdc), then mirror on the other side for naturalistic texture. Use matching or slightly darker yarn.
Round 8 :
Optional edge: 1 sc in each st BLO to create a defined rim (14)
Round 9 :
Fasten off leaving 20 cm tail for sewing. Block leaf for shape and press once dry.
— Small Accent Leaf (Make 8-12) :
Info :
Small leaves are quick to make and add visual interest; use 3.5mm hook. These may be used as filler near berries and acorns.
Round 1 :
Ch 3, sc in 2nd ch from hook, hdc in last (2)
Round 2 :
Ch 1, 3 sc in base, sc in tip, 3 sc in other base stitch to form small diamond (8)
Round 3 :
Ch 1, sc around edge evenly (8)
Round 4 :
Optional: 1 sc BLO around to create a rim (8)
Round 5 :
Fasten off leaving 15 cm tail for sewing. Wet-block if desired.
— Berry (Make many small clusters) :
Info :
Berries are worked as tiny 3D berries (small bobble spheres). Assemble clusters of 3-6 berries using short stems (sl st chain) and sew to vine. Use 3.0mm hook and red/orange yarns.
Round 1 :
Using mr, 6 sc in magic ring (6)
Round 3 :
1 sc in each st (12)
Round 4 :
(dec, 1 sc) x 4 (8)
Round 5 :
1 sc in each st (8) - do not overstuff; very light stuffing only
Round 7 :
2 dec (2) - finish stuffing, sl st to close, fasten off leaving 10 cm tail to sew to cluster stem
Info :
Create berry clusters by chaining 6-10, then attach berries onto chain at intervals with small 6-12 mm spacing. Vary colors for realism. Sew clusters to vine, grouping them at branch points and beneath leaves.
— Acorn Nut (Make 4-6) :
Info :
The acorn nut is a small stuffed oval worked in the round; use 3.0mm hook for a tighter fabric. Stuff firmly for shape and attach cap separately.
Round 1 :
6 sc in magic ring (6)
Round 2 :
Inc in each st (12)
Round 3 :
(1 sc, inc) x 6 (18)
Round 4 :
(2 sc, inc) x 6 (24)
Round 5 :
1 sc in each st (24)
Round 6 :
(3 sc, inc) x 6 (30)
Round 7-9 :
1 sc in each st (30) - build height of nut
Info :
Begin stuffing after round 8. Stuff firmly but avoid overfilling so the acorn cap will seat neatly.
Round 10 :
(3 sc, dec) x 6 (24)
Round 11 :
(2 sc, dec) x 6 (18)
Round 12 :
(1 sc, dec) x 6 (12)
Round 13 :
6 dec (6) - fasten off leaving long tail to secure under acorn cap
— Acorn Cap (Make 4-6) :
Info :
Cap is worked in the round from a center top and uses textured stitches for a woven effect. Use a 3.25mm hook and slightly looser tension so it fits over the nut snugly.
Round 1 :
6 sc in magic ring (6)
Round 2 :
Inc in each st (12)
Round 3 :
(1 sc, inc) x 6 (18)
Round 4 :
(2 sc, inc) x 6 (24)
Round 5 :
1 sc in each st (24)
Round 6 :
Switch to BLO and work 1 sc in each st (24) to create a defined ridge where the cap meets the nut
Round 7 :
Work 2 rounds of crab stitch or reverse sc around edge for a neat rim (24)
Round 8 :
Optional: embroidery stitch (surface sl st) in a grid to mimic textured cap look. Fasten off and leave long tail to sew cap to nut.
Info :
Place acorn nut into cap and sew evenly around base of cap with whip stitch through cap and several stitches into the top of the nut; hide yarn tail through interior of nut to secure.
— Assembly & Decorative Twigs :
Info :
Lay out your braided vine on a table and position leaves, clusters, and acorns as in the photo. Use pins to secure placement before sewing. Use long tails left on motifs to sew through the braid and secure each piece. For a more permanent display, tack with hot glue in hidden spots.
Round 1 :
To make short twig connectors for berries: ch 10, hdc in 2nd ch from hook and each across, fasten off, leaving 10 cm tail for sewing. Attach berries along twig with a few stitches.
Round 2 :
For curled tendrils, ch 20, 3 sc in 2nd ch from hook, sl st in next, repeat to end to make a spiral curl. Attach to vine ends for natural flourish.
Info :
Sew leaves with mattress or whip stitch to vine: take your long tail from leaf base and stitch through braid at the chosen point, pull tight and knot at the back. Add two or three anchoring passes per leaf so they won't shift when moved.
Round 3 :
Arrange acorns into open spaces; sew cap edges into the braid so acorns appear nestled among leaves. Secure berry clusters underneath some leaves for dimension.
Info :
If you plan to launder the runner, sew motifs with cotton thread and remove any hot glue; otherwise hot glue is acceptable for non-washable seasonal decor. Always test one attachment method before committing to the entire runner.
— Finishing Touches & Optional Embellishments :
Round 1 :
Embroider small veins on leaves using contrasting yarn: run a single strand of yarn from base to tip with small backstitches, add 2-3 branching veins on each lobe.
Round 2 :
Add tiny French knots or small embroidered seeds to berry centers for extra texture. Use a tapestry needle and a doubled strand for visible knots.
Info :
Inspect underside of runner and weave in all ends neatly so the table surface isn't scratched; use fabric-backed felt pads under heavier acorns if you're concerned about table finish.
Round 3 :
Final assembly check: pin and photograph the runner to ensure symmetrical balance. Shift pieces as needed then secure with final stitches. Press lightly with steam or pat with a damp cloth to settle fibers.
This autumn table runner brings warmth and texture to your home with layered crochet leaves, tiny berries, and handmade acorns. Each piece is a small craft of its own that comes together to create a stunning seasonal display. I love how the braided vine ties everything together into a flowing composition—it's the perfect cozy centerpiece for fall. Enjoy stitching, arranging, and tailoring this runner to your table's exact size! 🧶🍂