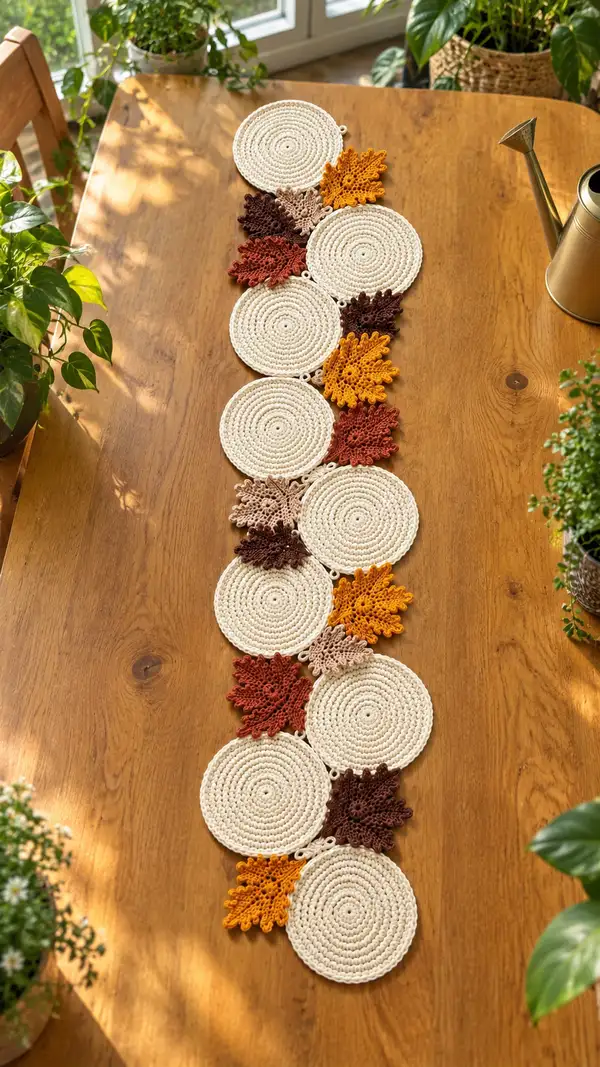
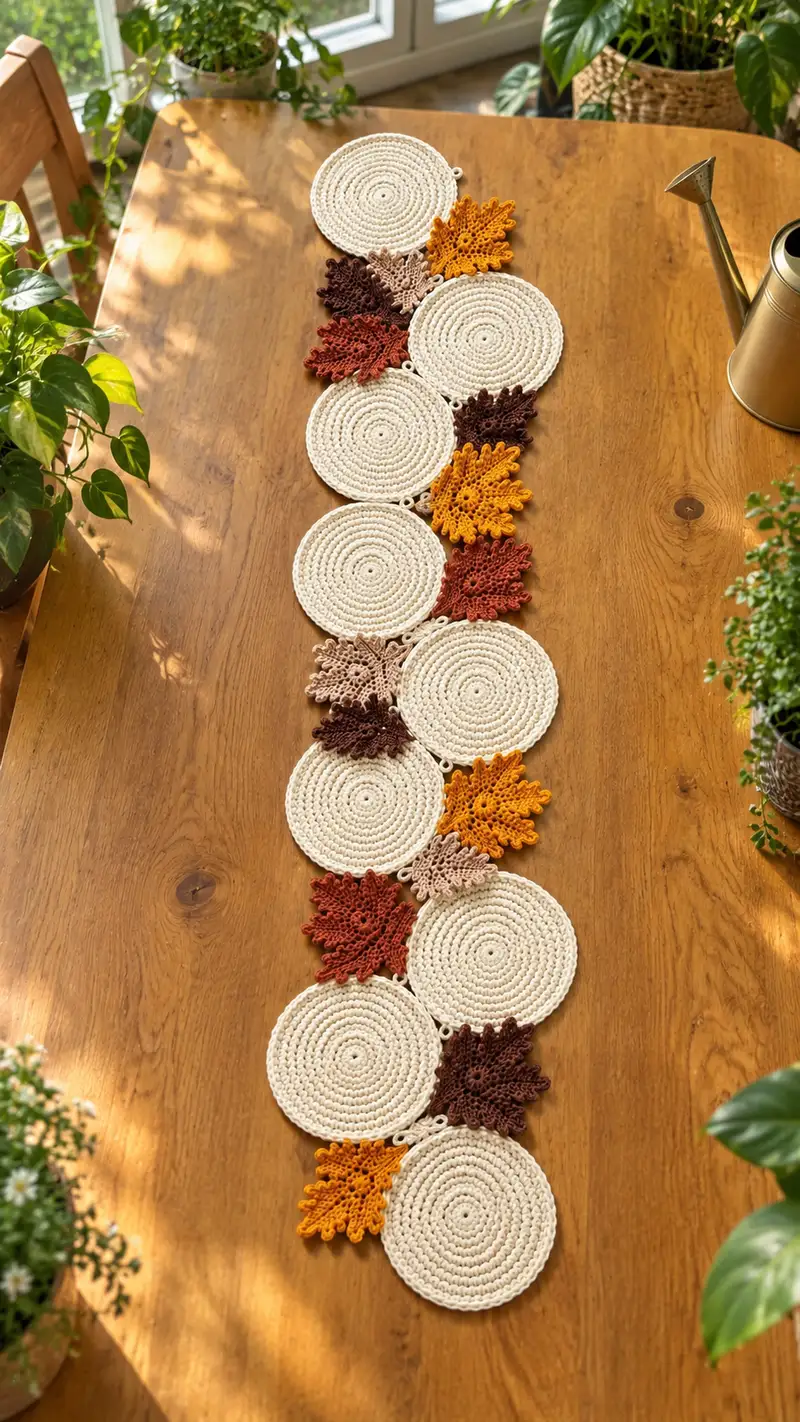
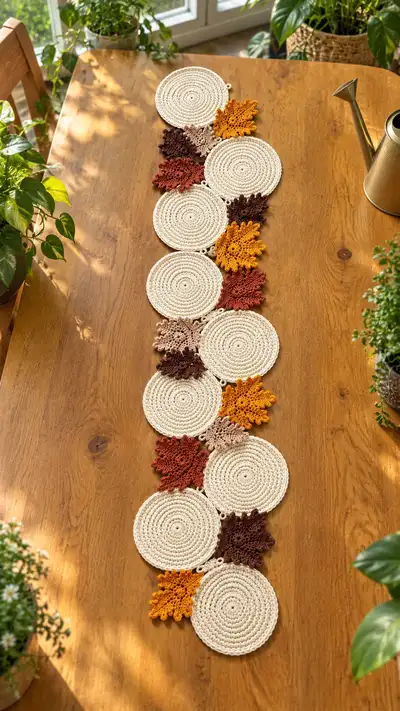
This elegant table runner combines warm autumn leaves with round woven-style coasters to create a long, seasonal centerpiece. The design features cream circular motifs linked side-by-side and layered with delicate lace-like crochet leaves in mustard, rust, mocha and deep brown. Perfect for fall tables and cozy home styling, the runner is made from worsted cotton yarn for a crisp, washable finish and lies flat with a subtle textured edge.
Progress Tracker
0% Complete
— Circular Motif (Make 8 or desired number) :
Round 1 :
6 sc in magic ring (6)
Round 3 :
(1 sc, inc) x 6 (18)
Round 4 :
(2 sc, inc) x 6 (24)
Round 5 :
(3 sc, inc) x 6 (30)
Info :
Check flatness: after round 5 your circle should lie flat. If it waves, try a slightly smaller hook or tighten tension; if it cups, make an extra increase round.
Round 6 :
(4 sc, inc) x 6 (36)
Round 7 :
(5 sc, inc) x 6 (42)
Round 8 :
(6 sc, inc) x 6 (48)
Round 9 :
1 sc in each st (48)
Info :
Use a stitch marker to keep track of the start of the round. Rounds 9-14 will build height for a coaster-like look; keep stitches even and firm.
Round 10 :
1 sc in each st (48)
Round 11 :
1 sc in each st (48)
Round 12 :
1 sc in each st (48)
Info :
Optional: To create little hanging loops for linking motifs place a small loop at the side now. Work 6 ch at desired stitch, sl st back in same stitch to form a loop; count loop stitches as part of motif but do not change overall sc count for subsequent rounds.
Round 13 :
1 sc in each st (48)
Round 14 :
1 sc in each st (48)
Round 15 :
1 sc in each st BLO (48)
Info :
Working the back loops only on round 15 creates a slight ridge which helps the circles sit slightly raised and adds texture for the runner. Keep tension even and consistent.
Round 16 :
1 sc in each st (48)
Round 17 :
(3 sc, picot) x 12 (48) - picot = ch 3, sl st in 3rd ch from hook to form decorative point
Info :
If you prefer a simpler edge, replace round 17 with 1 sc in each st and finish. The picot edge adds a subtle handcrafted detail that frames the leaves nicely.
Round 18 :
Join with sl st, fasten off, weave in ends. Repeat to make the required number of circles (8 are used in sample layout).
Info :
Blocking: Lightly wet-block or steam the circles flat after finishing to ensure even shape. Pin onto a flat surface if necessary to hold shape while drying.
— Autumn Leaf Motif (Make 16–24 assorted leaves) :
Round 1 :
Ch 16, 1 sc in 2nd ch from hook, 1 sc in next ch, hdc in next, dc in next 2, tr in next 3, dc in next 2, hdc in next, sc in next 2. (Work along the chain to the end - these form the right side of the leaf)
Round 2 :
At the last ch, work 3 sc into last chain to turn and now work along the opposite side of the foundation chain: sc in next 2, hdc in next, dc in next 2, tr in next 3, dc in next 2, hdc in next, sc in final 2. Sl st to first sc of round to join - do not fasten off. (This completes a simple leaf shape)
Info :
These first two rows create a basic leaf base; for the lacey, jagged autumn leaf effect we will add picot points and clusters on both sides in the following rounds. Use a smaller hook (3.5mm) for leaves to achieve crisper points if desired.
Round 3 :
Ch 1, sc evenly around the leaf edge placing 2 sc in the wide toe points (approx 36 sc total depending on tension) (approx 36)
Round 4 :
*Ch 3, sl st in base to form a small picot; sk 1 st, sc in next* rep around to create tiny points (approximately 12-14 picots). Sl st to join.
Info :
Make picots more or less frequent depending on desired frilliness. For the photo-like leaves, larger picot clusters and extra points yield a dramatic lace look.
Round 5 :
Change to accent color if desired. Work a row of 1 sc in each st around to flatten and secure picots (approx 36)
Round 6 :
*Ch 4, work 3 dc cluster into same st, ch 2, sl st into next st* repeat along curve edges to form lobes; on the widest points work 5 dc cluster for pronounced lobes. End with sl st to first sc.
Info :
When making lobes, keep clusters consistent on both sides to keep leaf symmetrical. Alternate larger and smaller lobes along the edge to mimic natural maple shapes.
Round 7 :
Ch 1, sc in each st to even out (approx 40)
Round 8 :
*Sk next st, picot (ch 3 sl st in 3rd ch), sc in next 2* repeat around, sl st to join (final points form decorative serration)
Info :
If you want elongated tapered points like the photo, add additional short picot clusters at alternated spaces: example ch4, sl st in base, ch2, sl st back into base for layered points.
Round 9 :
Work 1 sc in each st FLO for a subtle raised vein along each edge (approx 40)
Round 10 :
Switch to a tiny contrasting stitch: *ch 2, sc in next 2* around to create a light decorative vein-like ridge. Sl st to join.
Info :
Leaf size and number of stitches will vary slightly with color and hook. These rows build the lace texture and define the leaf silhouette; block the leaves flat and to desired points before assembly.
Round 11 :
Optional: embroider main vein using yarn tail and yarn needle. Weave a straight line from base to tip, anchoring with small stitches to avoid catching the background rounds.
Round 12 :
Fasten off leaving a 12–15 cm tail for sewing. Make the desired mix of colors: mustard, rust, deep brown and dusty beige. Make at least two leaves per junction between circles for layered effect (photo uses two overlapping leaves between circles).
Info :
To vary leaf shapes: reduce foundation chain for smaller leaves, or increase chain and add clusters for expansive, dramatic shapes. Alternate colors and sizes when placing to create depth.
— Joining Circles & Attaching Leaves :
Round 1 :
Lay out circles in desired order. The sample runner alternates circle centers along the long axis: place circles with edges slightly overlapping (approx half of one circle's radius) to create an intertwined look.
Info :
Use blocking pins to hold circles in position on a flat surface. Place the leaves between circles so they overlap both adjacent circles slightly—this helps hide joins and creates the layered autumn look.
Round 2 :
To join two adjacent circles: with right sides facing up, position the overlap area (typically 8–10 stitches where circles meet). Thread yarn in matching cream and use a whipstitch/latch method to sew through both circle edges, catching corresponding stitches in both pieces. Sew 10–12 secure stitches across the overlap (the exact number depends on your overlap width).
Round 3 :
Info: When joining, keep tension loose enough that motifs remain flat but snug enough to avoid gaping holes. Knot and weave in tails securely on the back of the runner.
Round 4 :
Attach leaves: position the first leaf so its base tucks slightly under the seam between two circles. Using the long tail left from leaf finishing, sew the leaf into position with small invisible stitches along its base and a couple of stitches at each lobe to anchor. Add a second leaf overlapping the first at a different angle for visual richness. Repeat at every junction between circles.
Info :
Vary the angle and color order of leaves as you progress along the runner — photo example alternates mustard, rust, beige and deep brown. Pin leaves before sewing to be sure placement looks balanced.
Round 5 :
Optional decorative loop joins: If you created small ch-loop attachments on round 12 of circles, connect these loops with short chains and sl sts to form tiny decorative links between circles. This also adds stability and keeps edges aligned.
Round 6 :
Weave in all tails securely and trim. Check all seams; add a couple of extra stitches where leaves meet circle edges to prevent shifting with use.
— Outer Edging & Finishing :
Round 1 :
With main color (cream), work a continuous edging round around the entire assembly: 1 sc in each visible outer loop/st around the rim of the outermost circles and around exposed leaf edges where appropriate (approx count depends on final layout).
Round 2 :
*Ch 3, sk 1 st, sl st in base to form small scallops along outer edge of circles and leaf tips* repeat around runner to create a unifying decorative scallop finish. Sl st to join, fasten off.
Info :
Take care not to pull edging too tight; the scallops should lie flat and follow the runner contour smoothly. If the runner pulls in at the seams, add a few evenly spaced picot stitches to expand slightly.
Round 3 :
Block the entire runner lightly to shape leaves and circles. Pin to shape and apply a steam iron over a towel or wet-block and allow to dry fully. This aligns leaf points and flattens seams for a polished finish.
Info :
If some leaves lift from the surface when blocked, tack them with a few tiny stitches through the back of circles so they remain flat when dried.
— Alternate Layouts & Size Adjustments :
Round 1 :
To shorten/lengthen runner: make fewer or more circles. Each circle adds roughly 4.5 inches (11–12 cm) to total length depending on blocking and overlap. For a table runner around 50 inches, make 10–11 circles; for a small centerpiece, 4–6 circles works nicely.
Round 2 :
To make smaller or larger circles: adjust initial increase rounds. For a smaller circle, stop increasing at round 6 (36 sts) rather than round 8. For a larger circle, continue increases to rounds 9–10 (54–60 sts) following flatness rules: add one more sc between increases each round.
Info :
When changing circle size, ensure leaf proportions are adjusted so they still overlap adjacent circles neatly. Make a test motif to confirm scale before making multiples.
Round 3 :
To convert runner into place mat sets: make isolated circles with 3–4 leaves each and add a denser edging to create individual placemats or coasters with the same aesthetic.
Info :
Yarn substitution: cotton gives a crisp, flat finish. A cotton-blend adds softness but may relax more over time; if using acrylic, choose a hook one size down for less drape and to prevent too much stretch in leaf points.
— Troubleshooting & Tips (multiple Info sections) :
Info :
If circles ripple outward after blocking, add a narrow round of sc to the edge to tighten the circumference. Conversely, if they cup inwards, add another increase round early on.
Info :
For crisp leaf points use a slightly smaller hook or hold yarn doubled for more body and sharper picots. For softer, drapier leaves, use the same hook as circles and do fewer picots.
Info :
When choosing colors, lay out potential combinations before committing. Balanced contrast (neutral circles with alternating warm leaves) gives a seasonal but restrained look. High contrast yields a more playful, modern runner.
Info :
To ensure longevity for a table runner, consider spot-cleaning only and avoid prolonged contact with wet flower arrangements. Cotton yarn can be machine washed on gentle if necessary, but reblocking will likely be required after washing.
Info :
Keep a spare set of leaves on hand for quick replacement if a leaf color fades or becomes damaged after years of use — they're easy to make and swap out.
Info :
Use small, even stitches when sewing leaves; fewer large stitches will show on the right side. Use a matching yarn and a blunt tapestry needle for application to avoid splitting yarn fibers.
The finished autumn table runner brings a cozy, handcrafted flair to any table — a beautiful blend of solid round motifs and lace-like leaves that dances across the woodgrain. Each piece is lovingly made, blocked, and joined to create a polished seasonal accent you can use for years. I hope this pattern inspires you to make a runner in your own favorite fall shades and enjoy the meditative rhythm of crocheting small motifs. 🧶🍂 Happy stitching and share a photo when it’s done! 🎃