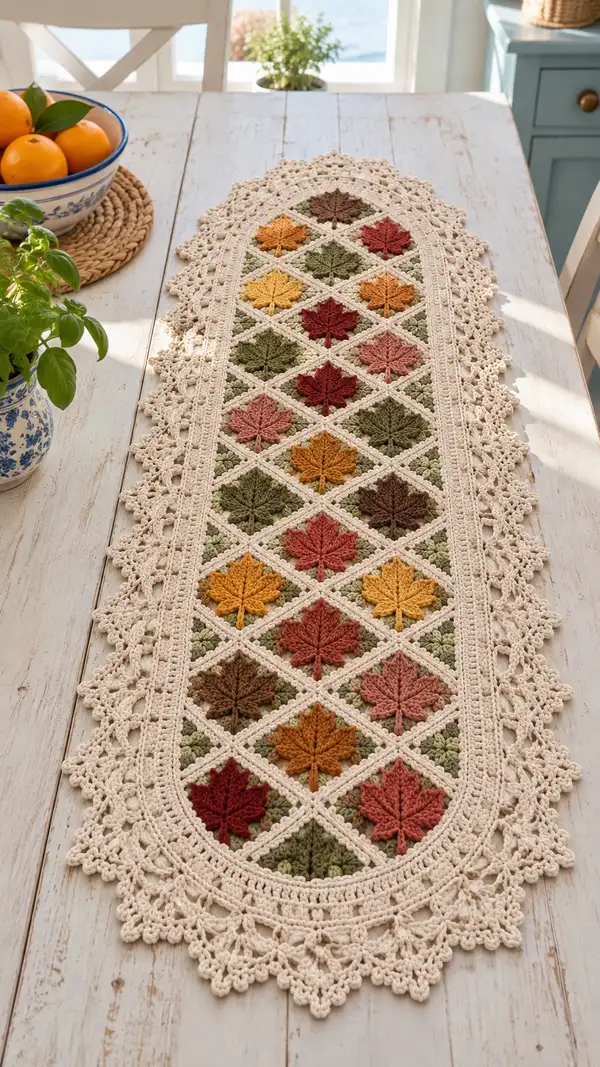
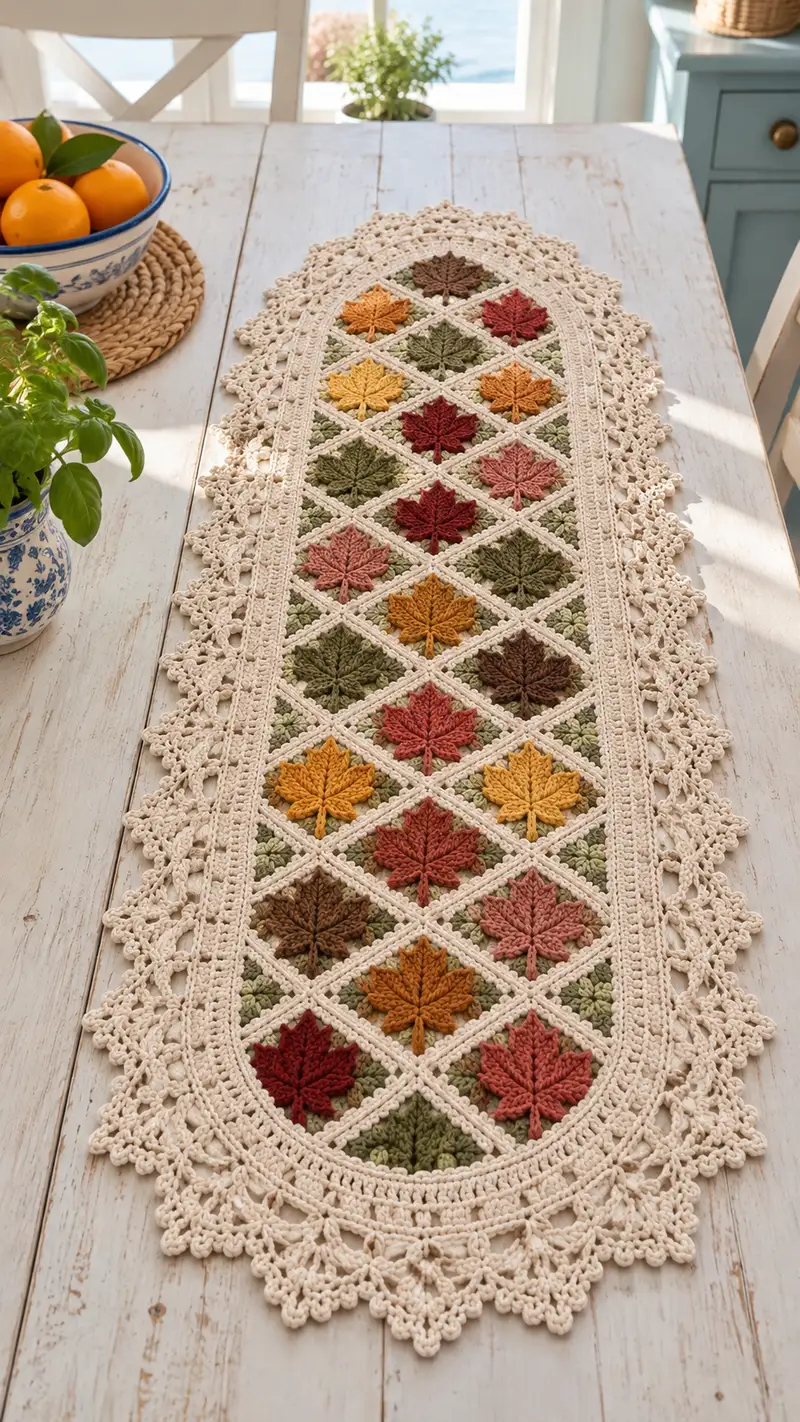
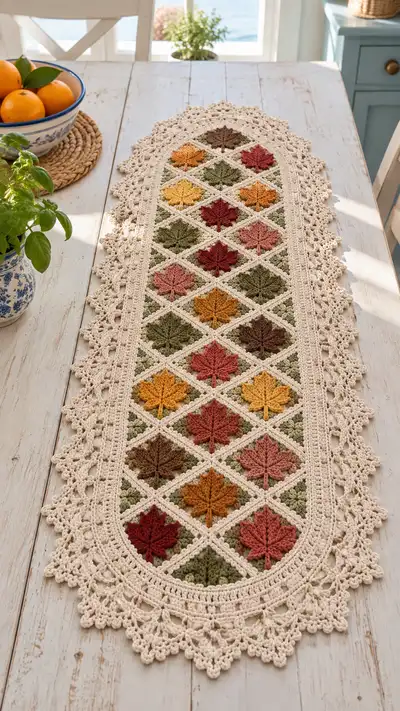
A long, elegant table runner featuring diamond motifs with raised 3D autumn leaves in warm harvest colors framed by a lacy cream border. The runner pairs textured green background diamonds and multi-colored leaf appliques for a cozy seasonal accent. Worked in worsted-weight cotton and assembled with join-as-you-go technique, it creates a stunning centerpiece for dining or console tables. Detailed instructions guide color changes, motif assembly, and a delicate scalloped edging.
Progress Tracker
0% Complete
— Leaf Applique (Make 20 - one per diamond) :
Round 1 :
With leaf color, make mr, ch 1, 6 sc into ring (6)
Round 2 :
Inc in each st around (12)
Round 3 :
(1 sc, inc) x 6 (18)
Round 4 :
(2 sc, inc) x 6 (24)
Info :
This small disc will form the leaf base and anchor for the raised veins. Keep tension even; do not pull too tight.
Round 5 :
(3 sc, inc) x 6 (30)
Round 6 :
Change to BLO, 1 sc in each st BLO (30)
Info :
Working in BLO gives a bit of a ridge which helps the leaf sit off the background slightly. Finish this base and fasten off with a long tail for sewing to diamond centre later.
Leaf Vein Preparation :
Reattach yarn at top center of disc (pick one stitch as top) with a slip stitch to start a center stem. Ch 6 (counts as elongation for stem), sl st into the next center stitch to create a short stem.
Round 7 :
Reattach yarn at top of disc again and ch 1, sc in same st, (ch 3, sc in next st) across to opposite side making 6 small loop points to outline leaf lobes (30 loops counted as decorative foundation)
Info :
These chains mark the lobes and give points to work raised stitches for the leaf. Keep loops even in length so leaf has balanced points.
Round 8 :
Work FPdc into each designated lobe base from front, returning to top and securing with a slip stitch. You will create 6 raised ridges (use 12 FPdc total with ch separators) (30)
Round 9 :
Starting at leaf tip, form central rib: ch 1, sc, *ch 2, sc in next lobe base* repeat across center creating a slightly raised ridge; work 2 sc at base to secure (30)
Round 10 :
Switch to embroidery technique: with tapestry needle and same yarn, lay down a central vein from tip to stem with surface slip stitches or back-stitch embroidery to produce defined vein. Make 4-6 short side veins by couching short strands outward into lobes.
Info :
The leaf uses a combination of post stitches and surface embroidery to achieve the sculpted look seen in the photo. Keep embroidery tight but not puckering the base.
Round 11 :
Optional small stem extension: Attach contrasting darker yarn if desired and work 3 sc down center stem to form visible stalk. Fasten off and leave long tail for attaching to diamond centre (no stitch count change).
Info :
Make 20 leaf appliques in a mix of accent colors (burgundy, mustard, rust, dusty rose, brown). Block very lightly if needed to set shape.
— Diamond Background Motif (Make 20) :
Round 1 :
With green yarn, mr, ch 3 (counts as dc), 11 dc into ring, sl st to top of ch 3 to join (12)
Round 2 :
Ch 2 (counts as hdc), hdc in same st, (2 hdc in next st) x 11, sl st to join (24)
Round 3 :
Ch 1, sc in same st, (ch 2, sc in next) around to make 12 ch-2 corners (24)
Info :
Round 3 creates corner spaces that will later be shaped into diamond points. Keep ch-2 corners loose enough to work into easily.
Round 4 :
Working into corners: *In one ch-2 sp work (3 dc, ch 2, 3 dc)*, sl st into next ch-2 sp repeating around to form a small petal square (12 clusters)
Round 5 :
Ch 1, sc evenly around each dc and cluster top (48 sc total approx depending on counts)
Round 6 :
Change to BLO, 1 sc in each st BLO around to create a slight ridge at join edge (48)
Round 7 :
Transform square to diamond: Fold the square diagonally and using sc, work 2 sc across each corner base bridging to form diamond shape; arrange so that previous cluster centers sit at diamond centers (st count will reduce to approx 40 depending on bridging)
Info :
This method shapes the square into a distinct diamond by bringing corners together. Adjust stitches so diamonds lie flat; blocking will finalize shape.
Round 8 :
Ch 1, sc around entire diamond edge placing 3 sc in each outer point to keep points rounded (approx 44-48 sc)
Round 9 :
Work overlay lattice base: Using cream yarn, join with sl st at one point, ch 1, sc across edge placing sc at midpoints to mark where lattice will cross (approx 48 sc)
Info :
Make 20 diamond background motifs. Arrange them in four rows of five motifs each (or adjust depending on runner length desired). Each diamond will receive one leaf applique sewn to the center.
— Attaching Leaf to Diamond (Applique) :
Step 1 :
Position leaf applique at center of diamond (use the raised cluster as the center). Pin with sewing pins or use removable fabric glue.
Step 2 :
Sew with long tail from leaf using invisible whip stitch or small running stitches around base; take care to secure the stem firmly into the background center so leaf will lay flat on studded background.
Info :
Use fine yarn needle and sew through both leaf base and the diamond center; avoid sewing through raised front-post areas to preserve three-dimensional look.
— Join-As-You-Go Lattice (Connect diamonds into panel) :
Round 1 :
With cream yarn, join at a corner of a completed diamond. Ch 1, sc into same st, ch 3, skip 3 sts, sc into next point to form a connecting loop (this becomes the lattice link). Continue around making 4 or 5 connecting loops along each side where adjacent diamonds meet (count depends on motif edge length)
Round 2 :
When joining a second diamond, align second motif edge to the loops you just made. Slip stitch through both loop and corresponding edge stitch on second motif to join securely every 6-8 stitches. Work across to fasten two diamonds together (no change in local stitch counts)
Info :
Use pins to hold motifs in perfect alignment while joining. The lattice spacing in the photo is fairly narrow — aim for 6-8 stitches between joins to create narrow cream diamonds between colored diamonds.
Round 3 :
Once a row of five diamonds is joined, work a continuous cream sc round along top and bottom edges of the row to even out edges and create uniform points for next row to join (work 1 sc per st across edges and 3 sc in points).
Round 4 :
Lay second row of diamonds offset so diamonds nest in lattice (staggered). Join each diamond to adjoining diamonds above/below using the ch-3 loops as anchors, slip stitching through both sides to form a continuous panel (repeat until all rows connected).
Info :
As you join rows, keep tension consistent so runner lies flat. Avoid pulling joins too tight which will pucker the green background diamonds or distort leaf appliques.
— Central Panel Stabilizing Rounds :
Round 1 :
With cream yarn, working around the entire assembled panel, ch 1, sc evenly around entire outer edge, placing 3 sc in each external point to retain shape (approx 200-240 sc depending on assembled counts)
Round 2 :
1 sc in each st around (use stitch markers to count sides) (same as previous count)
Info :
These two rounds produce a stable border for the large scalloped edging to attach to; this is the foundation so make it tidy and flat.
Round 3 :
Ch 3 (counts as dc), dc in same st, *skip 2 sts, 5 dc in next st (shell), skip 2 sts, 2 dc in next st* repeat around to form repeating shell pattern (shell count will be approximately 40-48 shells)
Info :
Adjust shell spacing as you work so shells sit evenly along elongated sides and gently curve at the oval ends. Use extra dc in point areas to ease the curve.
Round 4 :
Work 1 sc into each dc and sc of previous round to create base row for lace border (same stitch count)
— Decorative Inner Lace Row :
Round 1 :
Switch to 3.5mm hook if desired. Join cream yarn, *ch 5, sl st into shell center (forming picot chain), ch 3, sc into next st* repeat between shells creating an open chain-lace row (count = shells)
Round 2 :
In each ch-5 loop, work (sc, hdc, 3 dc, hdc, sc) to make a fan. Sl st into next base stitch and repeat around producing a row of fans (shell count)
Info :
This fan row gives the openwork you see just inside the fuller scallop edging. Keep fans consistent in stitch count so outer scallops behave predictably.
— Outer Scalloped Edging (Large Lace Border) :
Round 1 :
With cream yarn and 4.0mm hook, join at a fan tip, ch 1, sc, *ch 4, sc into next fan tip* across to create loop points for outer scallops (loop count approx 40-48)
Round 2 :
In each ch-4 loop work: (sc, hdc, 5 dc, hdc, sc) to create full scallop (each scallop approx 9 sts tall). Sl st to next loop and repeat (total scallops equal loops)
Info :
At the runner ends the scallops will cluster and form the pointed oval ends; add one extra dc in a scallop at the very tip to accentuate point, and use 2 sc in internal corners to ease shaping.
Round 3 :
Work 1 sc around each scallop to tidy edge, sl st to join. Fasten off and weave in ends. Block gently to shape scallops and set lace.
Round 4 :
Optional decorative picot row: Join yarn at scallop peak and *ch 3, sl st in tip* across to add tiny eyelets between peaks for extra texture (no change in main counts)
Info :
The photo shows a multi-row lattice then scallop finish — you can add 1-2 extra rows of picot or petite shells to mimic density seen. Blocking neatly will reveal lace detail fully.
— Final Finishing Rounds and Shaping Notes :
Round 1 :
Check all join seams and secure any loose lattice threads by sewing back and forth with yarn needle. Trim and weave in ends showing on back.
Round 2 :
Lightly wet-block runner: pin to desired oval shape on blocking board adding pins at each scallop peak and along sides to achieve the smooth taper. Allow to dry completely for crisp lace.
Info :
If runner will see heavy table use, consider starching the border lightly after blocking. For a softer throw, skip starching and simply block to shape.
Completing this autumn leaves table runner is incredibly rewarding — each diamond and appliqued leaf adds depth and seasonal charm to your table. The lacy border frames the colorful motifs beautifully and gives the runner a handmade heirloom feel. I love how the textured leaves seem to pop from the green diamonds, creating a cozy, vintage-inspired centerpiece. 🧶🍁 Display it proudly or gift it to someone who adores handcrafted seasonal decor! ✨