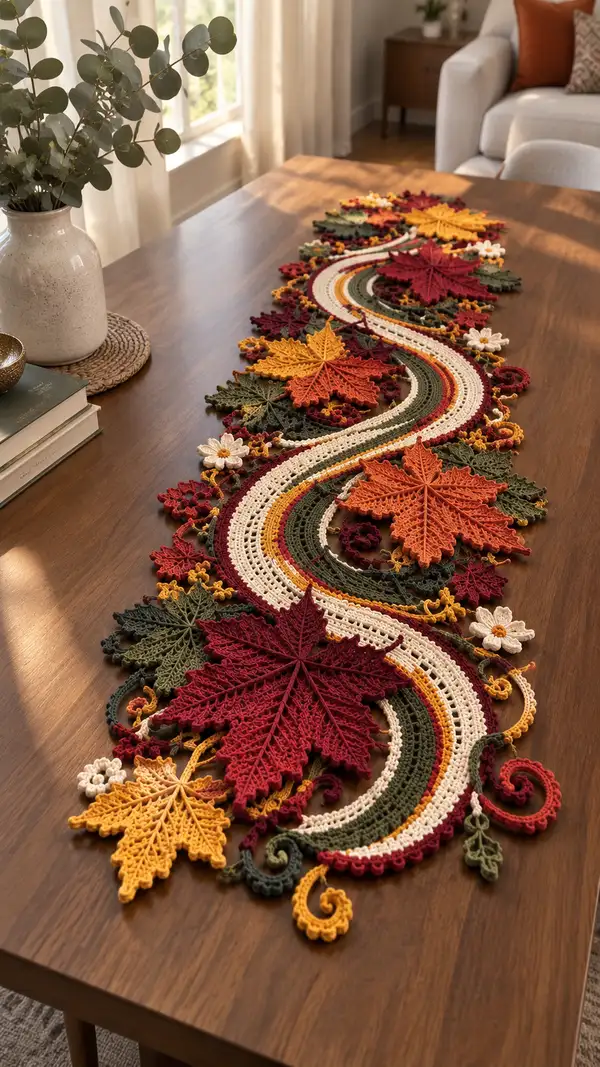
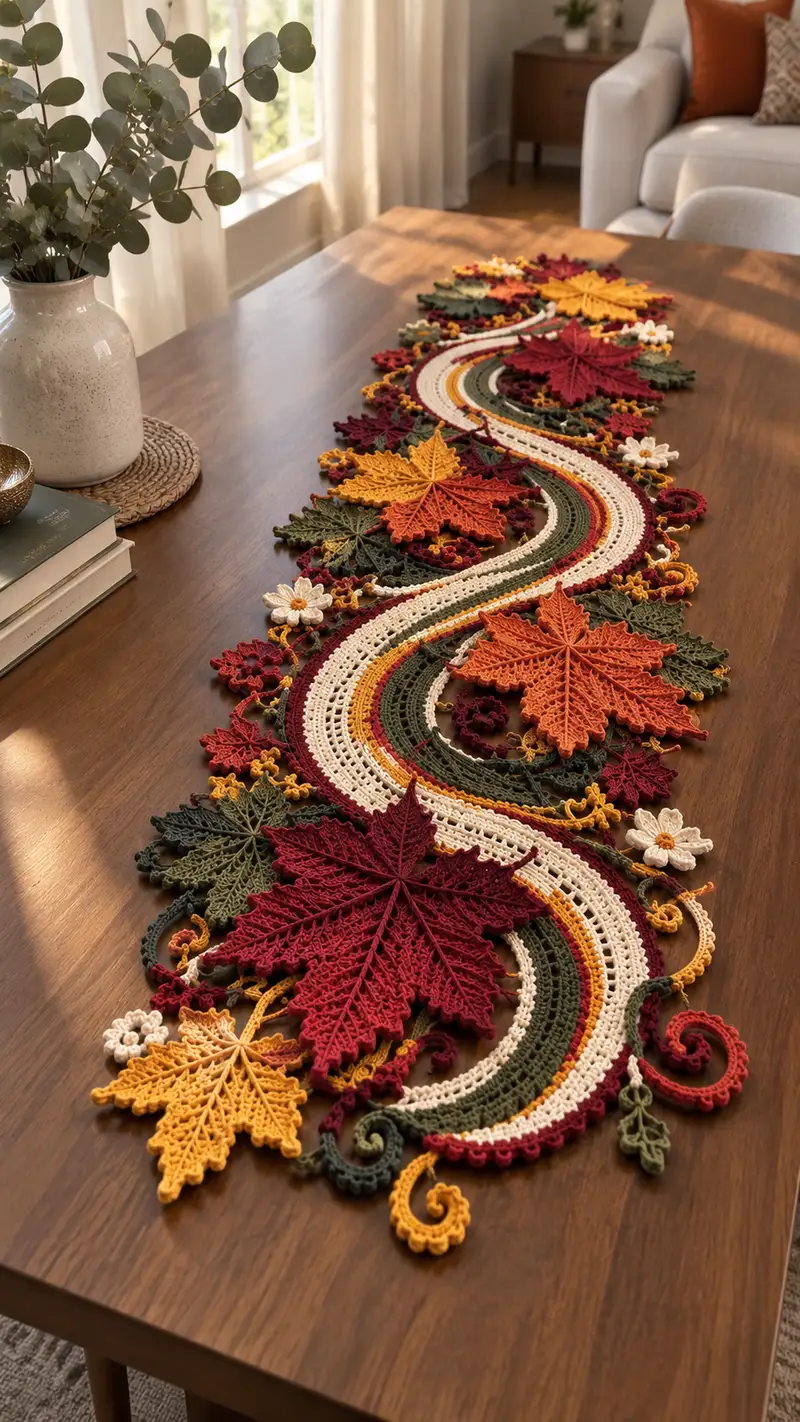
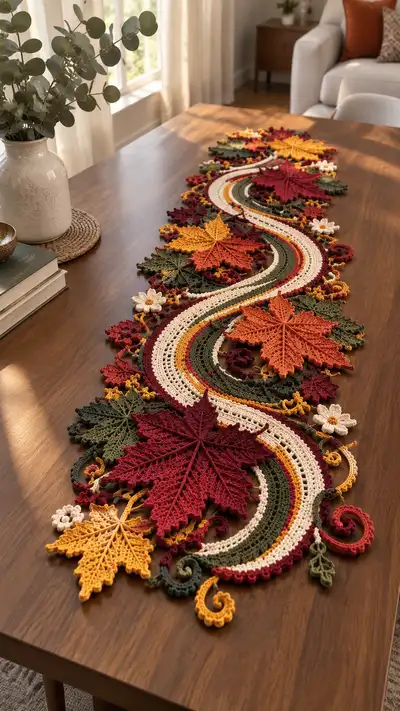
Create a stunning autumn table runner inspired by falling maple leaves and winding trails of lace. This layered runner features large detailed maple motifs, delicate small leaves, daisies, curly tendrils and a sinuous central S-band in warm fall shades. Worked in lightweight cotton or cotton-blend yarn, the pattern is modular and allows easy sizing and color personalization. Perfect to dress a dining table for seasonal decor or as a cozy handmade centerpiece.
Progress Tracker
0% Complete
— Notes & Strategy :
Info :
This pattern is modular. Create arc modules for the central S-shaped band, then make leaf motifs (Large, Medium, Small), daisy flowers, spiral tendrils and small filler clusters. Block every piece flat before assembly. The sample runner is composed of 12 arc modules joined into an S configuration, 6 large maple leaves, 8 medium leaves, 12 small leaves, 10 daisies and numerous tendrils and clusters. Adjust quantity to alter runner length.
Info :
Gauge is decorative rather than critical. Using a slightly smaller hook than usual for your yarn helps make lace motifs crisp and stable. Always work tightly for cotton yarn to avoid holes showing when blocked.
— Arc Module (make 12, join to form S-band) :
Overview :
Each Arc Module is worked in 12 rounds and creates a crescent/arc. Modules are joined end to end to form the long S-shaped central band in an alternating left/right arc placement. The arc measures roughly 18cm long by 8cm wide at widest point when blocked, using DK cotton and 3.25mm hook. Make 12 modules to assemble the sample runner; adjust quantity to lengthen/shorten.
Round 1 :
ch 32, join with sl st to form a ring being careful not to twist chain (32)
Round 2 :
ch 2 (counts as hdc), 1 hdc in same st, 1 hdc in next 30 ch, 2 hdc in last ch (worked into top of ch-2) — flatten the ring as an oval (34)
Round 3 :
ch 2, hdc in next 2 sts, (hdc, inc) across center 28 sts as: (hdc in next 4, 2 hdc in next) x 4, hdc in remaining sts, join with sl st (38)
Round 4 :
ch 3 (counts as dc), dc in next 3 sts, (dc, inc) x 6 across widest section to create gentle flare, dc in last sts to end, join (44)
Info :
Round 4 sets the outer curve. Work evenly and keep tension consistent; this round creates the bulge of the arc. Turn the piece if you prefer working rows, but this pattern assumes working in continuous joined rounds.
Round 5 :
ch 2, hdc in each st (44)
Round 6 :
ch 1, sc in each st around (44)
Round 7 :
Info :
Change to contrasting band color now if you wish. Carry unused yarn inside module or fasten off and join new color with sl st to tidy appearance.
Round 7 :
ch 2, hdc blo in next 44 sts to create a subtle ridge along inner edge (44)
Round 8 :
ch 3, (dc, ch 1, dc) shell in every 6th stitch along outer arc to create decorative scallops: *dc in next 4, (dc,ch1,dc) in next* repeat until end (total shells 6, plus dc filler) (44)
Info :
The shell round performs two roles: decorative edge and points for joining small motifs. Note which shell indices you will use later for sewing leaves and tendrils; mark them with stitch markers.
Round 9 :
ch 1, sc in each st and sc in each ch-1 space of shells (approx 52) — this evens the edge and fills the scallops (52)
Round 10 :
ch 2, hdc around focusing increases at the outermost 8 stitches to accentuate curve: (hdc in next 4, 2 hdc in next) x 2, hdc in remaining sts (56)
Round 11 :
ch 3, dc in each st around (56)
Round 12 :
ch 1, sc around; at the inner edge (opposite scalloped outer edge) add picot edging every 8th stitch: *sc 7, picot (ch 3, sl st in first ch) repeat* (total sc count remains 56)
Info :
Fasten off leaving a 20-25cm tail for joining modules. Block each module flat, curving the outer scalloped edge slightly outward so arcs will nest when placed together. Use pins to hold shape. Make 12 modules for sample runner, but you can make more or fewer to change length.
— Large Maple Leaf (Make 6) :
Overview :
Large leaf is worked flat in rows, worked from center stem outward with symmetric increases and shaped lobes. Each large leaf uses 28-30 rounds and blocks to roughly 16-18 cm across depending on yarn. Use 3.25mm hook for crisp texture. The sample uses deep burgundy and burnt orange for large leaves.
Round 1 :
mr, ch 3 (counts as first dc), 11 dc into mr, pull tight and join with sl st to top of ch-3 (12)
Round 2 :
ch 1, sc in same st, (ch 3, sc) in next st across creating 12 ch-3 picot loops around center ring to create base points (12 picots)
Round 3 :
Working in rows from one picot to opposite: pick a picot as Row 1 starting point. ch 3, dc in base of next 3 picots to form first lobe foundation, ch 2, turn (approx 6 sts for first little lobe)
Round 4 :
ch 3, dc2tog over next 2 sts, dc in next 2, ch 2, turn — begin shaping lobe tip (6)
Round 5 :
ch 3, tr in next stitch, dc in next, ch 2, turn — lengthening lobe (approx 6)
Info :
The large leaf is built by repeating the lobe shaping across 5 main lobes on each side with a central top lobe — think of a radial fan. Work each lobe in sequence and maintain exact counts to preserve symmetry. Use stitch markers at lobe bases to keep alignment.
Round 6 :
Work next lobe: ch 3, dc in next 4 sts, (dc, ch1, dc) in next st to create small pointed tip, ch 2, turn (approx 8)
Round 7 :
ch 3, dc in next 6, dec over last 2 (dc2tog), ch 2, turn (approx 7)
Round 8 :
ch 3, *(1 dc, 1 tr) in next st, dc in next 2*, dec to shape, ch 2, turn — finish shaping second lobe (counts vary by lobe size, central counts at end match 36 stitches across full width)
Round 9 :
Info :
Repeat lobe shaping method to create 5 lobes on each side of the central lobe. Keep the central spine by working a chain-space backbone every row: at the center of the leaf place 3 ch backbone that you will later embroider over to create veins.
Round 9-16 :
Continue building lobes row by row, increasing at outer edges by 1-2 stitches per lobe on alternate rows to create the full silhouette. After Row 12 you should be near maximum width (approx 36-40 across). Each of these rows will vary slightly by lobe; keep counts consistent on both sides to maintain symmetry.
Round 17 :
Start tapering for outer serrated edge: (sc in next 4, sc2tog) across each lobe tip rowwise, working to bring edges to pointed serrated tips (approx 34)
Round 18 :
ch 1, sc in each st across but at every second stitch on edge do (sc, picot) to form decorative serration. Count remains approx 34
Round 19 :
Fasten off leaving a long tail for sewing. Block leaf flat, shaping each serrated lobe and pinning points outward. Allow to dry fully. Repeat to make 6 large leaves for sample.
Info :
After blocking, embroider veins using long running stitches with matching yarn in a slightly darker shade: one central vein from stem to tip and several shorter veins following lobe ridges. Use the tail left from fasten off or attach a new strand for embroidery.
— Medium Leaf (Make 8) :
Overview :
Medium leaf is simplified version of large leaf, about 12-18 rounds. Suitable for forest green and mustard color mix. Work flat in rows with symmetric increases and decreases.
Round 1 :
mr, ch 2 (counts as hdc), 9 hdc in ring, join (10)
Round 2 :
ch 1, sc in same st, ch 2, turn; work row across half the leaf: hdc 4, inc 1, hdc 4 to create first half-lobe (approx 10)
Round 3-6 :
Continue working half rows to create lobes, mirroring on opposite side by rejoining to center base and repeating; increase by 1 stitch at lobe bases each alternate row to fan out leaf to approx 18-20 sts at full width.
Round 7 :
ch 1, sc across entire perimeter and add picot edge every 6th st for subtle texture (18-20)
Round 8 :
Fasten off leaving long tail, block and embroider a single central vein using backstitch. Make 8 medium leaves.
Info :
Medium leaves are ideal to tuck under large leaves and fill negative space along the central arc. Consider using two shades of green for variety.
— Small Leaf (Make 12) :
Round 1 :
ch 6, sl st to form small ring (6)
Round 2 :
ch 1, 6 sc in ring, join (6)
Round 3 :
ch 3, dc in first st, dc2tog next 2, ch 2, turn — form first tiny lobe (approx 4)
Round 4 :
Repeat tiny lobe across to make 3 lobes total and join to center with slip stitch, fasten off leaving tail for placement. Block lightly. (each small leaf ends approx 10-12 stitches wide)
Info :
Small leaves are quick accents to fill gaps and soften edges. Make in olive and dark burgundy for contrast.
— Daisy Flower (Make 10) :
Round 1 :
mr, ch 1, 6 sc in ring, join with sl st (6)
Round 2 :
*ch 6, sl st into next st* repeat 6 times to make 6 petals around center; fasten off petal loops and join with small yellow center.
Round 3 :
Using yellow, embroider small French knots or use 6 sc around center to create raised flower center and fasten off. Block flower flat.
Info :
Flowers add highlights and visual breaks amongst the leaves. Sew them on raised slightly so they sit above the runner fabric for dimension.
— Spiral Tendril (Make 16) :
Round 1 :
ch 30, sl st in 2nd ch from hook and each ch back towards beginning to create a flat spiral; work 2 sl st in every other ch to pull coil gently (30)
Round 2 :
ch 1, sc along spiral edge and, at coil tips, sc 3 in one stitch to make tighter curl; finish and fasten off leaving tail for attaching (approx 30)
Info :
Vary the chain length (20-40) to create longer or shorter curls. Use darker accent color on coils for depth. Optionally, add a picot edge to give a beaded appearance to tendrils.
— Small Cluster (Make 20) :
Round 1 :
ch 8, sl st to form ring, ch 1
Round 2 :
Work 8 mini popcorns around ring: *ch 2, 3 dc in same st, remove hook from loop, insert into top of the first dc, grab loop and pull through to form popcorn* repeat 8 times, join and fasten off (8 popcorns)
Info :
Clusters act as berries or little floral filler. Use mustard yellow or dark red for a berry-like appearance. Sew clusters slightly tucked beneath leaves for depth.
— Decorative Border & Joining Motifs :
Round 1 :
For each arc module and leaf edge, use a unified picot-scallop border: attach yarn to outermost edge and *sc3, picot, sc5* repeat to create repeating scallops around motif perimeter. This gives uniform decorative border for joining (counts vary by motif size)
Info :
All motifs should have matching picot-scallop borders to ease joining. When motifs are blocked, the border points provide consistent anchor points for sewing. If you prefer a subtler join, use sc or whip stitch into the edge rather than picot joins.
— Assembly & Joining Modules :
Info :
Plan your layout on a flat surface or large blocking mat before sewing. Place arc modules in an alternating left-right fashion to achieve the sinuous S. Pin every module edge to the next at three points (two sides and outer scallop) to ensure alignment. Use the long tails left on modules to whip stitch pieces together invisibly.
Step 1 :
Join arc modules: place two arc modules right sides up with scalloped edges overlapping where desired. Using a tapestry needle and matching yarn tail, work whip stitch through corresponding picots to attach modules. Sew through the back loops only on one piece and full stitches on the other for an invisible seam when possible. Secure with knot and weave tail 4-6 cm through nearest stitches.
Step 2 :
After modules are joined into the full-length band, begin arranging leaf motifs: tuck large leaves across the band at points where the arc turns to emphasize curvature. Place medium and small leaves to fill negative space and tuck edges under large leaves to disguise joining stitches. Pin each leaf before sewing.
Step 3 :
Sew leaves on by stitching into picot-scallop border at the leaf base and corresponding shell indices on the arc module. Use mattress stitch or whip stitch through both edges, catching a few threads on each motif to secure. For stronger hold, take 3-4 passes of thread through each attachment point, then weave tails into work.
Info :
Sew small clusters and daisies last, tucking them under leaf tips and along seams to hide joins. Keep the outermost leaf tips free and crisp for sculptural look. Avoid sewing through the blocked surface beyond the border to maintain flatness.
— Final Blocking & Finishing :
Info :
After assembly, re-block entire runner flat on a large blocking mat. Use rust-proof pins to shape each leaf point and curl tendrils slightly. Lightly steam or damp-spray the runner and allow to dry completely. If you want firmer shape, apply diluted textile stiffener sparingly to leaf tips only.
Info :
Weave in all ends securely on the reverse side. Trim any stray threads. If you desire a cleaner underside, hand-stitch a lightweight cotton fabric backing to the reverse, caught only at the seams so the lace remains flexible.
— Sizing & Variation Tips :
Info :
To lengthen runner: make more arc modules and additional leaves proportionally. To shorten: reduce modules and use fewer large leaves; distribute medium and small leaves to preserve balance. For a table topper, work fewer modules and larger leaves for a compact dramatic bloom.
Info :
Color suggestions: swap burgundy for deep plum or navy for a winter runner. Use metallic thread sparingly for tiny highlights but keep most yarn cotton for blocking performance.
Finishing this table runner is such a joyful moment — watching the lace, leaves and tiny flowers come together into a flowing autumn tableau is deeply satisfying. Each motif adds personality and depth until the runner feels like a curated centerpiece. Block carefully, sew with patience, and step back to admire a handmade accent that will warm your space for many seasons. 🧶🍁✨