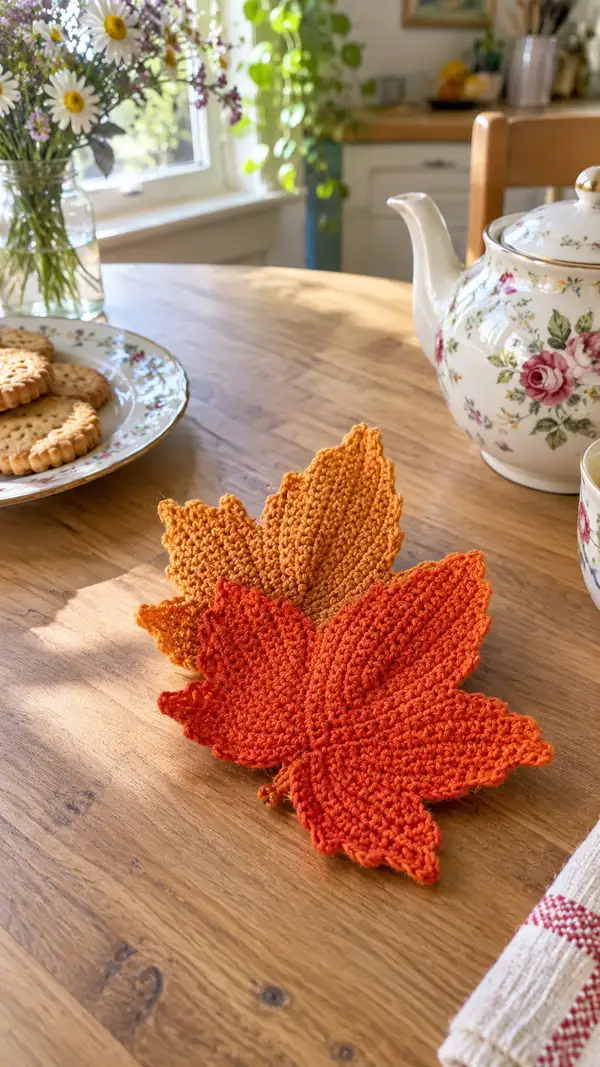
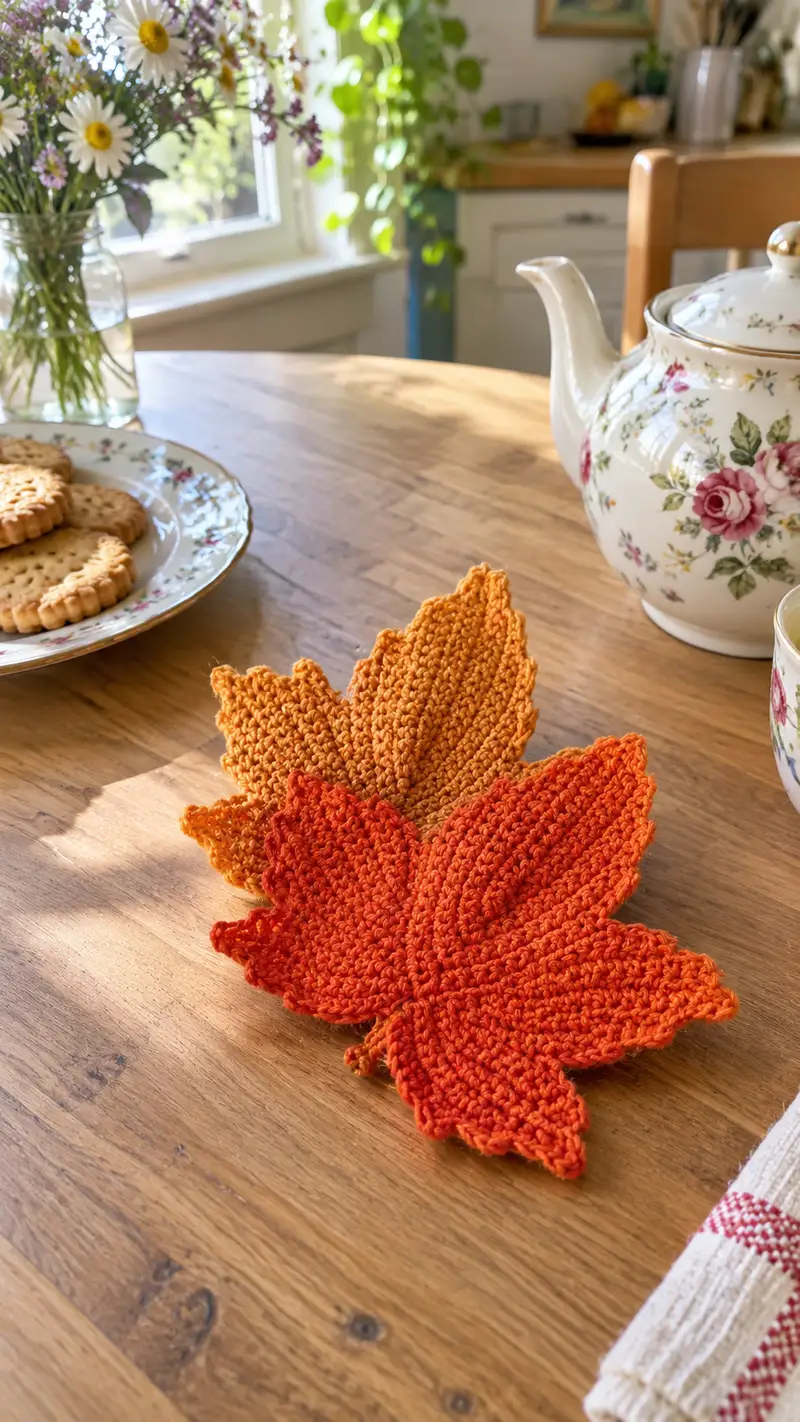
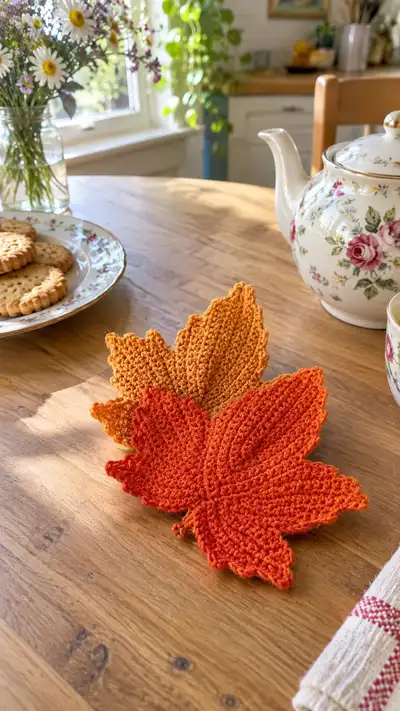
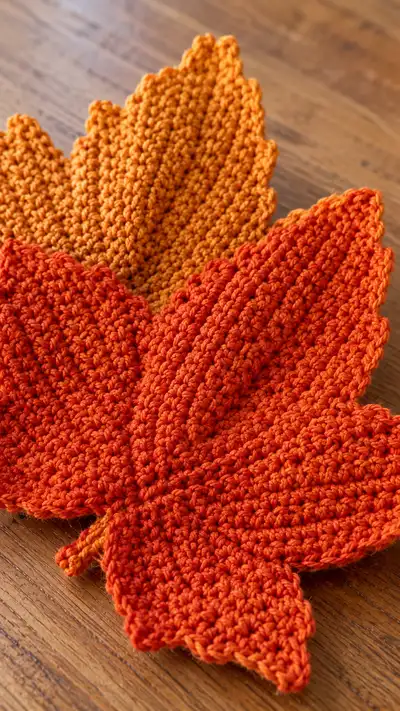
Create a pair of textured, flat maple leaf coasters inspired by warm autumn tones. This pattern shows how to crochet a sculpted leaf with a raised central vein, scalloped edges and a neat stem — perfect for table decor or a seasonal gift. Two layered panels are worked and joined for a sturdy coaster; the finished pieces sit beautifully under a teapot or mug. Colors shown: bright orange and warm golden ochre.
Progress Tracker
0% Complete
— Notes & Gauge :
Info :
This pattern makes one flat maple-leaf coaster approximately 16-18 cm (6.5-7 inches) across at the widest point when worked with worsted cotton and a 3.5mm hook. If your gauge is different, your leaf will scale proportionally. Work tightly enough to create a dense fabric suitable for coasters.
Info :
We recommend making two identical leaf panels and joining them together for a sturdy coaster. You can also make a single panel and use a thin lining of felt or interfacing for extra stability.
— Main Leaf Panel (Make 2) :
Round 1 :
6 sc in magic ring (6)
Round 3 :
(1 sc, inc) x 6 (18)
Round 4 :
(2 sc, inc) x 6 (24)
Round 5 :
(3 sc, inc) x 6 (30)
Info :
At this stage you have built a small round that will become the base from which the leaf lobes expand. Keep tension even; place a stitch marker in the first stitch of each round to help counting.
Round 6 :
(4 sc, inc) x 6 (36)
Round 7 :
(5 sc, inc) x 6 (42)
Round 8 :
(6 sc, inc) x 6 (48)
Info :
We are increasing to create a generous center that will allow the leaf to fan out into lobes. From here on the leaf will begin to flatten; hold your work in your hand occasionally to visualize the silhouette.
Round 9 :
1 sc in each st around (48)
Round 10 :
1 sc in each st around (48)
Info :
Rounds 9-10 create a flat band that forms the leaf's central thickness; this helps the coaster sit flat and absorb moisture. If you want the leaf slightly smaller, skip Round 8 and hold at 42 stitches.
Round 11 :
(6 sc, inc) x 6 (54)
Round 12 :
1 sc in each st around (54)
Round 13 :
(7 sc, inc) x 6 (60)
Info :
Round 11 and 13 add surface area for the lobes to form. From here we will begin shaping by adding and removing stitches at measured intervals to create curved lobes and shallow valleys between them.
Round 14 :
1 sc in each st around (60)
Round 15 :
1 sc in each st around (60)
Round 16 :
(8 sc, dec) x 6 (54)
Info :
This round begins the gentle contraction that defines the valleys between lobes. Work invisible decreases (sc2tog) to keep the edge smooth.
Round 17 :
(7 sc, dec) x 6 (48)
Round 18 :
(6 sc, dec) x 6 (42)
Round 19 :
1 sc in each st around (42)
Info :
We now have a flattened round that will be pushed outward into a leaf shape by targeted increases in subsequent rounds to create five lobes (two smaller side lobes, two lower lobes, and a larger top lobe). Visualize the points: imagine the circle divided into 6 equal segments; increases will be concentrated in the segments that correspond to lobe tips.
Round 20 :
(4 sc, inc, 6 sc, inc, 4 sc, inc) repeat around to total 48 (48)
Info :
Round 20 places increases in three bands around the circle to begin pushing up three main lobes. Keep the stitch marker on the first stitch of each round and reposition as necessary.
Round 21 :
1 sc in each st around (48)
Round 22 :
(6 sc, inc) x 6 (54)
Round 23 :
1 sc in each st around (54)
Round 24 :
(5 sc, inc) x 6 (60)
Info :
Rounds 20-24 concentrate increases to define the peaks of the lobes. At this point the fabric will begin to curve at the edges — use light blocking later to flatten if needed.
Round 25 :
(8 sc, dec) x 6 (54)
Round 26 :
(7 sc, dec) x 6 (48)
Round 27 :
1 sc in each st around (48)
Round 28 :
(5 sc, dec) x 8 (40)
Info :
Round 28 reduces stitch count to tighten the inner body and help separate individual lobes visually. We will now begin working outward from these bands to shape each lobe tip and edge using a combination of increases and front/post stitches for texture.
Round 29 :
(3 sc, inc) x 10 (50)
Round 30 :
1 sc in each st around (50)
Round 31 :
(5 sc, inc) x 8 (58)
Round 32 :
1 sc in each st around (58)
Info :
Rounds 29-32 create additional surface area for scallops and the lobed outline. If this feels too wide, omit Round 31 and hold at 50 stitches.
Round 33 :
(8 sc, dec) x 6 (54)
Round 34 :
(6 sc, dec) x 6 (48)
Round 35 :
1 sc in each st around (48)
Round 36 :
1 sc in each st BLO around (48)
Info :
Round 36 worked in BLO creates a subtle ridge that acts as the base for the central vein detail. Keep tension a touch looser on posts so the ridge relaxes into a soft raised line.
Round 37 :
Work 6 evenly spaced FPdc pairs across the center line of the leaf to start the raised vein: insert a FPdc in the stitch at the center front, then skip 6 stitches, FPdc in next stitch, repeat until 6 FPdc are placed (no change to stitch count) (48)
Info :
Use a stitch marker to mark the start of the center column. FPdc pairs that run perpendicular to the edge will create the visual ridge of the vein. Keep the number even and distributed across the central axis.
Round 38 :
1 sc in each st around, working the tops of FPdc as normal (48)
Round 39 :
(6 sc, inc) x 6 (54)
Round 40 :
1 sc in each st around (54)
Info :
Finish the panel with a few rounds that stabilize the shape before bordering. If you prefer a more pronounced vein, work an additional row of FPdc aligned directly over the first set, then single crochet around to secure.
Round 41 :
(3 sc, sl st in next st) x 13 (52)
Round 42 :
1 sc in each st around (52)
Info :
Rounds 41-42 reduce and compress the outer row to create a gentle scalloped look. You can stop at Round 40 if you prefer a smoother edge. Fasten off leaving a long tail for joining later.
— Second Panel :
Info :
Make a second identical panel following Rounds 1-42 above, using the same color or a coordinating shade. For a reversible effect, work the row of FPdc on the opposite side for the second panel so that when joined the veins align and one side has deeper texture.
— Stem (Make 1) :
Round 1 :
ch 6, sc in 2nd ch from hook, sc across (5)
Round 2 :
ch 1, turn, sc in each st across (5)
Round 3 :
ch 1, turn, sc2tog, sc in next st, sc2tog (3)
Round 4 :
ch 1, turn, sc in each st (3)
Round 5 :
ch 1, turn, dec across to 1 st (1)
Info :
Fasten off leaving a long tail for attaching the stem to the base of the leaf. The stem is a short tapered tube; if you prefer a thicker stem, start with 8 chains and add rows accordingly.
— Edge Scallop & Final Border :
Round 1 :
Join panels together: place panels wrong sides together (if you made reversible texture), align edges and begin working around the edge through both loops: join yarn at the base of the stem area, ch 1, sc around through both layers evenly (approx 52 sts) (52)
Info :
Sew the stem into position as you begin joining: tuck the long tail through the base of the panels so the stem sits centered at the bottom. Pin in place if needed. Join tightly but not so tight that the panels cup.
Round 2 :
1 sc in each st around (52)
Round 3 :
*sl st in next st, 3 sc in next st, sl st in next st* repeat around to create small scallops (approx 13 scallops) (52)
Info :
Round 3 creates the decorative scalloped edge that mimics the serrated edge of a maple leaf. If your previous rounds resulted in a slightly different stitch count, space the scallops evenly — maintain the overall rhythm for visual balance.
Round 4 :
1 sc in each st around to smooth and secure scallops (52)
Info :
At this point all raw edges are enclosed. Weave the joining tail through several stitches on the inside of the coaster to hide it and trim close.
— Raised Vein Enhancement (Optional) :
Round 1 :
With panel still flat, using contrast yarn, work a line of surface slip stitches along the center top-to-bottom: insert hook from front to back along the stitch path, bring yarn up and sl st to next marked stitch, continuing until vein is formed (no change to stitch count)
Info :
Surface slip stitch is an elegant way to emphasize the central vein. Use a yarn color one or two shades darker than the main body for subtle contrast. Keep the slip stitches tight and evenly spaced.
Round 2 :
Optionally work two rows of surface stitch on either side at even spacing for a realistic ribbed vein (no change to stitch count)
Info :
If you prefer the raised FPdc approach used in the panel creation, you can instead re-visit the center line and work an additional row of FPdc across both panels before joining to increase texture before edging.
— Finishing & Blocking :
Info :
Lightly wet block your finished leaf by pinning it into a flat leaf shape on a blocking mat. Smooth the lobes and scallops with fingers and allow to dry completely. Cotton responds well to gentle steam or wet blocking; avoid over-stretching to maintain thickness for coasters.
Info :
Weave in all ends on the inside of the joined coaster. If you added a thin felt or interfacing, trim it to match edge before final weave-in. Optionally, use a fabric glue dot at the stem base on the interior for added stability.
— Variations & Tips :
Info :
Change colors between rounds for a gradient leaf. To do this, after Round 24 change to a slightly darker (or lighter) shade and continue the remaining rounds. Carry color along the wrong side or break yarn and weave in later. Consider working only one panel and using a thin cork backing for a coaster with a single fabric face.
Info :
For a larger placemat, increase the number of increase rounds early on (for example do Rounds 7-10 with additional increases: (7 sc, inc)x6 then (8 sc, inc)x6) to expand overall diameter. Keep the subsequent shaping consistent so lobes remain proportional.
Info :
To make a hanging decoration, leave a long tail at the stem and braid it into a loop, or add a small metal ring before final finishing to hang the leaf. Use a copper or gold thread to add a metallic stitch accent along ribs for a festive look.
Info :
When crocheting both panels, place the nicer textured side outwards when joining so the most defined surface faces up on the table. If both are identical, alternate the texture so the coaster looks finished on both sides.
These cozy maple leaf coasters bring the colors of fall to your table with soft texture and charming detail 🧶. Each pair is made by crocheting two identical panels, adding a raised central vein, and joining for a sturdy, absorbent coaster perfect for tea time. The scalloped edges and tapered stem give a realistic touch that looks beautiful grouped in a stack or scattered across the table. Happy stitching — these small seasonal accents make lovely gifts and quick, satisfying projects! 🍂☕