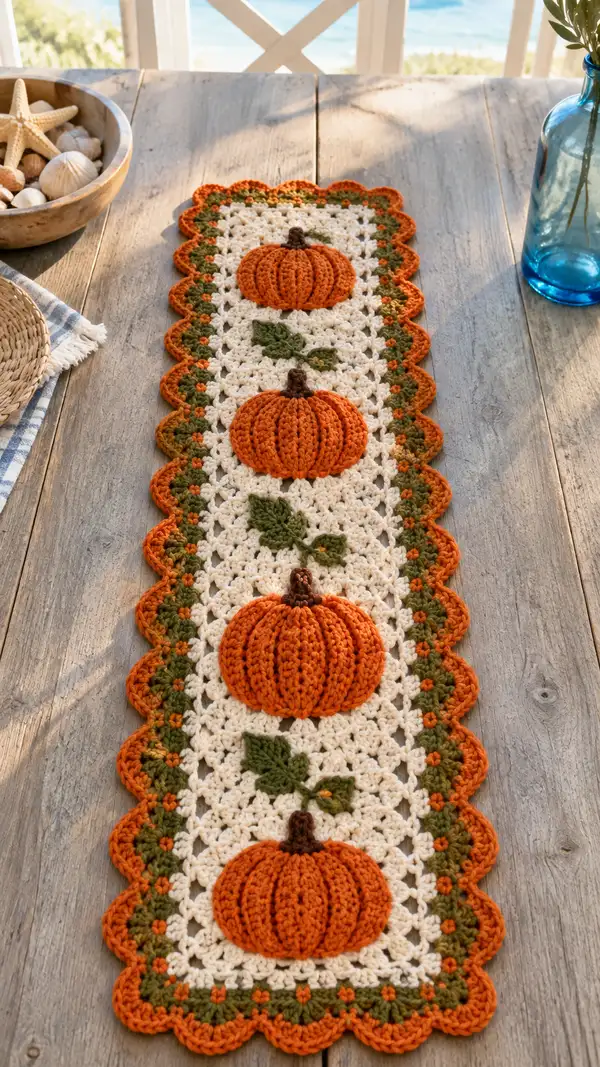
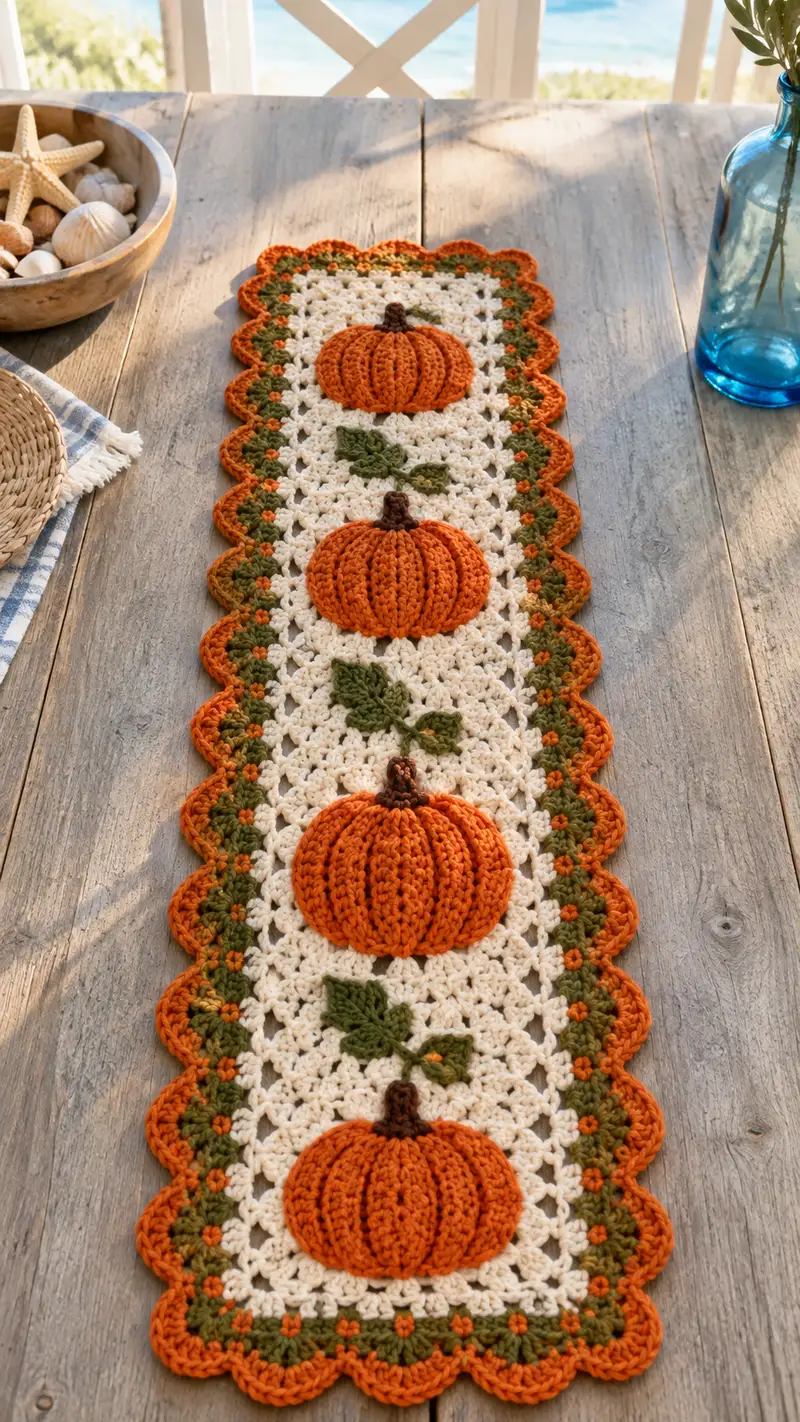
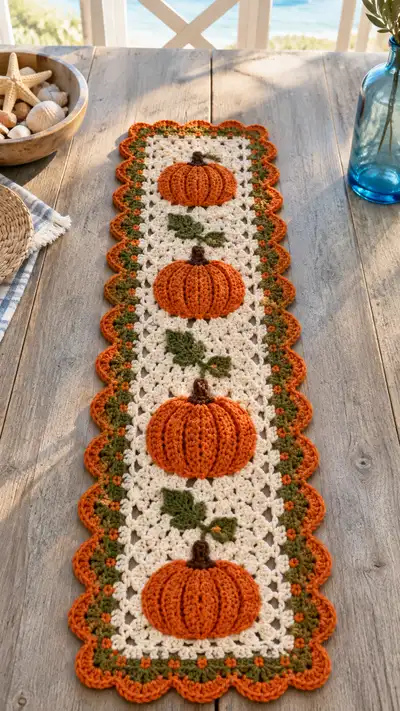
Create a warm, seasonal table runner featuring three dimensional pumpkin appliques, leafy vines, and a scalloped edge. This cozy runner uses a neutral cream background with vibrant pumpkin orange, olive green leaves, and a deep brown stem for a classic fall look. The pattern is worked in sections — a central granny-style panel, three pumpkin appliques, leaves and stems, then a layered scallop border — perfect for a fall centerpiece or gift.
Progress Tracker
0% Complete
— Central Panel :
Round 1 :
Foundation chain: ch 121 (this determines width; for a wider runner increase chains in multiples of 6) — do not join; work along the chain as a foundation row. Work 1 dc in the 4th ch from hook, 1 dc in each remaining ch across (118 dc). Turn (118)
Info :
We use a long foundation chain to set the runner width. Count carefully: ch 121 gives 118 double crochet stitches across after the turning ch-3. Using a multiple of 6 allows symmetrical placement of three pumpkin motifs.
Round 2 :
Ch 3 (counts as dc), turn. *Skip 2 dc, 3 dc cluster in next st (granny cluster), ch 1, sk 2 dc; rep from * across ending with 1 dc in final st. You will create 30 granny clusters separated by ch-1 spaces. (118)
Round 3 :
Ch 3, turn. Work 3 dc into each ch-1 sp across, ch 1 between clusters, finish with 1 dc into top of turning ch. Maintain the same count of 30 clusters. (118)
Round 4-6 :
Repeat Round 3 for a total of three rows of granny clusters, keeping stitches even and clusters aligned (118)
Info :
These initial rows create a sturdy but lacy background. Keep tension moderate — the runner should be flat but have enough give to pinch when attaching appliques. Place stitch markers at both short ends for later border alignment.
Round 7 :
Ch 3, turn. Work 1 dc in each cluster top and 1 dc in each dc across to square off the panel. This row prepares a stable surface for appliques. (118)
Round 8-12 :
Work 5 more even rows of 1 dc in each stitch around the piece (or in this linear panel, across each row). Keep edge stitches neat: work the last stitch of each row as 2 dc to prevent pulling in. (118)
Info :
After about 12 rows, you have the central rectangle. Measure to ensure it sits in proportion to your table; you can add or subtract even rows here to lengthen or shorten the runner before applying motifs.
Round 13 :
Switch to cream if not already. Ch 3, turn. Work granny cluster row: *3 dc in next st, ch 1, sk 1 st; rep across to form an open grid. This decorative mesh will be where pumpkins are pinned. (118)
Round 14-20 :
Repeat Round 13 for 7 total mesh rows, creating an airy lattice for the appliques to sit on. Keep ends even and measure distances to place pumpkins at roughly equal separations — about 30-32 rows apart center-to-center depending on your width. (118)
Info :
Mark three central positions along the length for the pumpkins: bottom center for first pumpkin, middle for second, and top for third. Use pins or removable stitch markers to note exact pattern cluster space centers where each pumpkin will be sewn.
Round 21-26 :
Work 6 rows of even dc across the panel to stabilize the mesh before attaching appliques. These will be the background rows between pumpkins to keep the runner from stretching. (118)
Info :
If you prefer a more lacy runner, reduce these even rows; for a sturdier runner add more even dc rows. Record how many rows you add so border placement matches both ends.
Round 27 :
Ch 3, turn. Work 1 dc across, preparing to begin the final set of mesh rows and to transition into edged border rounds later. (118)
Round 28-30 :
Work three more mesh rows as in Round 13. End panel main body here; fasten off and weave ends, leaving tails only if you intend to join border rounds seamlessly. (118)
Info :
At this point the central panel is complete. If your runner length needs adjusting, add mesh or dc rows now before adding border. Blocking the panel flat will make applique placement easier.
— Pumpkin Applique (Make 3) :
Round 1 :
With pumpkin orange, make a magic ring. 6 sc in magic ring (6)
Round 3 :
(1 sc, 1 inc) x 6 (18)
Round 4 :
(2 sc, 1 inc) x 6 (24)
Round 5 :
(3 sc, 1 inc) x 6 (30)
Info :
These increases create a small circle as the base of the pumpkin. Keep stitches tight so the magic ring closes neatly; do not fasten off — we will continue building height and texture.
Round 6 :
1 sc in each st around (30)
Round 7 :
(4 sc, 1 inc) x 5, 4 sc in remaining 6 sts to maintain symmetry (36)
Round 8 :
1 sc in each st around (36)
Round 9 :
(5 sc, 1 inc) x 6 (42)
Info :
By Round 9 you have a slightly domed circle. We will create a flatter, pumpkin-like dome with added ribbing. Do not overstuff; these appliques should be lightly padded for dimension but still lay mostly flat on the panel.
Round 10 :
1 sc in each st around (42)
Round 11 :
1 sc in next 2 sts, (2 sc in next st) x 14, 1 sc in remaining 14 sts (56) — note: this round adds one extra bulge to prepare for ribbing. Ensure the count is symmetric across the surface.
Round 12 :
Work 1 sc in each st around (56)
Round 13 :
Change to front post ribbing round to create vertical pumpkin ribs: *fpdc around next st, bpdc around next st; rep from * around for a total of 56 posts. Work evenly so ribs form raised vertical lines. (56)
Info :
Front-post double crochet (fpdc) pulls stitches forward to create pronounced ridges. Alternate fpdc and bpdc to make visible ribs that read like pumpkin segments. Use the same stitch count—each post occupies one base stitch.
Round 14 :
Repeat Round 13 to deepen the ribs (56)
Round 15 :
1 sc in each st around through back loops only (BLO) to produce a slightly turned-in edge for applique stability (56)
Info :
Working BLO on the final round makes a small ridge under the applique edge and helps the pumpkin maintain a rounded shape when lightly stuffed. Leave a long tail for sewing the applique to the panel.
Round 16 :
Lightly stuff center with small amount of fiberfill—spread thinly to avoid thick lumps. Do not overfill; the aim is gentle dimension. Continue with slip stitch round to close and create a flat rim: sl st in each st around and fasten off leaving 12–15in tail for sewing. (56)
Info :
Make 3 identical pumpkin appliques. When stuffing, press lightly so pumpkins remain slightly domed but sit mostly flat on the runner. The long tail will be used to stitch each applique to the panel securely.
— Pumpkin Rib Definition (optional deeper ribbing) :
Round 17 :
With same orange, insert hook into front loops only around the pumpkin perimeter and work 8 sc spaced evenly as decorative segments across the face — these are guide points, not full rounds (8)
Round 18 :
Using surface slip stitch, create 8 evenly spaced slip stitch ribs from top center to bottom center, following the fpdc ribs to emphasize segmentation. These are worked over the outermost round and not altering stitch counts. (visual guide)
Info :
Surface slip stitch ribs are optional but give a carved look. If you prefer a simpler finish, skip this and sew the stem directly onto the top center.
— Stem (Make 3) :
Round 1 :
With deep brown, ch 6. Row 1: sc in 2nd ch from hook and across (5)
Round 2 :
Ch 1, turn. 1 sc in each st across (5)
Round 3 :
Ch 1, turn. (1 sc, dec, 1 sc) across to taper one end (3)
Round 4 :
Ch 1, turn. 1 sc in each st (3). Fasten off leaving long tail for sewing. Lightly stuff the stem to give body and sew tapered end closed when attaching. (3)
Info :
Stems are short and narrow — sew them to the top center of each pumpkin by running the long tail through the pumpkin's top stitches and anchoring into the panel. A small dab of fabric glue can help secure the bottom of the stem while sewing.
— Leaf (Make 6) :
Round 1 :
With olive green, ch 8. Row: sc in 2nd ch from hook, hdc, dc, tr, dc, hdc, sc — this forms a pointed leaf shape. Fasten off leaving tail for sewing. (7)
Round 2 :
If you want fuller leaves, work along the opposite side of the starting chain: sc, hdc, dc, tr, dc, hdc, sc to create symmetrical fullness. Fasten off and weave ends. (14)
Info :
Sew leaves in pairs between pumpkins to create vine connections. Stagger placement so leaves do not cover pumpkin ribs, but tuck under the edge slightly for a natural look.
— Assembly Prep :
Info :
Block the central panel flat and pin it to your work surface. Place the three pumpkin appliques centered on the marks you made: bottom, middle and top. On this pattern we recommend centers at approximately rows 6–8 from the short ends and one centered in the middle. Maintain equal spacing (roughly one third of the runner length between centers). Use pins to hold each applique in place.
Info :
Sew each pumpkin on with the long tail from Round 16 using a whip stitch or mattress stitch around the outermost slipped-stitch rim; secure stitches invisibly into the panel so the pumpkin appears integrated into the mesh. Sew stems in centered at the top of each pumpkin and add leaves to either side of the stems with their tails hidden under the pumpkin edge.
— Border Edging :
Round 1 :
Join pumpkin orange to one short end of the runner at a corner with a sl st. Ch 1, evenly sc along the short edge working 2 sc in corner to keep it square. Work 118 sc along the long edge turning corners with 2 sc in corner st. Work back across opposite short edge and final long edge to return to starting point. Maintain total count of stitches per side to match original 118 length segments. (Even edging)
Round 2 :
Ch 3, *sk 1 st, 5 dc in next st (scallop), sk 1 st, sl st in next st; rep from * around to create scallops spaced evenly. Work 2 sc into corner spaces when necessary to maintain shape. Expect 20–24 scallops depending on your exact stitch count. (scallops vary)
Info :
Spacing scallops evenly is crucial: if you have more or fewer base stitches on your panel, adjust the 'sk 1 st' spacing so scallops look balanced. Blocking after this round will open scallops to a neat curve.
Round 3 :
Switch to olive green for an inner accent. Join in the ch-3 of every other scallop: ch 3 (counts as dc), work 2 more dc in same scallop, sl st in next scallop top to give dotted green centers between orange scallops. Repeat around. Fasten off olive and return to orange. (visual accent)
Round 4 :
With pumpkin orange, work a round of 1 sc in each st and 3 sc in every scallop center to reinforce the shape and make the edge substantial. (even)
Round 5 :
Work final decorative scallop row: in each scallop work (sl st, ch 3, 4 dc, ch 3, sl st) to form a pronounced shell. Space shells evenly around entire runner. Fasten off and weave ends. (final decorative scallops)
Info :
Work shells tightly but not overly tight — the scallops should lie flat with a gentle curve. If the edge curls, block and pin until dry for a smooth finish.
Round 6 :
Optional: Add a reverse crab stitch (reverse sc) around the very outer edge in olive green to give a neat rope-like finish: reverse sc in each space between shells. Fasten off and weave in ends. (final trim)
Info :
This final trim cleans up loose loops and helps the runner hold its shape on the table. Give the finished runner a light blocking: pin scallops evenly and steam or wet-block according to yarn instructions.
— Finishing Touches :
Info :
After sewing appliques and leaves, gently press the runner flat and tidy any stray ends. If any pumpkins feel loose, reinforce with a few extra running stitches around the perimeter and through the inner rounds. Add small decorative French knot-style bobbles in contrasting orange within some mesh spaces if desired.
Info :
Weave in every tail at least 2in into the fabric and trim close. Use small, even stitches when sewing appliques to avoid bunching. The runner can be spot-washed or hand-washed; always lay flat to dry to preserve scallop shape.
This pumpkin table runner is a lovely seasonal centerpiece that blends lacy vintage-inspired clusters with cozy dimensional pumpkins. Each applique and scallop adds character, making it a warm accent for fall gatherings. Enjoy the meditative rhythm of the granny mesh and the satisfaction of attaching three proud little pumpkins. 🧶 🍂 Display it on your dining table, console, or dresser — it makes a thoughtful handmade gift or seasonal decor. Happy stitching and warm autumn vibes! 🎃