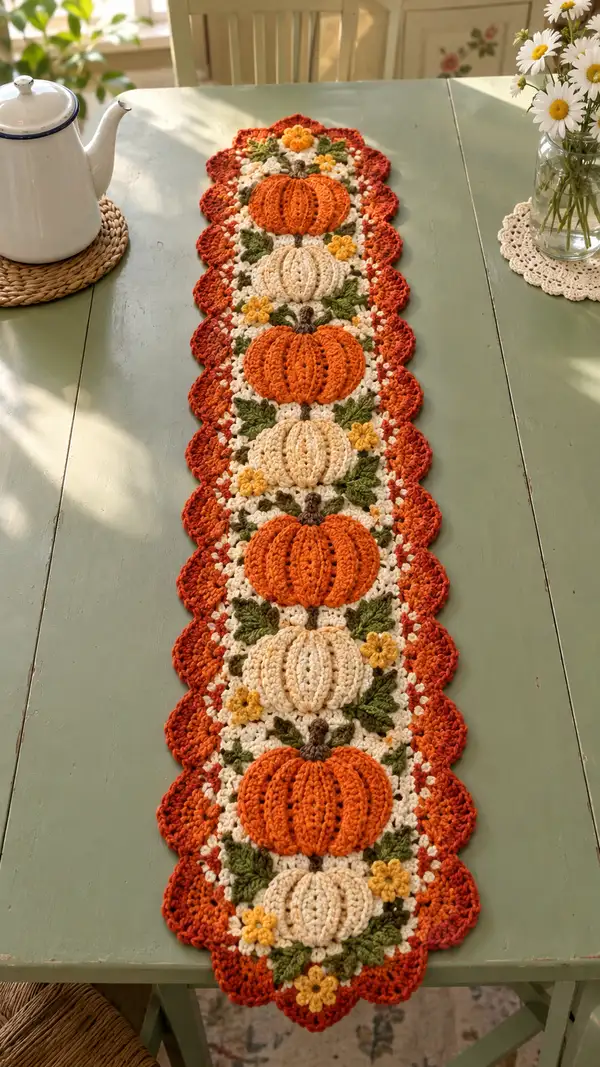
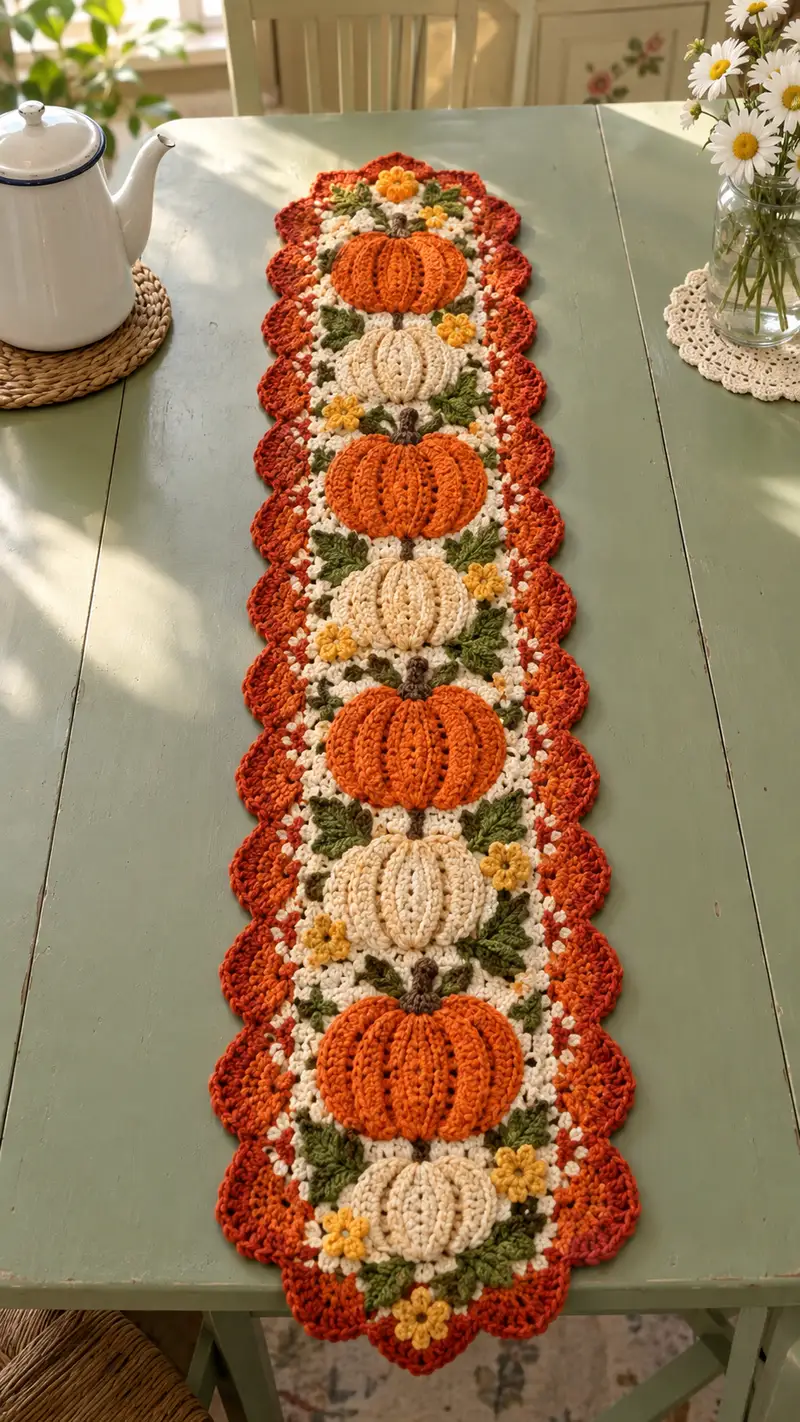
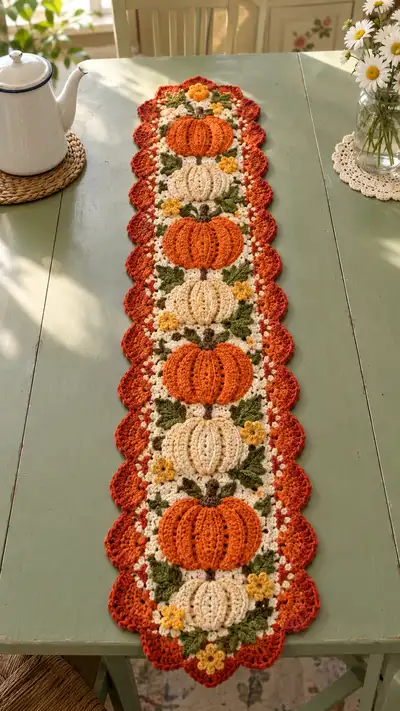
A cozy autumn table runner adorned with raised pumpkin motifs, leafy greens and tiny blossom accents. This long, narrow runner features alternating orange and cream pumpkins, textured stems, sculpted leaves and a scalloped rust border for a vintage farmhouse feel. Perfect for seasonal decorating, centerpiece displays, or a handmade gift for fall lovers.
Progress Tracker
0% Complete
— Notes & Gauge :
Info :
Gauge isn't crucial for length but affects motif size. Approx gauge: 12 sts and 8 rows = 4 inches in dc pattern using 4.0mm hook. This runner as written measures approximately 10.5" wide by 46" long with six pumpkin motifs; adjust number of motifs to change length.
Info :
Colors used: Rust (border/scallop), Pumpkin Orange (Pumpkin A), Cream/Ivory (Pumpkin B/background), Leaf Green (leaves), Mustard (flowers), Dark Brown (stems). Carry no yarn between distant motifs; fasten off each color and weave ends securely.
— Special Stitches & Techniques :
Info :
Puff stitch (US) used for pumpkin ridges: yarn over, insert hook, pull up loop (repeat yarn over, insert, pull up loop 4-5 times depending on desired height), yarn over and pull through all loops on hook, ch1 to secure. Count puff as 1 st in next rounds. Popcorn stitch: 5 dc in same st, remove hook, insert into first dc of the group, pull loop through to form a rounded pop; ch1 to secure.
Info :
Work right side (RS) facing when making motifs; place stitch marker at beginning of each round/row. When joining motifs use join-as-you-go (JAYG) slip stitch joins described in joining section or sew motifs together with whip stitch for a permanent seam.
— Pumpkin Motif (Make 6 alternating colors) :
Round 3 :
(1 sc, inc) x 6 (18)
Round 4 :
(2 sc, inc) x 6 (24)
Round 5 :
(3 sc, inc) x 6 (30)
Round 6 :
1 sc in each st (30)
Info :
Change to motif main color (pumpkin orange or cream) now if starting from background color. Fasten off previous color leaving 4-6" tail for weaving at join later.
Round 7 :
(4 sc, inc) x 6 (36)
Round 8 :
1 sc in each st (36)
Round 9 :
(5 sc, inc) x 6 (42)
Round 10 :
1 sc in each st (42)
Info :
This round creates a stable cup for the puff ridge. You may change to a smaller hook (3.5mm) for Puff rounds if you prefer tighter texture.
Round 11 :
Work 1 sc in next 3 sts, *puff stitch in next st, skip next st, 1 sc in next 3 sts; rep from * around to end (42 counted as puffs and sc combined; treat each puff as 1 stitch)
Info :
Puff stitch counts: each puff made as instructed in special stitches equals 1 stitch for counting purposes. Maintain even spacing; you will create 7-9 puff stitches around the circumference depending on spacing - this pattern spaces them every 6 sts approx.
Round 12 :
1 sc in each st and puff around (42)
Round 13 :
Start pumpkin ridges: *ch2 (acts as spacer), puff (5 loops) in next st, ch2, skip next 2 sc, sc in next 3; rep from * around. Ensure you have 7 ridges spaced evenly (count and adjust if needed).
Info :
For clear ridge definition use larger puffs (5 loops). If you see uneven spacing, add or reduce a ch1 between ridges to fit 7 equally spaced ridges across the round circumference.
Round 14 :
1 sc in each st and ch space (approx 42)
Round 15 :
Work in FLO: (1 sc in each st FLO) to create a subtle ridge foundation (42)
Round 16 :
Form pumpkin sections: In each ridge space from Round 13 work: (sc, hdc, 3 dc, hdc, sc) across the puff ridge to create a raised lobe; repeat for each ridge (7 lobes). Maintain surrounding scs in between lobes to keep counts consistent (total approx 42)
Info :
Each lobe uses extra stitches but is worked over designated ridge space only; count total after working each lobe to ensure overall motif remains flat. You may have slight increases but maintain approximately 42 base stitches by working some sc decreases between lobes where necessary.
Round 17 :
1 sc in each st around (fully even the round) (approx 42)
Round 18 :
Fasten off motif color leaving a 6" tail for sewing. Use this tail to sew motif onto background panel or join to adjacent motifs. Finish weaving tail securely.
Info :
Repeat Pumpkin Motif making 6 total motifs, alternating pumpkin orange and cream colors so runner shows alternating hues. Block motifs lightly to flatten before assembly.
— Stem (Make 6) :
Round 1 :
With dark brown, ch4, join with sl st to form small loop (or start with mr and 6 sc if preferred) (4)
Round 2 :
Round of 6 sc around loop (6)
Round 3 :
(1 sc, inc) x 2 (8) - work short tube
Round 4 :
1 sc in each st (8)
Round 5 :
Fold stem flat and sc through both layers 4 times to close top; fasten off leaving tail for sewing.
Info :
Sew stem to top center of each pumpkin motif using long tail, stitching through the back of motif to hide joins. Add a couple of extra passes for stability.
— Leaf (Make 12 large leaves + 12 small leaves) :
Round 1 :
With leaf green, ch6
Round 2 :
Sc in 2nd ch from hook, hdc in next, 2 dc in next, tr in next, dc in next, hdc in next, sc in last (leaf tip) - this creates one side; now work along other side: hdc, dc, tr, 2 dc, hdc, sc to base. Join with sl st at base (approx 14 sts)
Round 3 :
Edge: sc evenly around leaf working (sc, ch1) along curves to create slight picot edges (approx 20 sts)
Info :
Make 12 larger leaves for the main clusters and 12 smaller leaves by repeating the same pattern but reduce the initial chain to ch5 and omit one dc in each side to make a proportionally smaller leaf.
Round 4 :
Fasten off leaving long tails to sew leaves around each pumpkin motif. Lay leaves in pairs around motifs (see assembly) and tack with small invisible stitches.
— Small Five-Petal Flower (Make 12) :
Round 1 :
mr, ch1, 6 sc in mr, pull tight and join with sl st (6)
Round 2 :
*ch3, sl st into next sc; rep from * 6 times to form 6 tiny loops
Round 3 :
In each loop: (3 dc, sl st) to form petals. Fasten off leaving long tail for sewing (petals total: 6)
Info :
Use mustard/gold color for tiny flowers. Sew one small flower near each pumpkin cluster where shown in photo, tacking the center down slightly to keep petals fanned.
— Background Panel (Make pattern of granny base to join motifs) :
Round 1 :
With cream/ivory, ch6, join to form circle. Work 12 dc into circle (12)
Round 2 :
*ch3, skip 1 dc, dc in next; rep around to form an openwork ring. Join with sl st (12 ch-spaces)
Round 3 :
Work 3 dc clusters into each ch-space separated by ch2; join (12 clusters)
Round 4 :
Expand granny square pattern into elongated oval: Into each cluster work (dc, ch2, dc) at ends to create gentle points where pumpkins will sit. Continue working rounds increasing evenly at both short ends to create an elongated rectangle shape about 10.5" wide when blocked.
Info :
This background panel is worked as a continuous elongated granny strip. The exact technique: after round 4, work alternating rounds of dc clusters and ch-spaces expanding at the short ends using (3 dc, ch2, 3 dc) into corner ch2 spaces to add width until your panel reaches the desired width and length to accept motifs spaced evenly.
Round 5-20 :
Work even rounds of dc clusters in established pattern, maintaining 4 clusters across the width and shaping the ends to be rounded. Aim for a length that fits 6 motifs with 1" of spacing between them when pinned - stop after you can place six pumpkin motifs comfortably (variable rounds depending on gauge).
Info :
Block this background panel flat before joining motifs. You can also construct the runner by making individual motif squares with background rounds that are joined later; pattern supports both methods.
— Placement & Join-as-you-go (JAYG) Joining of Motifs to Panel :
Round 1 :
Lay first pumpkin motif centered on the panel. Starting at the motif RS, join yarn at one edge of motif with sl st to panel and work sl st or sc through motif edge and corresponding background sts to attach; work evenly around motif. Repeat for all six motifs.
Info :
When joining, try to use mattress stitch or whip stitch for a flat join. If using JAYG: on the last round of motif, when you reach a joining point, sl st into the corresponding ch-space on panel instead of chaining, then continue motif round. This creates integrated seams and avoids a bulky back.
Round 2 :
Once all motifs are sewn in position, tack leaves and small flowers around each pumpkin as pictured. Use long sewing tails and small invisible stitches. Sew stems at top-center of each pumpkin using dark brown tails from stem pieces.
Info :
Arrange leaves in clusters of 3-4 around each pumpkin (two large and two small) with blossoms nested in between. Pin pieces first to adjust and ensure symmetry along runner's center line.
— Middle Filler Rounds (Between Motifs) :
Round 1 :
With cream background, work 2 rounds of sc around motif joins to unify the panel: 1 sc in each st and ch space across the join rows (this evens edges and creates consistent height) (approx variable counts per section)
Round 2 :
Work a decorative row: *ch3, skip 2, sc in next; rep across to create airy separators between motif rows. Join and fasten off.
Info :
These filler rows add height and spacing to ensure scalloped border will fall nicely and motifs sit centered. Work these rows evenly across the entire runner length.
— Scalloped Border (Rust Color) :
Round 1 :
Attach rust yarn to edge stitch. Work 1 round of sc in each edge stitch around entire runner (this gives a clean edge) (count variable depending on panel size)
Round 2 :
*ch3, skip 2, sc in next; rep around to form base scallop chain (approx 1 scallop base every 3 sts)
Round 3 :
Scallop formation: In each ch3 space work (2 dc, tr, 2 dc) then sl st into next base sc to anchor. This creates tall scallops. Repeat around ends and along long sides.
Round 4 :
Work 1 sc in each st around to create a tidy border foundation (approx matches previous counts)
Round 5 :
Second scallop row for depth: In each scallop work (sc, ch2, 5 dc, ch2, sc) centered to create ruffled scallop. Fasten off and weave ends.
Info :
At the short ends of the runner, place scallops evenly to make symmetric rounded ends. Pin scallops and steam-block lightly to set shape for a crisp finish.
— Embellishment Details & Final Touches :
Round 1 :
Weave any tails from pumpkins, leaves and flowers to the back and secure with a few mattress stitches. Trim excess ends close to the fabric.
Round 2 :
Sew small yellow flower centers with tiny french knots of mustard yarn if desired for texture. Add a few tacked green vine stitches between motifs to mimic trailing vines.
Info :
To add permanence lay a thin layer of fabric glue under flower petals and press for a few seconds; this is optional and only for display runners that will not be washed often.
Round 3 :
Final blocking: Pin the entire runner flat to desired dimensions. Lightly steam or wet block and allow to dry fully to set scallops and flatten joins.
Info :
For a table-friendly finish, press the runner between towels with a warm iron on the wool setting if yarn composition allows; check manufacturer's instructions for washing/care.
— Alternate construction: Individual Squares & Join Method :
Round 1 :
If you prefer to make each pumpkin panel as an individual square: After completing Pumpkin Motif Round 18, continue with background rounds to form a 6-8" square: Round A: 1 sc in each st (48), Round B: (2 sc, inc) x 12 (60) then work two rounds of dc clusters to match other squares.
Round 2 :
Join squares using slip stitch whip join: place squares RS together and sl st through both loops around the perimeter, or use mattress stitch for invisible seam. Leave a 0.25" seam allowance if you plan to quilt or add fabric backing.
Info :
This method gives more control and is easier to transport between sessions. It also allows you to re-arrange color order before committing to the final join.
— Optional Backing & Finishing :
Round 1 :
If you want a fully reversible runner, cut a fabric backing to the finished runner size minus 0.5" and machine stitch the backing to the runner around edges, leaving an opening to turn. Turn and topstitch edge; or simply stitch backing to reverse side using blind stitch.
Info :
Backing is recommended for functional table use where spills or heavy use occur. Choose a thin cotton or linen to keep the runner drapey and not too bulky.
Completing this autumn table runner is such a rewarding project—each pumpkin and leaf adds personality and charm to your table. The textured pumpkins look sculpted and the rust scallop frames the design beautifully. Whether you make one for your own home or as a thoughtful handmade gift, this runner will bring cozy seasonal warmth to any room. 🧶🎃🍂