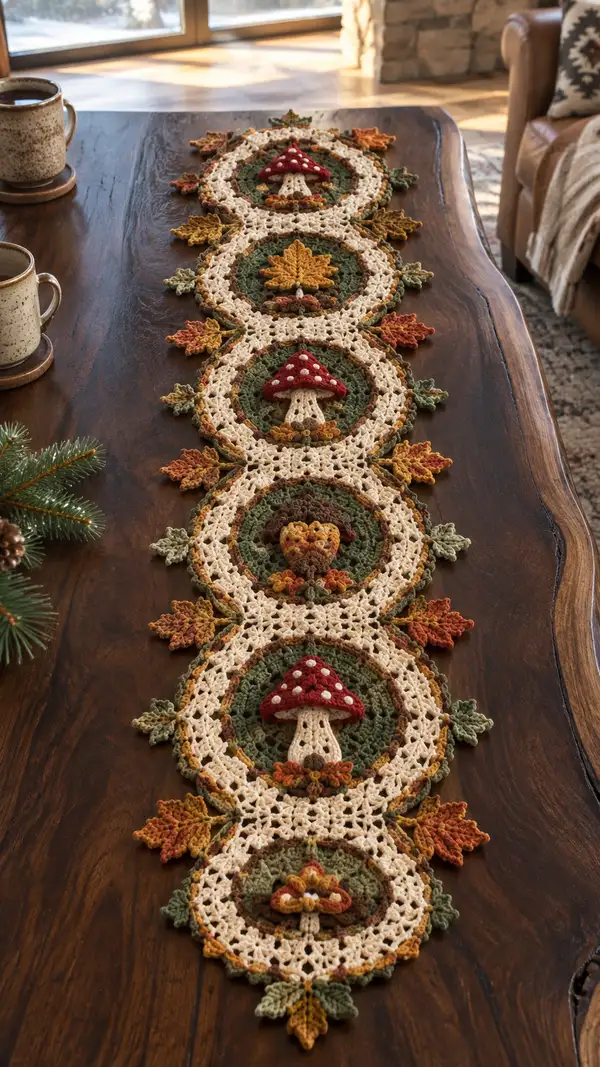
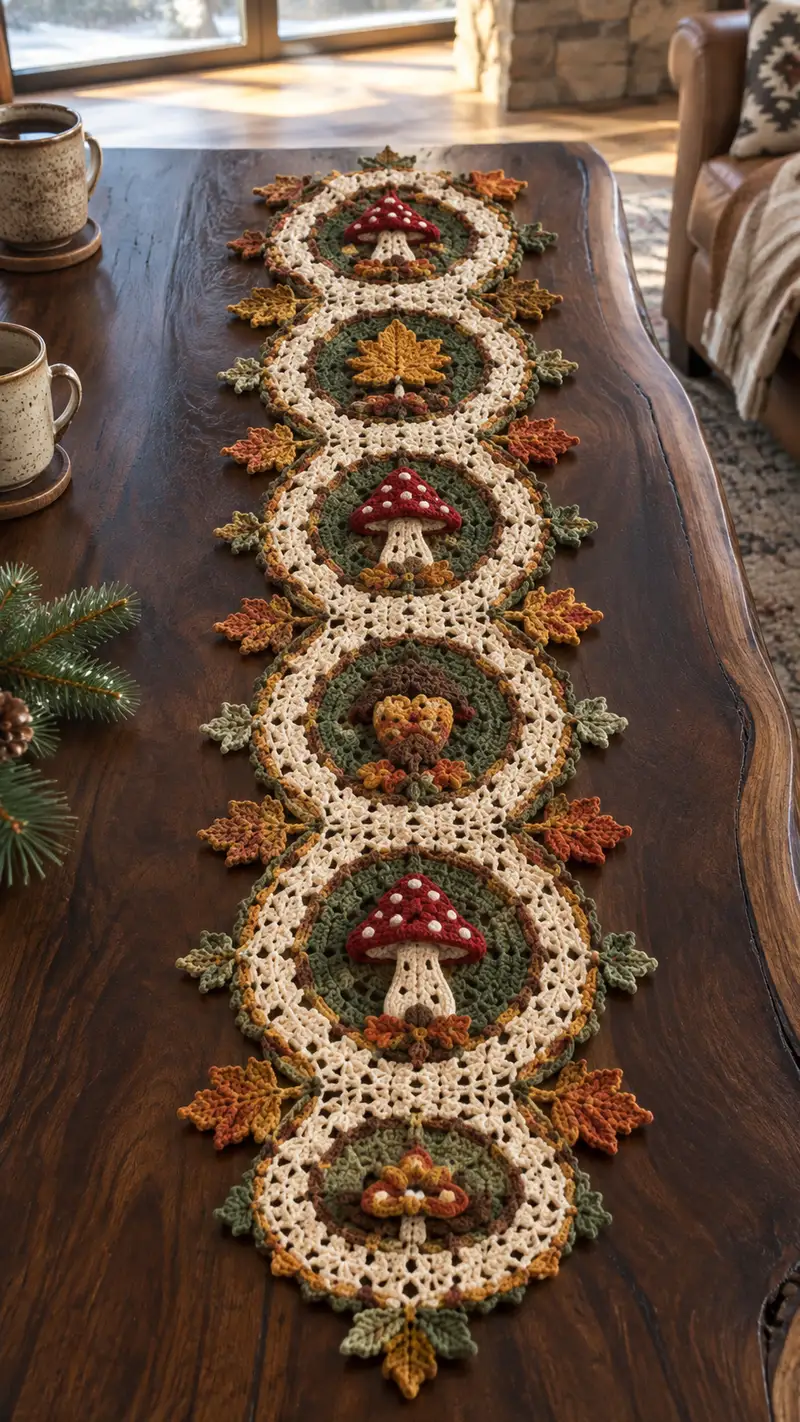
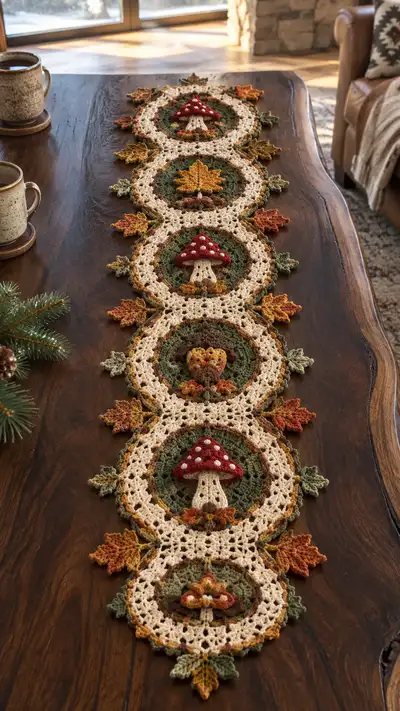
A warm, layered table runner made from five linked circular medallions with textured cream lace rings, mossy green centers, autumn leaves and charming red mushroom appliques. This runner pairs rustic colors—cream, deep red, olive and golden rust—for a cozy fall centerpiece. Delicate openwork stitches and dimensional appliques give visual interest and a handmade heirloom feel.
Progress Tracker
0% Complete
— Main Circular Medallion (make 5) :
Round 1 :
6 sc in magic ring (6)
Round 3 :
(1 sc, 1 inc) x 6 (18)
Round 4 :
(2 sc, 1 inc) x 6 (24)
Round 5 :
(3 sc, 1 inc) x 6 (30)
Round 6 :
(4 sc, 1 inc) x 6 (36)
Round 7 :
(5 sc, 1 inc) x 6 (42)
Round 8 :
(6 sc, 1 inc) x 6 (48)
Info :
Change to Olive/Moss Green for the center rounds if you want the inner circle to be green. Carry the cream yarn up and out of the way or fasten off and weave in later.
Round 9 :
1 sc in each st (48) — work evenly to create a smooth circle
Round 10 :
1 sc in each st BLO (48) — back-loop only to create subtle ridge separating center from next ring
Round 11 :
Change to Brown. (6 sc, 1 inc) x 6 (54) — creates a narrow brown ring
Round 12-14 :
1 sc in each st (54) — work 3 rounds even to stabilize center ring
Info :
Place a stitch marker at the start of round 15 — you will shift to an openwork cluster round to form the cream lace ring. Blocking later will open the lace.
Round 15 :
Change to Cream. *Ch 3, sk next 2 sts, dc in next st; rep from * around, join with sl st to first dc. (18 dc, 18 ch-3 sps) — creates chain spaces for lacy ring
Round 16 :
In each ch-3 sp: (sc, ch 3, sc) into same ch-3 sp, sl st into next dc to anchor. Rep around to create small picot chain arches. (18 arches)
Round 17 :
Working into each arch: *ch 1, 3 dc in arch, ch 1, sl st into next sl st. Rep around to build a scallop of 3-dc clusters. (18 clusters)
Round 18 :
1 sc in each dc and sl st around to compress the clusters slightly and prepare for outer rings. (54)
Info :
Stuffing note: These central medallions are flat; no stuffing is required. Ensure centers are flat by pressing gently with hands as you progress. Block motifs later for uniform shape.
Round 19 :
Change to Olive. (4 sc, 1 inc) x 9 (63) — a wider green band to set off the cream lace
Round 20 :
1 sc in each st (63)
Round 21 :
Change to Brown. *sc 5, inc; rep around (6 sc, inc) x 9? Adjust to keep math: (6 sc, 1 inc) x 9 (72) — increases to form a slightly larger brown border (72)
Round 22 :
1 sc around (72)
Info :
Switch to Cream yarn now for the large decorative outer lace ring. Carry brown yarn up or fasten off; if carrying, twist to avoid gaps.
Round 23 :
Change to Cream. *ch 5, sk 3 sts, sc in next st; rep from * around to make long chain loops for airy openwork. Expect approximately 12 chain loops (depending on tension) — join with sl st to first sc.
Round 24 :
In each ch-5 loop: (sc, ch 3, sc), sl st into next sc. Rep around to create tall arches. (approx 12 arches)
Round 25 :
*In each arch: ch1, (3 dc, ch2, 3 dc) in arch, sl st into base sc to anchor; rep around to form a shell motif between arches. (12 shells)
Round 26 :
1 sc around entire round to tidy edges and create uniform stitch height. Stitch count will vary with tension; aim to space evenly between shells for a flat medallion.
Round 27 :
Edging round: Using a contrast rust color, work *sc in next 2 sts, picot (ch 3, sl st in 1st ch), sc in next 2 sts, sl st to next base; rep around to create small decorative points. Fasten off and weave ends.
Info :
Each completed medallion should measure roughly 8-9 inches in diameter depending on yarn tension and hook. Make 5 identical medallions. Block each to achieve perfect circles and open lace.
— Mushroom Applique (make 3 large caps + stems) :
Round 1 :
With Deep Red, 6 sc in magic ring (6)
Round 3 :
(1 sc, 1 inc) x 6 (18)
Round 4 :
(2 sc, 1 inc) x 6 (24)
Info :
Work flat for mushroom cap base; we will create 3D curve by working over fewer increases and adding shaping in later rounds
Round 5 :
Change to BLO and work 1 sc in each st BLO (24) — this pulls the cap edge under creating a slight lip
Round 6 :
Switch to Deep Red in FLO: (3 sc, 1 inc) x 6 (30) — creates a gentle outward curve
Round 7 :
1 sc in each st (30)
Round 8 :
(4 sc, 1 inc) x 5 + sc in remaining 1 st to keep count consistent: (4 sc, 1 inc) x 5 => 30 + adjustments; easier: (4 sc, 1 inc) x 6 (36) — if your cap is flattening too much, skip an inc to keep diameter controlled
Round 9 :
1 sc around in FLO to create a defined upper rim (36)
Round 10 :
Working in both loops now, *sc 2, dec; rep around to slightly gather cap edge if desired. Adjust to maintain symmetry (24-30 depending on gathers)
Info :
Begin stuffing lightly through the center of the cap from the wrong side at this point to achieve a gentle puff. Stuff just enough to create a domed cap shape; caps should be firm but not rock-hard.
Round 11 :
Fasten off leaving long tail for sewing. Using white or cream yarn and an embroidery needle, sew small French knot dots or surface embroidery dots across the cap (approx 8-12 dots per cap). Alternatively, crochet small white 2-round circles to sew on for raised spots.
— Mushroom Stem (attach to cap) :
Round 1 :
With Light Beige, 6 sc in magic ring (6)
Round 3 :
(1 sc, 1 inc) x 6 (18)
Round 4-8 :
1 sc in each st (18) — work even to create a short tube about 5 rounds high (adjust height as desired)
Round 9 :
(4 sc, 1 dec) x 3 (15)
Round 10 :
1 sc in each st (15)
Info :
Lightly stuff the stem as you work, keeping the bottom slightly firmer so it sits nicely on the medallion centre. Sew the open top of the stem to the underside center of the cap with whip stitches; secure firmly and weave ends.
Round 11 :
Using long tail from cap, sew stem to the center of the medallion by stitching through central green rounds. Center the stem on the inner moss-green circle and secure strongly so the cap sits slightly above the lace surface.
— Small Decorative Mushroom (optional small accent) :
Round 1 :
Deep Red, 6 sc in mr (6)
Round 3 :
1 sc around (12)
Round 4 :
BLO 1 sc around (12)
Round 5 :
Fasten off and sew to medallion center for smaller accent mushrooms
Info :
Make three large mushrooms and 2–3 small mushroom accents to place on alternate medallions as shown in photo.
— Maple Leaf Applique (make at least 10) :
Round 1 :
With Mustard/Golden Rust, ch 6, sl st into first ch to form small ring (or mr 6)
Round 2 :
Ch1, 8 sc in ring (8)
Round 3 :
Begin shaping leaf: ch3 (counts as tr), tr in next st, ch1, sc in next st, ch1, tr in next st, ch3, sl st into center ring to form petal. Repeat to make 5-point leaf shape total around (5 points)
Round 4 :
Refine each point: in each point work (sc, hdc, 3 dc, hdc, sc) to bulk out the points; fasten off leaving long tail for sewing.
Info :
Make leaves in mustard, rust and olive for variety. Leaves should be lightly blocked flat with a slight cupping toward tip for realism.
— Acorn/Heart Centre Motif (make 2-3) :
Round 1 :
With Brown, 6 sc in mr (6)
Round 3 :
(1 sc, 1 inc) x 6 (18)
Round 4 :
1 sc in each st (18)
Round 5 :
Switch to Mustard for cap detail: sc around 5 sts, attach mustard in next 5 sts and sc around those sts to create 'cap' accent. Fasten off leaving tail to sew onto medallion center.
Info :
Sew these acorns or small heart motifs into the central green circle of alternating medallions for visual variety. Secure tightly so they lay flat against the lace work.
— Small Leaf Clusters (make 20-24) :
Round 1 :
With Olive, ch6, join to form ring, 8 sc in ring (8)
Round 2 :
Ch1, *sc2tog across next 2 sts to create point, sl st into next st; rep to form 3-point tiny leaf cluster; fasten off leaving long tail to tack onto medallion border
Info :
These tiny clusters tuck between the large maple applique and the scalloped outer edge for a layered look. Use mixed colors for variegation.
— Joining Medallions :
Info :
Lay out your 5 medallions in the desired order, alternating mushrooms and leaf/acorn centers as shown. Pin them together overlapping the outer cream lace arches where motifs meet. Decide whether you want an overlapping seam (one medallion partially atop another) or edge-to-edge join; photograph shows slight overlap where lace arches interlock.
Round 1 (Join Step) :
With Cream, position medallions with outer lace loops touching. Insert hook through a chain-space on Medallion A and corresponding chain-space on Medallion B, pull up a loop, ch1 and sl st to join. Continue joining every 2–3 arches around the area of contact until a stable seam is formed. Fasten off and weave ends. Repeat between medallion 2-3, 3-4 and 4-5.
Info :
Keep joins loose enough to let lace breathe; do not over-tighten sl sts or the runner will pucker. Pin firmly before sewing to maintain alignment.
Round 2 (Reinforce) :
Using a small running stitch with matching cream yarn between medallion edges through lace arches (whip or ladder stitch), secure joins from the back side for added stability without visible top-side bulk.
Info :
When joining over curved shells, insert needle through the base of shells in adjacent motifs and pull snug; add 6-8 secure stitches per join area for durability.
— Outer Edge and Final Scalloped Border :
Round 1 :
With Rust, when all medallions are joined, work around entire outer perimeter. In each outer shell or chain-space: (sc 2, ch 3, sc 2) to create larger scallops. Space evenly so outer edge flows smoothly (approximate stitch count varies by join but aim for 40–60 scallops total).
Round 2 :
In each scallop: (sc, hdc, 3 dc, hdc, sc) to form a pronounced petal; sl st to next base. Fasten off and weave ends.
Info :
Work the outer scallop in a variegated rust-to-mustard yarn for an autumnal ombre effect. Secure ends carefully and weave tails into shells for invisibility.
Round 3 :
Final trim: With Olive, work small leaf points: pick spaces between scallops and work ch3, sl st back into base to make tiny pointed tabs every 3 scallops. This creates the green leaf-like points visible in photo.
Info :
Optional blocking and starching: After final assembly, gently wet-block runner and pin to shape, then allow to dry. Light spray starch yields a crisper lace that lays flat on table.
— Assembly and Placement of Appliques :
Info :
Placement plan: From one end, alternate medallion decorations: Mushroom medallion, leaf motif medallion, mushroom medallion, leaf/acorn medallion, mushroom medallion. Place large maple leaves at cardinal points around medallion circumference and tiny leaf clusters between scallops for layered look.
Step :
Pin mushroom assemblies to medallion centers. Use mattress stitch or whip stitch to attach the underside of the stem to the green center ring. Sew small leaves and acorns around base to hide joins and add depth.
Info :
Space decorative leaves so three to four leaves radiate from each medallion's equator. Use mixed color placement: mustard, rust, olive alternating to mimic natural fall variegation.
— Finishing Touches and Weaving Ends :
Step :
Weave all tails into backs of motifs across at least 20 stitches, trimming close. Use a darning needle to bury ends through multiple layers for security.
Step :
Optional: Add surface embroidered veins on maple leaf appliques using contrasting darker brown yarn. Use a stem stitch or simple backstitch radiating from leaf center to tip.
Info :
Inspect joins and appliques; reinforce any loose areas with additional small stitches. Press lightly if desired — do not iron directly on yarn.
— Notes on Sizing & Repeating Motifs :
Info :
The pattern provides one medallion unit; repeat to desired length. For the pictured runner, make five medallions and join into a 5-unit runner approximately 48–55 inches long. For shorter or longer runners, add or subtract medallion units evenly.
Info :
To scale the runner up, use bulkier yarn and an appropriately larger hook; stitch counts remain identical but measurements will increase proportionally. Adjust appliques larger by adding an extra increase round in caps and leaves.
Info :
Care: Hand wash gently in cool water and lay flat to dry to preserve shape and color. Avoid wringing which can distort lace and appliques.
This autumn table runner brings the season to your table with layered lace, mossy centers, and playful mushrooms — every stitched detail adds charm. I love how the textured cream rings show off warm fall hues and appliqued leaves. It’s a joyful project to make and a wonderful seasonal accent to share. 🧶🍁 Add a cup of tea and enjoy your handiwork on display! 🎃