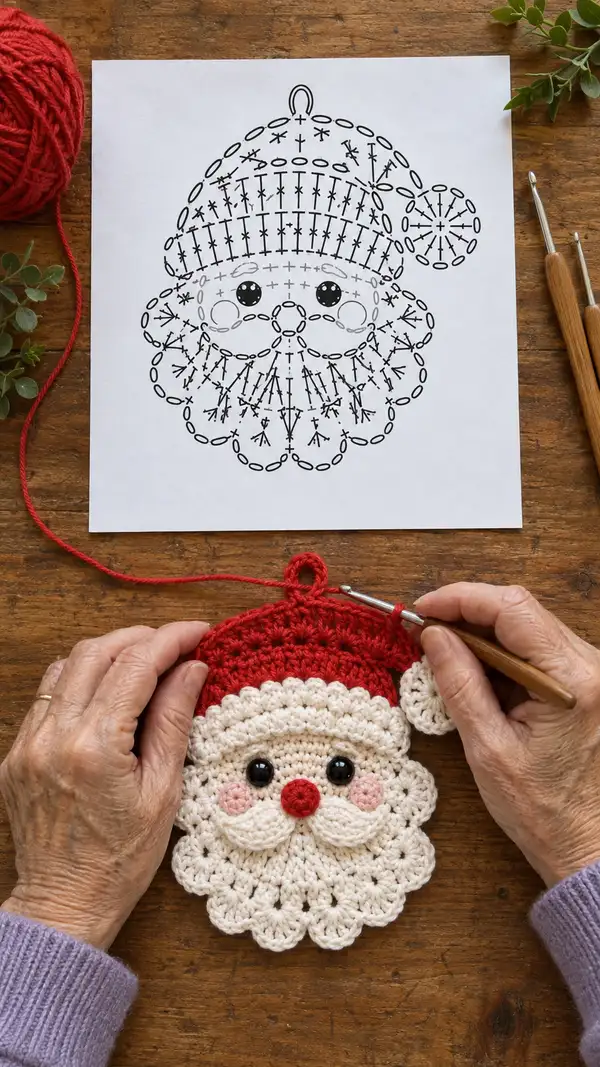
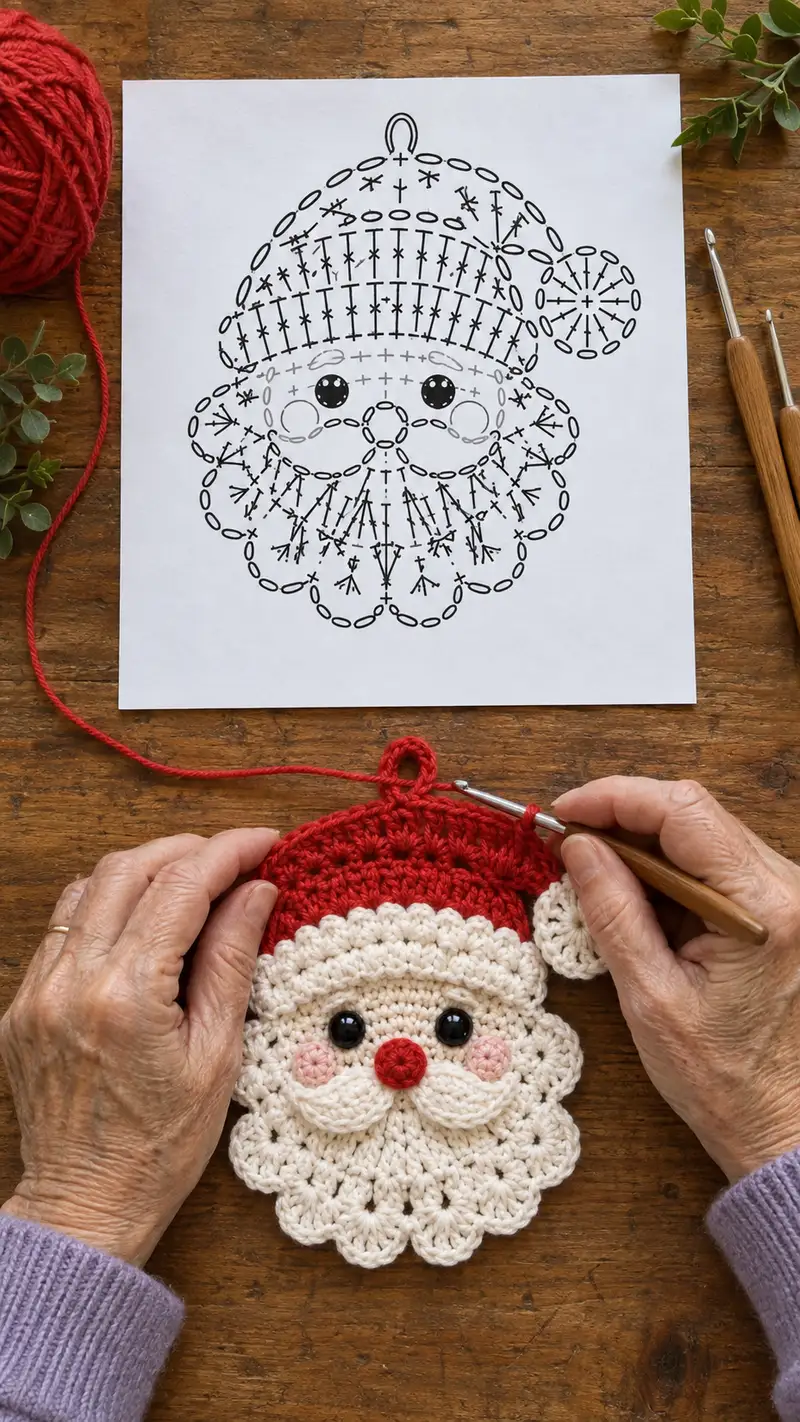
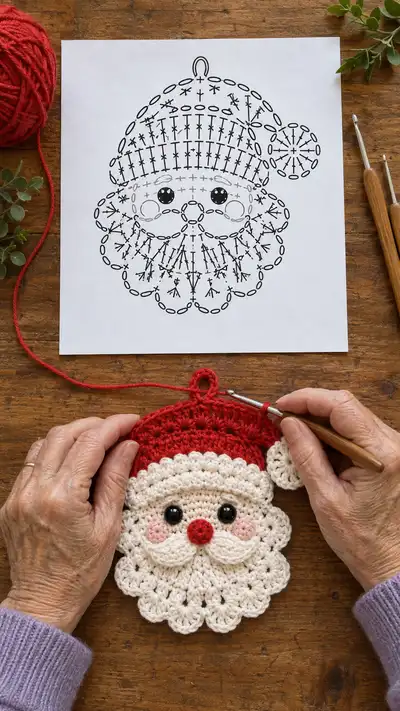
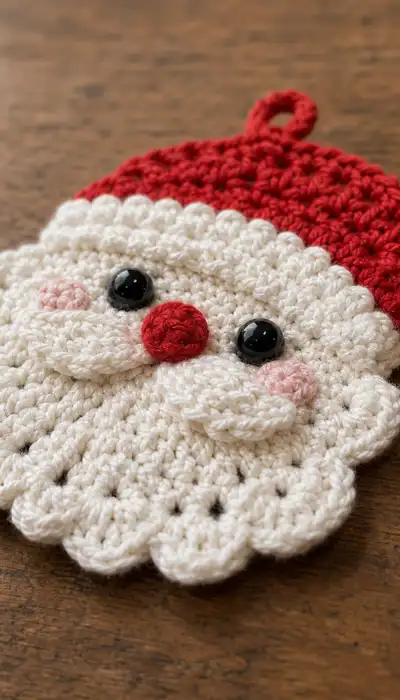
This cheerful Santa face ornament is a flat, decorative crochet motif with a scalloped beard, rosy cheeks, bright safety eyes and a red hat with pompom loop. Worked in rounds with textured shell stitches and simple shaping, it’s perfect as a hanging ornament, potholder accent or gift tag. The finished piece is compact and detailed — great for using up yarn scraps and creating a sweet holiday accent.
Progress Tracker
0% Complete
— Head / Face Base :
Round 1 :
With cream yarn, 6 sc in magic ring (6)
Round 3 :
(1 sc, inc) x 6 (18)
Round 4 :
(2 sc, inc) x 6 (24)
Round 5 :
(3 sc, inc) x 6 (30)
Info :
These early rounds build a dense, flat disc that will be the foundation for the beard and face. Keep tension firm so subsequent shell rounds are neat.
Round 6 :
(4 sc, inc) x 6 (36)
Round 7 :
1 sc around (36)
Round 8 :
(5 sc, inc) x 6 (42)
Round 9 :
1 sc around (42)
Round 10 :
(6 sc, inc) x 6 (48)
Info :
At this point you have a smooth circular face foundation roughly 10–12 cm across when using worsted yarn and a 3.5mm hook. The next rounds introduce the beard scallops.
Round 11 :
Ch1, *sk next st, 7 dc in next st (shell), sk next st, sc in next st* rep around; join with sl st to first sc. (12 shells, 12 sc)
Round 12 :
Sl st into the first shell space, ch3 (counts as dc), 2 dc in same space, *3 dc in next shell sp* rep around, join. (12 groups of 3 dc = 36 dc)
Info :
The shell rounds create the scalloped beard edge. Work shells loosely but keep the rest of the fabric firm so the beard lays flat.
Round 13 :
Ch1, sc evenly across tops of dc groups and sc stitches to form a tidy ridge (48 sc)
Round 14 :
Ch2, hdc in next 48 sts (48 hdc)
Round 15 :
Ch1, *sc in next 3 sts, shell in next st (5 dc)* rep around to create outer secondary scallops; join. (12 small shells, sc spacings keep stitch counts balanced)
Info :
If your shells are pulling the piece into a bowl shape, loosen tension slightly on shell stitches or block lightly after finishing.
Round 16 :
Ch1, sc in each st around (60 sc) — this evens out the perimeter after shell additions
Round 17 :
Ch1, *sc 4, dec* rep around (50) — gentle contouring to a more oval face shape
Round 18 :
Ch1, 1 sc in each st (50)
Info :
Work an even round or two here to make a flat region for eyes and moustache placement. Keep a stitch count marker on the first stitch so positioning remains consistent.
Round 19 :
Ch1, sc around (50)
Round 20 :
Ch1, *sc 5, dec* rep around (42)
Round 21 :
Ch1, sc around (42)
Round 22 :
Ch1, *sc 4, dec* rep around (35)
Info :
Rounds 19–22 are worked to create a slight inward curve where the moustache and nose will sit. Do not fasten off — this piece remains open for attaching hat later if working joined.
Round 23 :
Ch1, sc around (35)
Round 24 :
Ch1, *sc 3, inc* rep around (42)
Round 25 :
Ch1, sc around (42)
Round 26 :
Ch1, *sc 4, inc* rep around (50)
Info :
These final smoothing rounds help the beard fan and lay flat. Finish off leaving a long tail for sewing if you will attach the hat separately; otherwise continue to join hat in next section.
— Beard Scallops & Edge Detail :
Round 1 :
With cream yarn (if you previously fastened off, rejoin at outermost rounds), ch1, sc evenly across to desired position (50 sc)
Round 2 :
*Ch3, 3 dc in same st (picot-shell), sl st in next st* rep around to form decorative scallop loops; join. (Approximately 10–12 loops depending on spacing)
Round 3 :
Ch1, sc across tops of loops to tidy (50 sc)
Info :
Use this edge round to create the petal look shown in the photo. Adjust number of chs in shells for larger/smaller petals; maintain even spacing.
Round 4 :
Work a decorative picot row: *sc, ch3, sl st in top of next shell* rep around. This produces tiny points on each scallop edge for a crisp finish.
Round 5 :
Fasten off and weave in ends on the backside carefully so the front remains clean.
— Face Top / Hat Join Preparation :
Info :
If you prefer the hat joined to the face, align hat base stitches with the top round of the face now. Otherwise fasten off and make hat separately then sew on. Count the topmost 18–22 stitches as the hat attachment zone.
— Hat (Make Separately or Join) :
Round 1 :
With red yarn, ch 2, 6 sc in second ch from hook (6) — work in rounds to form semicircle/short cone
Round 3 :
(1 sc, inc) x 6 (18)
Round 4 :
(2 sc, inc) x 6 (24)
Info :
These rounds create the crown of the hat. For a flatter hat that sits on the face, stop increases earlier; for a taller hat make additional increase rounds.
Round 5 :
1 sc around (24)
Round 6 :
(3 sc, inc) x 6 (30)
Round 7 :
1 sc around (30)
Round 8 :
(4 sc, inc) x 6 (36)
Info :
Switch to BLO on the next round if you want the brim to have a raised texture when folded forward, creating the white brim seen in the photo.
Round 9 :
Change to white/cream for brim (Info: change color now; carry red yarn if you want fewer ends). Ch1, sc in each st BLO (36)
Round 10 :
Ch1, *sc in next 2, shell (5 dc) in next st* rep around to create plush brim texture; join. (6 shells, with sc spacings)
Round 11 :
Ch1, sc around in both loops (36 sc) — fold brim forward and tack seam with a few slip stitches if you prefer a folded look
Info :
Fold the brim forward over the red body of the hat and sew through front loops only to create the distinctive rolled brim. This also hides color change joins inside the hat.
Round 12 :
Change back to red (Info: pick up red yarn inside brim to avoid visible join). Ch1, sc around (36)
Round 13 :
Ch1, *sc 5, inc* rep around (42) — shaping towards hat tip
Round 14 :
1 sc around (42)
Round 15 :
(6 sc, inc) x 6 (48)
Info :
If you want a hanging loop integrated at the hat tip, leave a long tail here for a chain loop, otherwise create a separate loop later. For a floppy pompom, leave the hat opening open and sew a pompom on top.
Round 16 :
Ch8, join to top center with sl st to form loop, ch1, sc around entire hat edge if you want an extra tidy edge (48 sc) — fasten off and weave ends.
— Pompom / Bobble :
Round 1 :
With red yarn, 6 sc in magic ring (6)
Round 3 :
1 sc around (12)
Round 4 :
(2 sc, inc) x 4 (16)
Round 5 :
Sc around (16); fasten off leaving tail to sew. Lightly stuff or leave flat — small bobble should be low profile.
Info :
Sew pompom to side of hat or top as shown. For a fluffier pompom you can make a yarn pompom separately and attach instead.
— Nose :
Round 1 :
With red yarn, 6 sc in magic ring (6)
Round 3 :
1 sc around (12)
Round 4 :
(1 sc, dec) x 4 (8)
Round 6 :
Fasten off leaving a long tail for sewing; lightly stuff with a small pinch of fiberfill and sew centrally between moustache lobes.
Info :
Position nose one round above centre of moustache. Sew through several stitches to secure tightly so it remains centered.
— Moustache (Make 2 mirrored halves) :
Round 1 :
With cream yarn, ch6, in 3rd ch from hook work 1 dc, 1 dc in next, ch2 turning and work 1 dc along chain base to create a small curved piece — this forms the innermost moustache nub. Fasten off (small curve)
Round 2 :
Rejoin at outer edge of nub, ch1, 7 sc across, turn and in the same row work 5 dc cluster to form curl, then sc back towards center creating a leaf-shaped moustache lobe. (Approximately 12 sts per lobe)
Round 3 :
Repeat shaping to expand lobe: sc around the perimeter, add 2 dc clusters at outermost tip to create a curl. Fasten off and make second lobe mirrored.
Info :
The moustache lobes are small decorative pieces; use photos to guide shaping. Align lobes symmetrically and tack in place before sewing fully.
— Cheeks (Make 2) :
Round 1 :
With blush pink yarn and a smaller hook (3.0mm), 6 sc in magic ring (6)
Round 3 :
1 sc around (12)
Round 4 :
Fasten off leaving long tails for sewing. Position below each eye and to the sides of the moustache; tack then stitch securely.
Info :
Cheeks may be lightly stuffed if you want a puffed look, but leaving them flat keeps the motif tidy and less bulky for hanging.
— Eyes :
Info :
Use glossy safety eyes (10–12mm) or embroider eyes with black yarn. Position eyes symmetrically about 6–8 stitches apart on the face plateau between Rounds 13–18 of the Head/Face Base. Eye center should sit approximately 6–8 rounds up from the moustache base depending on your gauge.
Round 1 :
If crocheting eye discs for a stitched look: With black yarn, 6 sc in magic ring (6). Fasten off and sew behind safety eyes or stitch discs in place before adding safety backs.
Info :
Attach safety eyes before final assembly if using them; they cannot be re-positioned easily once backs are locked. For baby-safe toys, embroider eyes instead.
— Finishing Loop (Optional) :
Round 1 :
With red yarn at top center of hat, ch12, sl st to base to form loop; fasten off and weave in ends. Adjust ch length for desired hanging size.
Info :
For a sturdier loop, chain as specified and then sc back across chain on opposite side to create a flat loop that holds shape. Sew base with a few extra stitches to secure.
— Optional Backing (for potholder use) :
Round 1 :
Make a second backing disc in cream or red to match size of face base (Work rounds to 50 sts as in Head/Face Base Rounds 1–10). Fasten off leaving tail.
Round 2 :
Place front and back together with right sides out and whip stitch around the outermost round leaving a small opening if you want to add a thin insulating layer or stiffener; for decorative ornaments sew fully closed.
Info :
If using this motif as a potholder, add a heat-resistant cotton batting or thermal pad between layers. Use cotton or linen yarn for heat resistance rather than acrylic.
— Detailed Assembly Notes :
Info :
Always pin all facial features in place and check symmetry before sewing. Use small, tight whip stitches with matching yarn color to make attachments invisible from the front. Weave in ends at least 3–4 cm into the fabric and secure with a few backstitches.
Info :
To achieve the layered look shown: first attach moustache lobes centered slightly above the beard scallops, then sew the nose overlapping the tip of the moustache lobes, then position cheeks just outside the eye centers and finally add the hat and pompom.
Info :
Blocking lightly with steam (not touching synthetic fiber directly) will flatten rounds and sharpen scallop edges. For cotton yarn, wet block and pin scallops in place to dry for best shaping.
Info :
Photographed gauge note: Using worsted weight yarn and a 3.5mm hook will produce a motif approximately 11–13 cm (4.5–5.25 in) tall from beard scallop to tip of hat, depending on tension and any folded brim.
This cheerful Santa face pattern brings holiday warmth in every stitch — a quick, satisfying project you can finish in an afternoon. Make them by the dozen for gift tags, tree ornaments, or cozy kitchen accents. The scalloped beard and proud little moustache give each face character, and the layered construction allows endless customization. 🧶🎄 Have fun stitching, and remember to share photos of your festive creations — they always make my day! 🎁