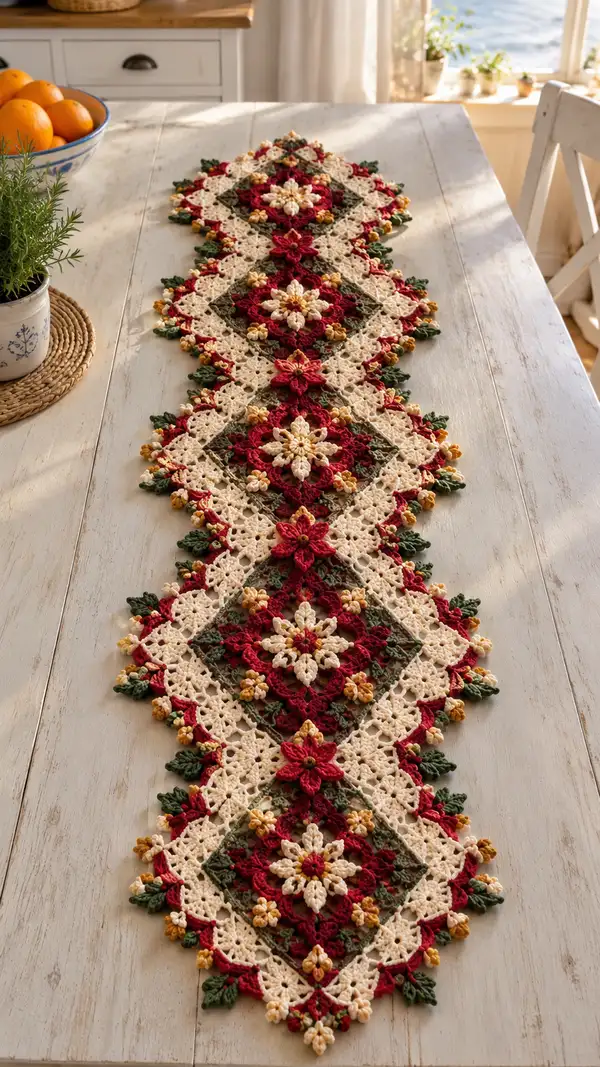
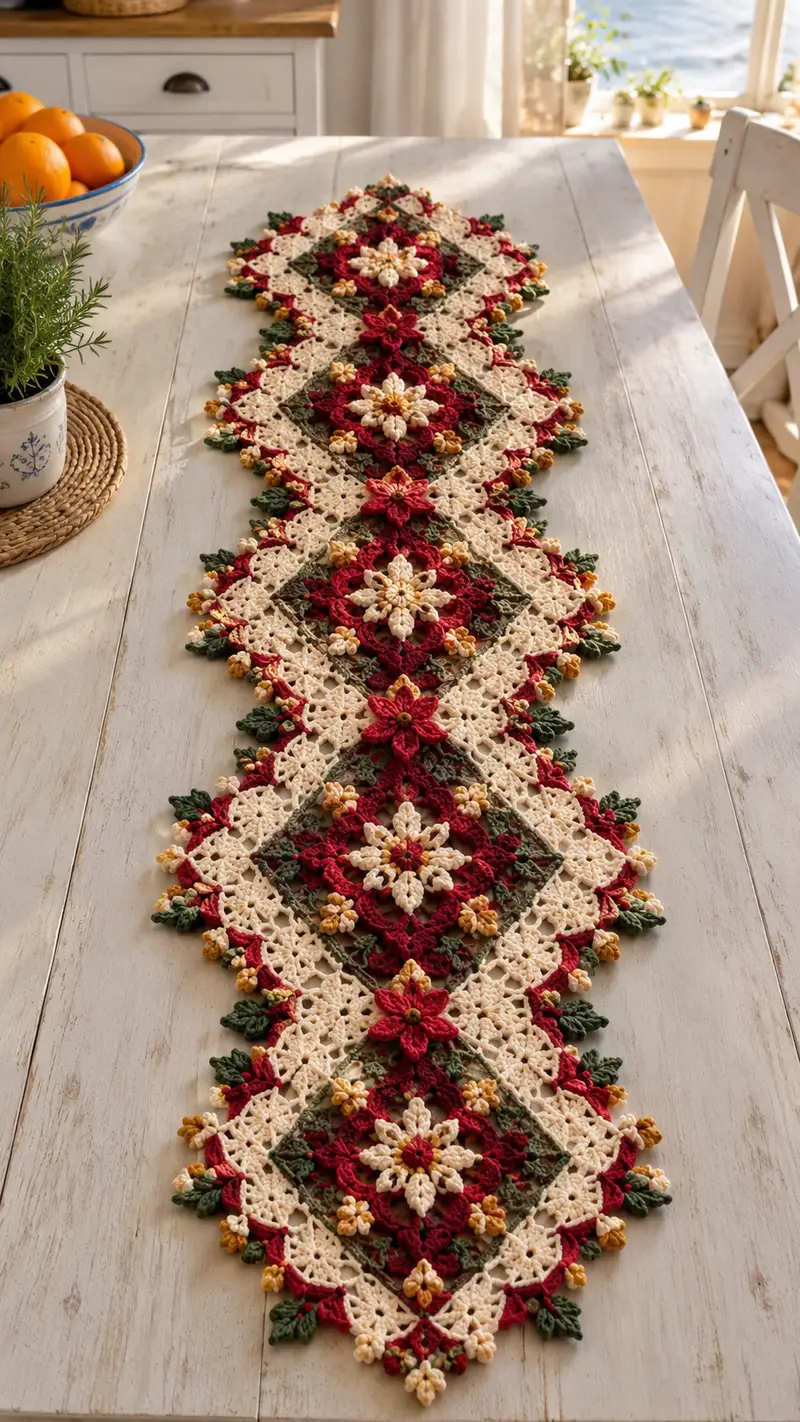
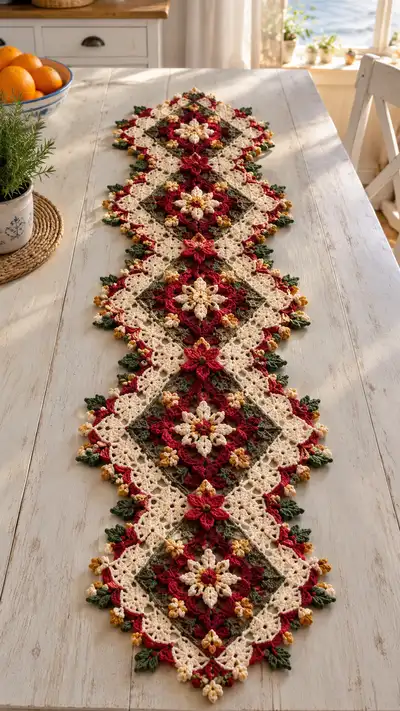
A richly textured floral diamond table runner featuring layered 3D flowers, tiny puff buds and leafy scalloped edges in cream, burgundy, olive and mustard tones. The pattern uses modular diamond motifs joined into a long runner with a decorative border. Perfect for seasonal tables or as a centerpiece accent, this runner balances open lacy stitches with sculptural petals and clusters for a handmade heirloom look.
Progress Tracker
0% Complete
— Overview :
Info :
This runner is assembled from repeating large diamond floral motifs connected with smaller square lace motifs, then finished with a decorative scalloped border with leaf points and puff buds. The pattern below describes each component in full detail: Large Floral Diamond (make 6), Small Lace Square connector (make 8+ as needed), 3D Flower (4 per large diamond), Leaves (approx 48), Puff Buds (approx 60), and Border. Work each motif using the color calls and join as you go where directed. Tension: work slightly tight; motifs should hold shape and block flat.
— Large Floral Diamond Motif (Make 6) :
Round 1 :
With Burgundy, ch 4, sl st to form ring, ch3 (counts as first dc), 11 dc into ring (12 dc total). Join with sl st to top ch-3 (12)
Round 2 :
Ch3, dc in same st, 2 dc in each dc around (24). Join with sl st to top ch-3 (24)
Info :
Change to Cream for next round if you want the cream petals to come next; otherwise continue with Burgundy for a denser center. Carry unused color inside and catch it along a few stitches to keep tidy.
Round 3 :
Switch to Cream. Ch1, sc in same st, *ch3, sk 1 dc, sc in next dc* repeat around to form 12 chain loops for petal base. Join with sl st to first sc (24 loops counted as ch-3 spaces)
Round 4 :
In each ch-3 loop: (sc, hdc, 3 dc, hdc, sc) to create fuller petal (12 petals). Join with sl st to first st (approx 12 petals)
Info :
Make petals slightly raised: pull center of petal up as you work later stitches to create a 3D effect. Use the tail of the center ring to anchor base if needed.
Round 5 :
Switch to Burgundy. Ch1, sc in each stitch around petal bases, placing 2 sc into each valley between petals to help expand; do 36 sc evenly around (36)
Round 6 :
Ch3, (dc in next 2 sts, ch2) repeat around to create corner arches; join (12 ch-2 loops) (36)
Round 7 :
Into each ch-2 loop: (2 dc, ch2, 2 dc) to make small corner clusters. Join with sl st (12 corner clusters). This completes an initial round of diamond points
Round 8 :
Change to Olive. Attach yarn at midpoint between two corner clusters. Ch1, sc evenly around the outer edge placing (3 sc) in each corner cluster and (2 sc) along straight sides to create a diamond shape; total approximately 72 sc (72)
Info :
At this stage begin thinking of the diamond orientation: points will sit on the long axis of the runner. Place a stitch marker in the midpoints of each side for future joins with small lace squares.
Round 9 :
Ch3, dc in next st, *ch1, sk1, dc in next 3 sts* around to form a lacy mesh row; aim for 72 stitches counted as combination of dc and skipped spaces (72)
Round 10 :
Switch to Cream. In each ch-1 space: (sc, ch3, sc) to make picot-style arches across the side rows; join (approx 36 picot arches)
Round 11 :
Change to Burgundy. Work in each picot arch: (sc, hdc, 3 dc, hdc, sc) to create secondary petals pointing toward the diamond center; this gives layered florals (36 small petals)
Info :
At the end of Round 11, block motif lightly to open mesh and align corners. This will ease joining later. If adding 3D center petals (flower), leave small loop spaces unworked for sewing flower later.
Round 12 :
With Mustard, attach at each corner cluster point (the 12 corner clusters). Ch1, in each corner cluster work (3 sc, ch3, 3 sc) to form a small corner puff base; join (12 corner puff bases)
Round 13 :
Change to Olive. Around each side between corner puff bases: *ch5, sl st into 3rd ch from hook to make tiny chain loops with picot effect* repeat to edge making approx 24 loops per side; join
Round 14 :
Switch to Cream. Sc into each chain loop and into spaces to produce a flat lace round; maintain approximate stitch count of 96 sc (96)
Round 15 :
Border shaping: Ch3, dc in next 2 sts, *ch2, sk2, dc in next 3* around to form scallop anchors (96)
Info :
Fasten off and weave ends, but leave connecting tails at designated join points (midpoints and corner puffs) for join-as-you-go connection with small square motifs. Each large diamond consumes approximately 40-50g yarn total across colors.
— 3D Flower (Make 4 for each Large Diamond; total 24 per runner)
Round 1 :
With Mustard, ch4, sl st to form ring. Ch1, 8 sc into ring. Join (8)
Round 2 :
Switch to Cream. *Ch4, sl st into next sc* around to form 8 looped petals. Join
Round 3 :
Into each loop: (sl st, ch1, 5 dc, ch1, sl st) to build a dense petal. Join (8 large petals)
Info :
Make petals slightly overlapping by working the base stitches close to the previous petal's base and pulling the finish tight to turn each petal up for dimension.
Round 4 :
With Burgundy, work a round of sc around petal bases, placing 2 sc between petals to shape the flower disc (approx 24 sc)
Round 5 :
Switch to Mustard. Make a small puff cluster center: *yarn over twice, insert in next st, yarn over, pull up a loop repeat twice making 5 loops on hook, yarn over and pull through 5 loops, ch1 to secure* in center. Fasten off leaving a long tail to sew the flower to the diamond center.
Info :
Sew the finished 3D flower onto the large diamond center using the long tail and a yarn needle; place the flower centered and secure through the motif's center rounds. Stitch counts are approximate as the flower is sculptural; aim for symmetrical placement.
— Small Lace Square Connector Motif (Make 8-10) :
Round 1 :
With Cream, ch4, sl st to form ring. Ch3 (counts as dc), 11 dc into ring. Join (12)
Round 2 :
Ch1, sc in same st, *ch3, sc in next dc* around to form 6 loops. Join
Round 3 :
In each loop: (sc, hdc, 3 dc, hdc, sc) to form small petals (6 petals). Join
Round 4 :
Switch to Olive. Ch3, dc in next 2 sts, ch2, sk next petal base, dc in next 3 sts repeat to form 6 ch-2 corner loops and create a small hex-to-square transition (approx 36 dc)
Round 5 :
With Burgundy, work into each corner loop: (2 dc, ch2, 2 dc) to square off corners (6 corner clusters). Join
Round 6 :
Switch to Cream. Work sc along each side between corner clusters finishing with small picot ch3 sl st to base for decorative points; total approx 48 sc
Info :
These small squares are used to join the large diamonds along their side midpoints and between points. Block them flat so corners align cleanly.
— Leaf (Make approx 48) :
Round 1 :
With Olive, ch8. In 2nd ch from hook: sc, hdc, 2 dc, tr, 2 dc, hdc, sc (leaf shaped). Fasten off leaving tail for sewing. (8)
Info :
For a more textured leaf, work final round in BLO to create a central vein. Slightly curve leaf with blocking or a tiny fill of starch for a rigid point if desired.
— Puff Bud (Make approx 60) :
Round 1 :
With Mustard, ch2, in 2nd ch from hook work: *yarn over twice, insert hook, pull up loop* repeat 4 times to have 5 loops on hook, yarn over and pull through all loops, ch1 to secure. Fasten off leaving tail to sew to motif
Info :
Stitch puff buds at junctions of diamond corners and along scalloped border for the dotted texture seen in the photo. Use matching tails to attach securely.
— Joining Large Diamonds and Small Squares (Join-As-You-Go Method) :
Info :
Assemble runner in alternating sequence: Large Diamond, Small Square, Large Diamond, Small Square, etc. Join at designated midpoints and corner points using a slip stitch join or single crochet join in Cream so seams blend. Pin motifs first to ensure correct spacing and alignment before final joining.
Join Step 1 :
Lay a Large Diamond with its side midpoint facing you and align a Small Square so that their side midpoints match. Working in Cream, with right sides up, insert hook through the side picot or midpoint of the diamond and the matching st of the small square, sl st to join. Continue across the side working sl st through corresponding stitches until the motifs are joined across the full side (approx 12-16 sl sts depending on motif row). Fasten off and weave tail.
Info :
Perform joins on one long edge first to create a chain of alternating motifs; then flip and join opposite edges in the same way so motifs interlock into the long runner layout. Keep tension slightly relaxed to allow the runner to lie flat; if joins pull too tight, the runner will pucker.
— Decorative Edge and Scallop (Work after all motifs joined) :
Round 1 :
With Cream around the entire assembled runner, join at any point, ch1, sc in same st and sc evenly around edges placing 3 sc in each corner point and 2 sc along straight edges. Aim for even spacing; final count depends on assembled length (estimate 400-520 sc around full runner).
Round 2 :
Ch3, skip 1, dc in next st, *ch2, sk1, dc in next 2/3 sts depending on spacing* continue to create scallop anchors around; total scallops approx 120-150 depending on spacing.
Info :
Use stitch markers to map scallop points before working the full border. This helps keep scallops evenly spaced across assembled motifs.
Round 3 :
With Burgundy, in each scallop anchor: (sl st up into anchor, ch3, 7 dc in anchor, ch3, sl st into anchor) to form deep scallops that echo flower petals. Fasten off and weave tails.
Round 4 :
With Olive, attach yarn between scallops where leaf points will project. Work *ch4, sl st in 2nd ch from hook, sc in next; attach leaf in base by sewing or with 2 sc around leaf base; repeat at each scallop junction. Final leaf count approx equals scallops count (120 leaves)
Round 5 :
With Mustard, add puff buds in between scallops and at corner points by sewing pre-made buds to the base of scallops and at motif junctions. Space buds as photographed for clustered look.
Info :
For a raised decorative edge, alternate burgundy scallops and single mustard puff buds, securing each bud by passing the long tail through the border twice and knotting inside the runner structure.
— Finishing Touches :
Info :
Sew the 3D flowers onto the centers of each large diamond (use the long tail left when making the flower). Arrange small leaves in pairs at diamond corners and sew through motif layers so they sit flattened but slightly curled. Attach puff buds to corner clusters and between scallops for dimensional texture.
Final :
Block the entire runner: dampen motifs lightly, pin to measurement board, and pin out each scallop and leaf to match the photographed proportions. Allow to dry fully. Weave in all ends and trim flush.
Info :
Press gently with low heat or spray starch if you want a slightly stiffer decorative tabletop piece; for a soft drape, block and air dry without starch.
Completing this runner is such a satisfying, creative adventure — every motif is a small work of art that combines into a striking centerpiece. The layered flowers and tiny buds create a vintage, handcrafted elegance perfect for seasonal tables or everyday charm. Blocking and careful joining turn individual motifs into a cohesive heirloom you can treasure or gift. 🧶🌸 Happy stitching — enjoy the slow, relaxing process and savor each petal you create! 🎁