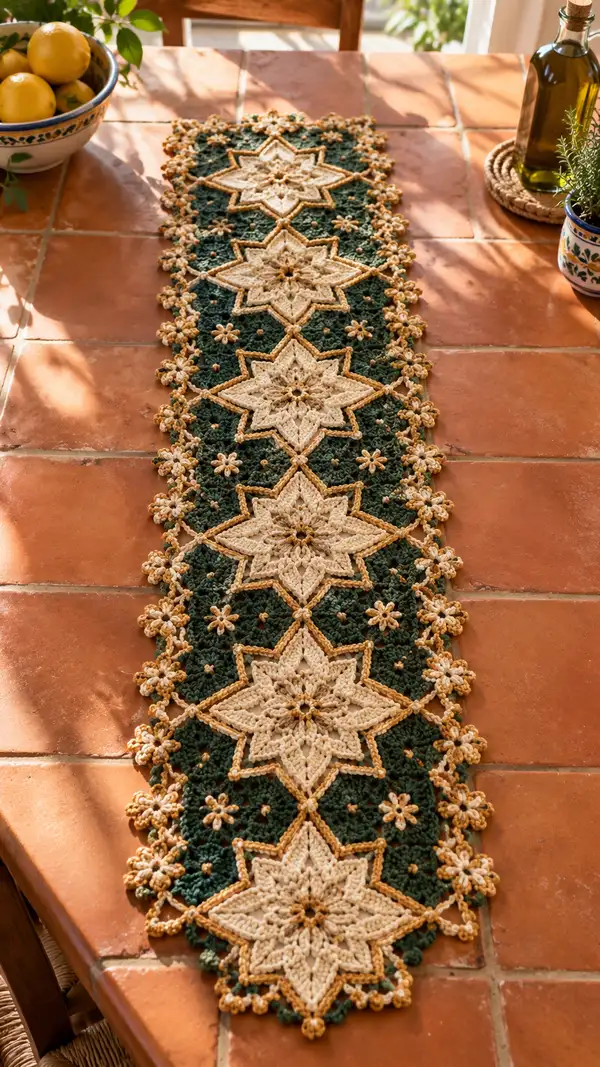
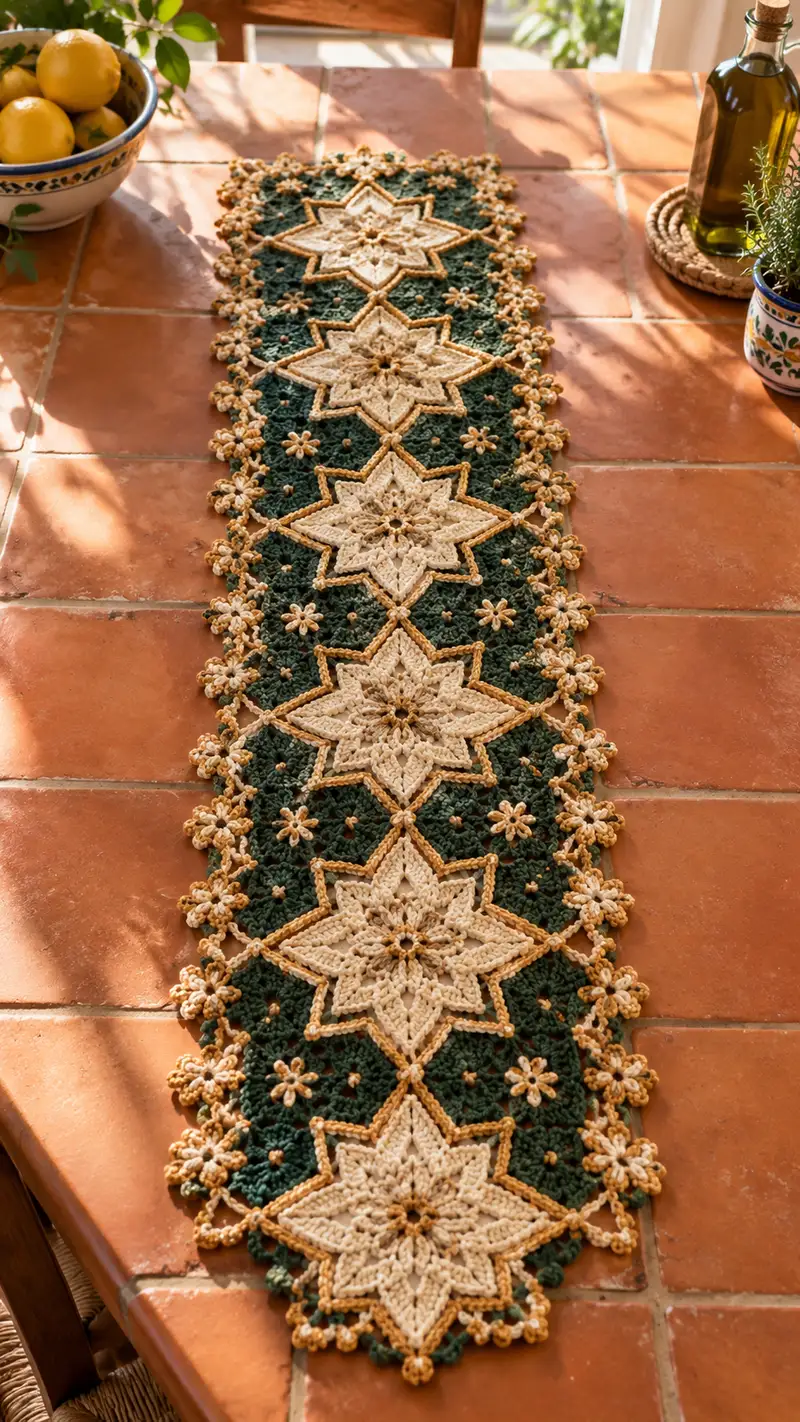
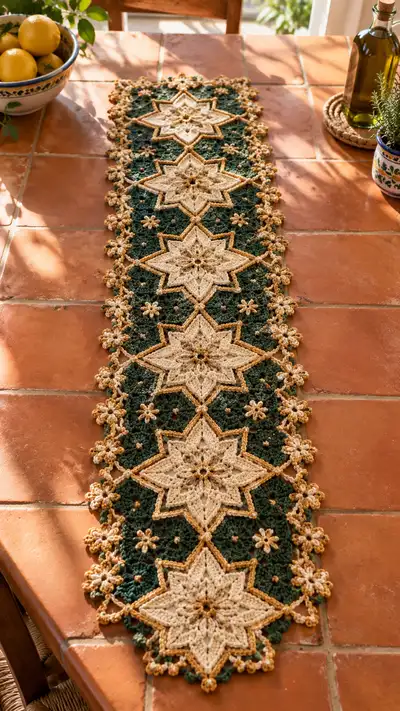
This elegant table runner features a repeating cream star medallion set on a deep forest green lattice, edged with delicate golden-beige floral motifs. Worked motif-by-motif and joined-as-you-go, it has a vintage-inspired, hand-crafted look that layers texture and subtle color contrast. Perfect for dining tables, sideboards, or seasonal displays, the runner combines floral edging and raised star outlines for a refined artisanal finish.
Progress Tracker
0% Complete
— Materials & Gauge :
Info :
Gauge is flexible for home decor. Using worsted cotton and 4.0mm hook expect approximately 10 cm (4 in) from center of star to outer edge across one completed motif (measured across point to point). This pattern is modular; adjust hook or yarn to change scale.
— Notes Before You Start :
Info :
Read through the whole pattern before beginning. This runner is worked as repeating 'Star Medallion' motifs joined-as-you-go with a deep forest green filler worked around each motif. Motifs are made in three colors: Cream (C), Forest Green (G), Golden-Beige (B). Use stitch markers to mark round starts and motif points. All rounds are worked in continuous rounds unless otherwise noted; if you prefer joined rounds, end with sl st and ch 1 to start next round as preferred.
— Star Medallion (Make 7 motifs, each motif uses Colors: Cream (C) and Golden-Beige (B)) :
Round 1 :
With C, 8 sc in magic ring (8)
Round 2 :
Inc in each st around (8 inc) — 16
Round 3 :
(1 sc, inc) x 8 (24)
Round 4 :
(2 sc, inc) x 8 (32)
Round 5 :
(3 sc, inc) x 8 (40)
Info :
This first expansion builds a firm circular disk that becomes the star center. Keep tension steady — the center should lie flat. If it cups, loosen tension; if ruffles, check increases for extra stitches.
Round 6 :
1 sc in each st (40)
Round 7 :
(4 sc, inc) x 8 (48)
Round 8 :
1 sc in each st (48)
Round 9 :
Change to C (continue) — *ch 5, skip 5 sts, sl st in next st* around to create 8 looped points: (8 loops)
Info :
We are creating preliminary ch-loops that will host point clusters. Count loops and keep them even: each loop corresponds to a star point.
Round 10 :
Work into each ch-5 loop: (sc, hdc, 3 dc, hdc, sc) in each loop — forms the first layer of points. After completing last point, sl st to join (8 points)
Round 11 :
1 sc around center disk (work 1 sc in each base stitch and in the spaces between points) — approximately 64 sts — count carefully
Round 12 :
Now establish the sharp star points with front post work: *ch 2, (hdc, dc, tr) in the top of each point cluster, ch 2, sl st to space between points* — creates raised height at each point (repeat for 8 points)
Info :
Use post stitches lightly; they add texture but can bulk. The goal here is to raise and define the points; keep stitches centered on each point cluster.
Round 13 :
Working behind the raised points, 1 sc around including around posts — aim for 72 sts (count by group: adjust if necessary to match even round)
Round 14 :
(2 sc, inc) x 24 — 96 sts. Even round to broaden the field behind points and prepare for star outline
Round 15 :
Change to B (golden-beige) at the end of the round: ch 1, sl st join with B. Working in BLO, 1 sc in each st BLO around (96)
Info :
The BLO round creates a subtle ridge useful as a contrast outline when we build the raised edge. Change color neatly by finishing the previous sc with the new color pull-through.
Round 16 :
With B, work a raised outline: *sl st in next 3 sts, ch 6, working back along ch with 5 sl st to create a raised loop that follows star point edge; secure with sl st in base*. Repeat around each star point edge (8 raised outline loops)
Round 17 :
Return to C: 1 sc evenly around entire motif joining into foundation stitches and working around ch-6 outlines where needed to secure (approx 110 sts) — count and adjust so outline loops are attached evenly
Round 18 :
Define the star points further: in each point top work (hdc, dc, 2 tr, dc, hdc) centered at the point tip. In side spaces work 2 sc to keep field even. Finish with sl st join (approx 136 sts)
Info :
At this stage the star should have a clear eight-pointed silhouette. If one point seems small, you can add a single dc or hdc in the side spaces of that point to balance size.
Round 19 :
Switch to B for a narrow picot border around each point: *sc in next 4 sts, (ch 3, sl st in first ch) picot, sc in next 4 sts* — work around entire motif, creating small decorative picots at regular intervals (maintain count around 136 sts)
Round 20 :
With C, 1 sc around to tidy the picot round and flatten edges (approx 136 sts)
Round 21 :
Work a decorative openwork round to prepare for joining: *ch 4, skip 3 sts, sc in next st, ch 4, sl st in top of next point tip*. Make 8 evenly spaced ch-4 loops between points
Info :
These ch-4 loops will be used as anchor points when joining motifs on the green lattice later. Label the loops with small removable markers until ready to join.
Round 22 :
Optional bead round: with B, work sl st around outermost edge placing a tiny bead in the ch-4 loop center (if using). Otherwise, 1 sl st in each st to finish outer edge.
Round 23 :
Fasten off C leaving long tail for weaving if needed around inner joins. Weave in ends after blocking.
Info :
Block each star motif gently to line up points. Pin points straight and mist or steam-block. Allow to dry fully before joining to preserve shape.
— Forest Green Filler Motif (Background Diamond / Lattice Piece - Make 6 connecting panels per motif set) :
Round 1 :
With G, 6 sc in magic ring (6)
Round 3 :
(1 sc, inc) x 6 (18)
Round 4 :
(2 sc, inc) x 6 (24)
Round 5 :
(3 sc, inc) x 6 (30)
Info :
These small diamond panels form the deep green background that nests between star points. Their shape is intentionally compact to allow the starred motifs to sit on top.
Round 6 :
1 sc around (30)
Round 7 :
(4 sc, inc) x 6 (36)
Round 8 :
1 sc around (36)
Round 9 :
Begin shaping to a diamond: *sc 6, ch 5, sc 6 opposite to form a corner loop* repeat twice creating 4 corner ch-5 loops to form a square/diamond shape; finish with sl st to starting point (count varies but maintain symmetry)
Round 10 :
Work clusters in each corner loop: (sc, ch 3, 3 dc, ch 3, sc) in each ch-5 corner to create a petal-like corner finishing. This will create spaces for star points to be set into later.
Round 11 :
1 sc around working into corners and spaces, count roughly 64 sts — adjust to keep rounds even
Round 12 :
With G, create decorative texture: *(ch 2, sk 1) across base of panel, then in corner spaces work a small 5-dc cluster to form raised corner knuckles* — this round is textural and can vary depending on how dense you want your background
Info :
Make one filler panel for each gap between stars; block these pieces flat to square the corners. These will be joined to the star's ch-4 loop anchors and sl st join points later.
Round 13 :
Fasten off leaving tail for join. Weave ends after joining phase is complete.
— Small Daisy Flower Edge Motif (Make many for border, use B and C) :
Round 1 :
With B, 6 sc in magic ring (6)
Round 2 :
Inc in each st around (6 inc) — 12
Round 3 :
(1 sc, inc) x 6 (18)
Round 4 :
Change to C: *[ch 4, sc in next st]* around to form 6 ch-4 loops (6 loops)
Round 5 :
Into each ch-4 loop work (sc, ch 2, 3 dc, ch 2, sc) to form small petal; fasten off and leave tail for sewing (6 petals)
Info :
These daisies are worked in two colors for contrast and are attached to the runner perimeter between star points. Add a tiny bead or French knot in the center for accent if desired.
— Joining-As-You-Go: Attaching Star Medallion to Green Filler (Process Pairs) :
Info :
Lay one star motif and one filler diamond right sides up. Match the star ch-4 anchor loops (from Star Round 21) to the corresponding corner loops on the filler piece. Join using slip stitches or single crochet through both layers for a neat seam. We will join motifs into a linear strip, connecting each star to two adjacent fillers so the runner forms a long band.
Round J1 :
With G held and motif placed, insert hook through ch-4 loop of star and corresponding corner loop of filler, pull up loop, sl st to join; continue around all 4 corner anchor points creating secure joins (4 slip-stitch joins per pair)
Info :
Join gently at first, pinning pieces together to maintain symmetry. Work slack-free joins to avoid gaps, but don't pull too tight or points will pucker.
Round J2 :
After joining star to filler on one side, flip and join the opposite side to the next filler panel in the sequence. Repeat for the whole strip: Star - Filler - Star - Filler until your runner has desired number of stars (photo shows 7 stars in a long strip).
Info :
Use this join method repeatedly; pin the whole length before final joining if possible to keep alignment consistent. Keep color joins tidy by weaving in tails into the back of the work rather than across the surface.
— Building the Central Strip: Green Field Rounds Between Joins :
Round G1 :
With G, when stars and filler panels are joined in place, work 1 sc around the outer edge of the assembled motif pair to create a uniform base for the next joining round. Work sc evenly into the edges and across seams (count will vary by assembly; maintain even tension).
Round G2 :
Work an open lattice round: *ch 3, sk 2, sc in next st* around to create uniform small holes across the green field helping the runner remain flexible and textured.
Info :
This step gives the assembled strip a cohesive field and helps blend the joins so the star centers read as inlaid elements rather than appliqued pieces.
Round G3 :
Work 2 rounds of alternating sc and shell stitches for texture: Round 3A: *sc 3, shell (5 dc in same space), sc 3* across; Round 3B: 1 sc in each st to even out (work both rounds as many times as needed to create 2–3 cm of green field between star rows).
Info :
Adjust the number of texture repeats so the visual spacing between stars matches the photo — there is a narrow but textured green field separating the starred medallions.
— Border Flower Placement and Joining :
Round B1 :
After central strip completion, position small daisy flowers in pairs along edges between star points. Using B tails, mattress stitch or whip-stitch the flower centers to the surface at each planned location (photo shows 2-3 small daisies between each star edge).
Info :
Place daisies evenly, using pins to test placement. Small wooden beads sewn into the center of each daisy will echo the golden accents seen in the image. Secure bead knots with a dab of fabric glue for longevity if necessary.
— Final Edge: Decorative Shells and Picots (Both Sides) :
Round E1 :
With B, attach yarn at a mid-edge point: *sc 3, ch 3, skip 2, sc 1* along edge to form a regular scallop anchor (repeat along entire length both edges).
Round E2 :
In each ch-3 space work (5 dc, picot, 5 dc) to create a fuller petal. Secure with sc in base spaces. This produces the large floral scallops visible on the runner perimeter.
Info :
Use the smaller 3.5mm hook for this round if you prefer a tighter, neater scallop. Keep picots consistent by using the same ch-3 loop and sl st into the first ch for each picot.
Round E3 :
With C, finish edge by working 1 sc in each st across scallops, placing a small ch-4 loop between each large petal to echo the tiny beads seen at regular intervals in the image. Fasten off and weave in ends.
Info :
Block the full assembled runner flat, easing scallops into shape. Pin each point and scallop carefully to ensure symmetry. Allow to dry fully before use.
— Alternate Border Method: Raised Rope Outline :
Round R1 :
With B, work a rope outline around the star points: *sl st 6 along the outer point edge, ch 6, sl st back along ch to create thick rope-like detailing* repeat around the entire runner edges for a framed look.
Info :
This optional finish mimics the raised golden outline visible in the photo and adds a luxurious framed border. Work the rope outline while the runner is pinned to the blocking board to maintain consistent spacing.
— Finishing Touches :
Info :
Weave in all tails at least 3–4 cm into the wrong side using a blunt yarn needle. Trim close. If using beads, re-check knots and secure with a tiny dab of clear fabric glue. Steam-block lightly if needed to remove any creases from joining. Check all joins and reinforce any loose slip-stitches by sewing over with a matching yarn and yarn needle.
Round F1 :
Optional: add small French knots or embroidered dots with contrasting thread at each small green hole for additional visual interest (use embroidery floss or thin yarn).
Info :
Finally, spot-clean or hand wash gently in cool water with mild detergent. Reshape while damp and lay flat to dry; cotton will soften and bloom slightly after washing.
Completing this Cream Star and Forest Green Table Runner is such a satisfying finish — the layered textures, crisp star points, and delicate flower edging come together to create a charming centerpiece for any table. I love how the golden-beige outline lifts the cream stars off the deep green field, adding depth and seasonal warmth. Enjoy blocking each motif and watching the pattern emerge as you join; it’s a beautiful project to display and to gift. 🧶✨