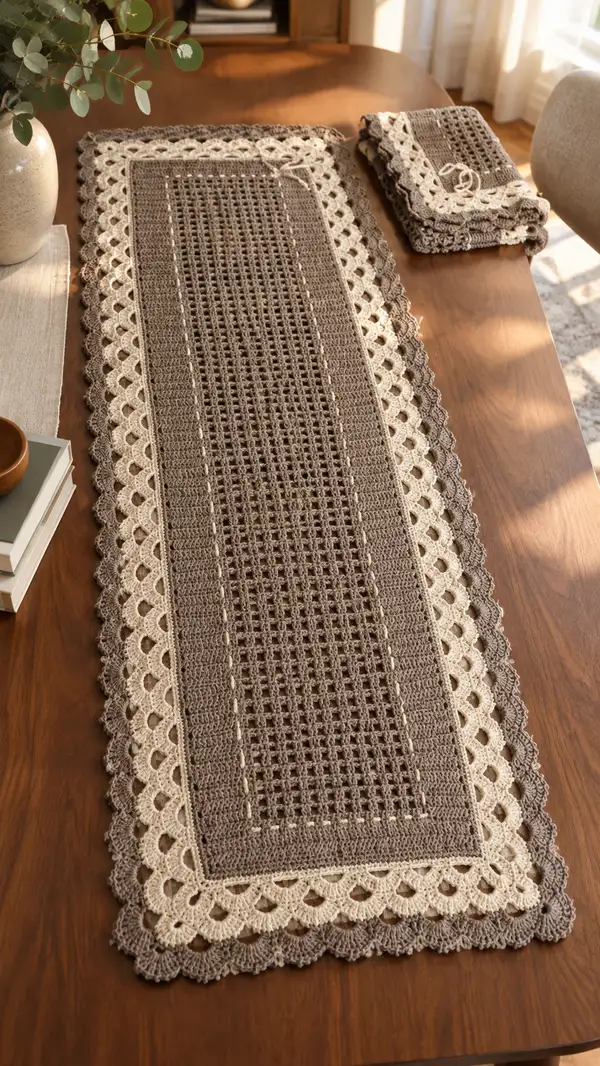
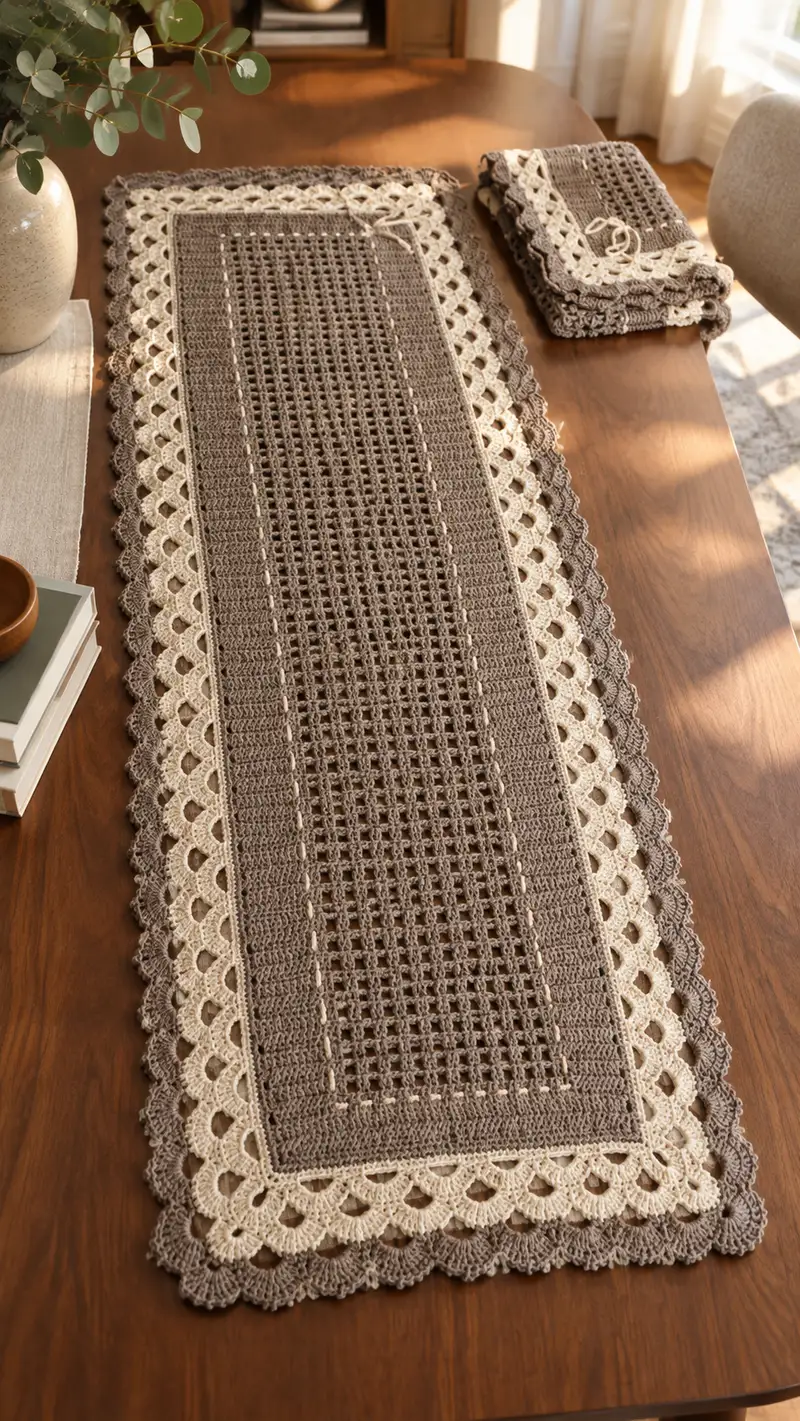
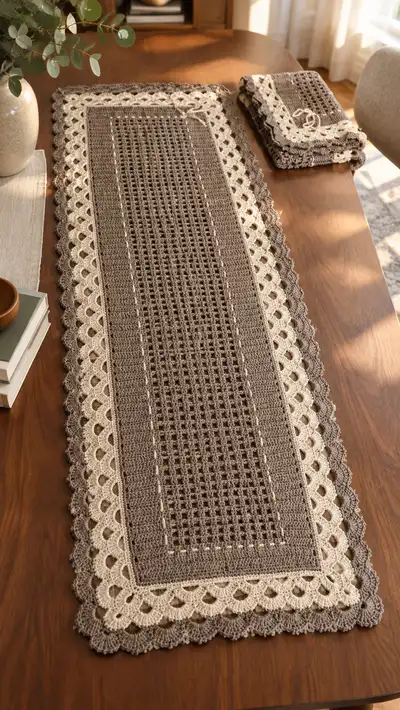
A long, elegant two-tone table runner featuring a dense central panel with an open lacy mesh and a scalloped double-border in contrasting neutrals. The runner pictured pairs warm taupe with a soft cream lace border for a timeless, farmhouse-chic look. Worked flat for the center and then edged in rounds, this design balances structure and delicate detail. Ideal for decorating dining tables, sideboards, or dressers with handmade charm.
Progress Tracker
0% Complete
— Notes :
Info :
This runner is worked flat in rows for the center panel and then edged in joined rounds to create the cream lace border and outer taupe scallops. The starting chain is written to create a finished width of approximately 12.5" (adjust by adding multiples of 4 to make it wider or narrower). Gauge isn't critical for this runner, but use a hook that produces a firm but flexible fabric so mesh holes remain neat. The pattern uses two colors: Main Taupe (Color A) for the center and outer scallop, and Cream (Color B) for the lace inner border.
— Center Panel (worked flat in rows) :
Round 1 :
Foundation: Ch 128 (this is 12 stitches of solid border (6 at each side) + a center multiple of 4 (116) for mesh repeats) (128)
Info :
Chain length may be adjusted in multiples of 4 to change width. Keep 6-stitch solid borders at each end for the framed look. Place a stitch marker in the 1st ch made to help count if needed.
Round 2 :
Row 1: Working into the back bumps or established method, ch 3 (counts as dc), dc in each ch across to end, turn (128)
Round 3 :
Row 2: Ch 3, dc in each st across in the back loop only to create a subtle ridge on the side borders, turn (128)
Round 4 :
Row 3: Ch 3, dc in next 6 sts (this forms the left solid border), then begin mesh repeat across center: *dc in next 2 sts, ch 2, sk next 2 sts* rep across center 29 times to consume 116 sts, finish row by working dc in last 6 sts (right solid border), turn (128)
Info :
Your mesh repeat is (2 dc, ch2, skip 2). This creates open spacings that will line up into vertical columns when worked with the alternating row pattern below. Count the center repeats to ensure 29 repeats across the middle section.
Round 5 :
Row 4: Ch 3 (counts as dc), dc in next 6 sts (solid border), then into each ch-2 space work: *2 dc into the ch-2 sp (this builds vertical bars), ch 2* across the center repeats, finish with dc in the last 6 sts, turn (128)
Round 6 :
Row 5: Ch 3, dc in each st across the 6-st border, then across center work *dc in next 2 sts, ch 2, sk next 2 sts* rep, finish with dc in last 6 sts, turn (128)
Info :
Alternate these two row types (Row 4 and Row 5) to build the mesh: one row works 2 dc into spaces, the next forms the ch-2 openings. This alternation creates the vertical open grid visible in the finished runner. Keep tension consistent to maintain neat vertical bars.
Round 7-16 :
Rows 6-15: Repeat Rows 4-5 alternation for 10 more rows to establish the central mesh panel (you should have a total of 12 mesh row-pairs including the initial repeats) (128)
Info :
Stop periodically and lay the panel flat to ensure vertical alignment of the open columns; if a column is misaligned, unravel back one or two rows and correct the repeat placement before continuing.
Round 17 :
Row 16: Ch 3, dc in each st across (128) — a solid row to anchor the mesh and prepare for the dense framed bands that appear between mesh sections
Round 18-23 :
Rows 17-22: Ch 3, dc in each st across for 6 rows to create a solid taupe band that frames the center mesh (128)
Info :
These solid bands give the runner weight and visual structure. You can vary the number of solid rows between mesh sections to taste; the pictured runner alternates mesh blocks and solid bands for a balanced look.
Round 24-33 :
Rows 23-32: Repeat mesh rows (Rows 4-5 alternation) for another 10 rows to continue the central texture block (128)
Info :
At the end of this sequence you will have a long central panel formed of alternating mesh and solid bands. Count your repeats across the width again to ensure the center mesh has held its 29 repeats. The vertical length of this section determines overall runner length; work as many mesh/solid blocks as desired for your preferred runner length.
Round 34-39 :
Rows 33-38: Work 6 rows of solid dc (ch 3, dc across) to mirror the beginning band and prepare for the inner lace border (128)
Round 40 :
Row 39: Ch 1, sc across in each st to tidy the working edge and make a firm platform for the lace border; at the end turn (128)
Info :
Change color to Cream (Color B) here if you prefer the lace border to be worked in cream. In the pictured runner the inner lace rounds are worked in cream, so fasten off Color A leaving a tail and join Color B with a sl st in any edge stitch.
— Inner Lace Border (worked in rounds with Color B - cream) :
Round 41 :
Round 1 (Border): Join Color B, ch 1, evenly sc around the entire rectangular panel working 2 sc into each corner stitch to keep corners flat. When you reach the beginning, sl st to first sc to join. Maintain 3 sc in corner groups (approx counts will match perimeter length).
Info :
Place 3 sc in each corner (worked in the same corner stitch or space) to maintain square corners. Use stitch markers at each corner to ease counting during the following shell rounds.
Round 42 :
Round 2 (Lace row A): Ch 3 (counts as dc), *skip 1 st, dc in next st, ch 2, sk 2, sl st in next st* around, working 3 dc in corner ch-2 spaces to form a corner cluster; join with sl st to top of ch-3
Round 43 :
Round 3 (Lace row B): Sl st into the first ch-2 sp between dcs, ch 3, (dc, ch 1, dc) all into the same ch-2 sp to form a small V-st, *skip next dc, sl st into the next ch-2 sp, V-st into that ch-2 sp* around; join. This round begins the shell motif outline (perimeter will be consistent with previous round)
Info :
These rounds create little arches along the edge where the shell motif will be anchored. Keep tension consistent so the arch spacing is uniform; adjust slightly at corners if necessary to keep shells from bunching.
Round 44 :
Round 4 (Shell foundation): *Ch 3, 2 dc in next ch-1 space, ch 1, 3 dc in same ch-1 space (forming a small shell), sk next small V-st, sl st into next ch-2 sp* repeat around, placing 5 dc cluster into each arch space; in corners work (3 dc, ch 2, 3 dc) to maintain corner scallop base; join.
Round 45-46 :
Rounds 5-6 (Reinforce shells): Ch 1, sc into top of join, *skip 2 sts, shell (5 dc) into shell center, sk 2, sc into next space* repeat around; join. Repeat this one more round to build shell height and definition. Corners: work sc between corner shell and (3 dc, ch 2, 3 dc) in corner when encountered.
Info :
Stop after each shell round and lay the runner flat; if shells begin to pull in, block each shell lightly with pins before proceeding. The cream border should look open and airy compared to the denser taupe center.
Round 47 :
Round 7 (Picot edge prep): Ch 1, sc around, working 3 sc into each shell center to anchor, and 5 sc into each corner cluster; join.
Round 48 :
Round 8 (Small picot row): *Ch 3, picot (sl st into first ch of ch-3), sk 2 sc, sc into next sc* repeat across each shell top. At corners work picots spaced evenly to keep scallop continuity; join and fasten off Color B leaving a small tail for weaving in.
Info :
The picot accent is optional but gives a delicate finish to the cream lace. If you prefer a cleaner edge, skip the picot and simply work one round of sc around the shells before switching back to Color A for the outer scallop.
— Outer Scallop Edge (worked in Color A - taupe) :
Round 49 :
Round 1: Join Color A at any st on the last round, ch 1, sc into same stitch and evenly sc around the perimeter to anchor the outer edge — increase to 5 sc into each corner cluster to keep corners square; join (perimeter count will equal the previous round's stitch count)
Round 50 :
Round 2 (Scallop base): Ch 3 (counts as dc), *skip 2 sts, 7 dc into next st (large scallop shell), sk 2 sts, sl st into next sc* repeat around; at corners place an extra 7 dc shell centered on the corner cluster to form a continuous scallop; join.
Info :
This large 7-dc shell creates the bold scalloped edge visible in the photo. Ensure shells are evenly spaced by counting stitches between shell centers. Adjust the number of skipped stitches between shells if your perimeter stitch count differs slightly so that shells space evenly around the runner.
Round 51 :
Round 3 (Scallop reinforcement): Ch 1, sc into top of join, *work 1 sc into each of the 3 center dc of shell, ch 2, sl st into the tip of shell (or top of central dc)* repeat around. This anchors the scallops and gives them a stronger outline; join.
Round 52 :
Round 4 (Scallop picot): Into each shell center work: *(sc, ch 3, sl st into first ch for a picot, sc) across the central 3 dc of each shell* repeat around; at corners add one extra picot cluster to maintain rhythm; join.
Info :
If you prefer a deeper scallop, after Round 50 you can work an additional round of 5 dc shells centered on top of the 7-dc shells, then anchor with sc. The pictured runner uses a single bold 7-dc shell with an anchoring sc round and picots for texture.
Round 53-56 :
Rounds 5-8 (Optional reinforcement rounds): Repeat: sc round, then decorative ch/picot round, then sc round, finishing with a tidy sl st join and fasten off. Weave in ends. The extra rounds help the scalloped edge lie flat and durable for daily use.
Info :
Use a smaller hook (3.5mm) for the picot and finishing rounds if you want crisper, tighter picots. Blocking after these rounds will open the lace and even out scallops.
— Corner Treatment (detailed placement) :
Info :
Throughout the border rounds you will work special corner clusters. At each corner, when you approach the 3-st corner marker placed during the sc join, work (3 dc, ch 2, 3 dc) in that corner space to maintain a 90-degree turn. For the outer scallop, center a shell on the corner cluster by placing the shell stitches evenly over the corner dc group so scallops continue around the curve without distortion.
Info :
If your runner is noticeably wider at the long edges or pulls in near corners, use blocking pins to ease the fabric; pin each scallop into shape and lightly steam or wet-block to reset the stitches. This is the most crucial finishing step for a polished appearance.
— Extended Version Options (length adjustments) :
Info :
To extend the length of the runner, add additional mesh and solid band repeats in the center panel (each additional mesh band pair adds approximately 1"–1.25" to the finished length depending on tension). Work in multiples: a mesh pair = two rows (one ch-2 forming row and one into-ch-2 build row) plus the following solid band if you want symmetry.
Info :
When lengthening, maintain the 6-st solid border at each end so the lace border sits evenly. Always finish the extended center by working the same number of final solid taupe rows that you started with so the border pattern aligns across the lengthwise center line.
— Alternative Stitch Variations :
Info :
Swap the center mesh repeat for an open filet if you prefer a more geometric look: work filet pattern across center using (2 dc, ch 2) for a block-openting repeat instead of the 2 dc / ch-2 repeat. Likewise, the outer scallop can be made with 5-dc shells for a gentler curve.
Info :
Embellish with a narrow embroidered running line in cream across the solid taupe bands for extra contrast; use a yarn needle and duplicate stitch with a stranded thread or very thin yarn to avoid puffing the surface.
— Finishing :
Info :
Weave in all ends using a tapestry needle, trimming close to the fabric. Lightly steam-block or wet-block the entire runner: pin to dimensions on a blocking mat, stretching scallops gently so each scallop is uniform. Allow to dry fully before removing pins.
Info :
For a crisp finish, use a small amount of diluted fabric stiffener inside the scallops if you want them to hold a very firm edge (test a scrap first). Otherwise, a standard light steam-block yields the soft, elegant drape pictured.
Info :
Store flat or rolled to preserve scallops. Spot-clean as needed and launder gently if necessary following yarn care instructions. Re-block after washing to restore edge shape.
This two-tone table runner blends structured weaving and lacy scallops to create an heirloom-quality accent for any dining table. Each section is built with consideration for alignment and finish so the final piece lies flat and looks professionally made. The neutral taupe and cream pairing adds warmth without overwhelming your tabletop. Enjoy the meditative rhythm of the mesh repeats and the satisfying flourish of the scalloped edge as you crochet! 🧶✨