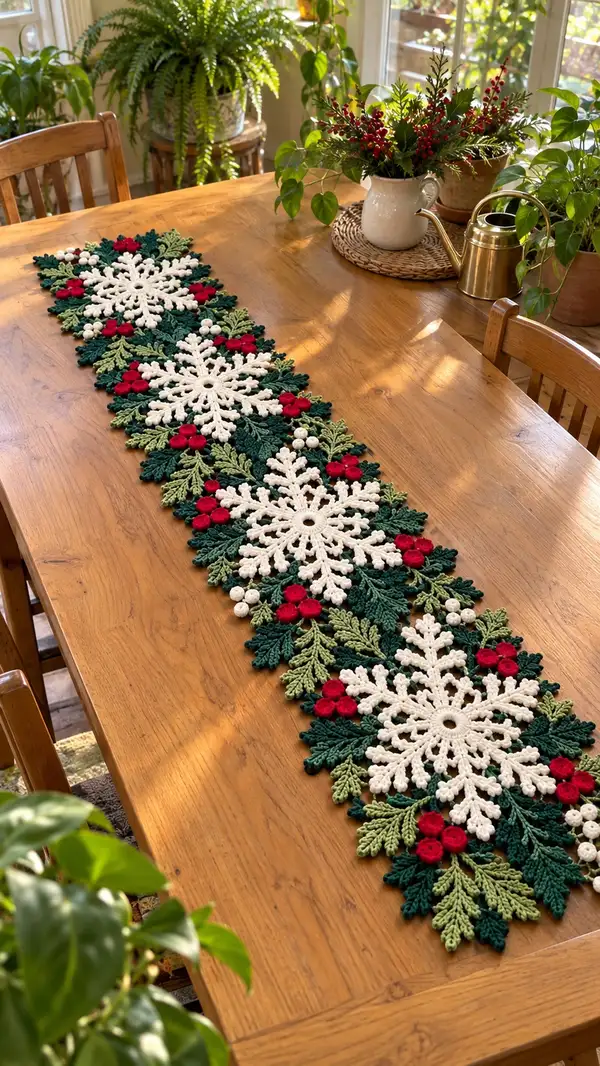
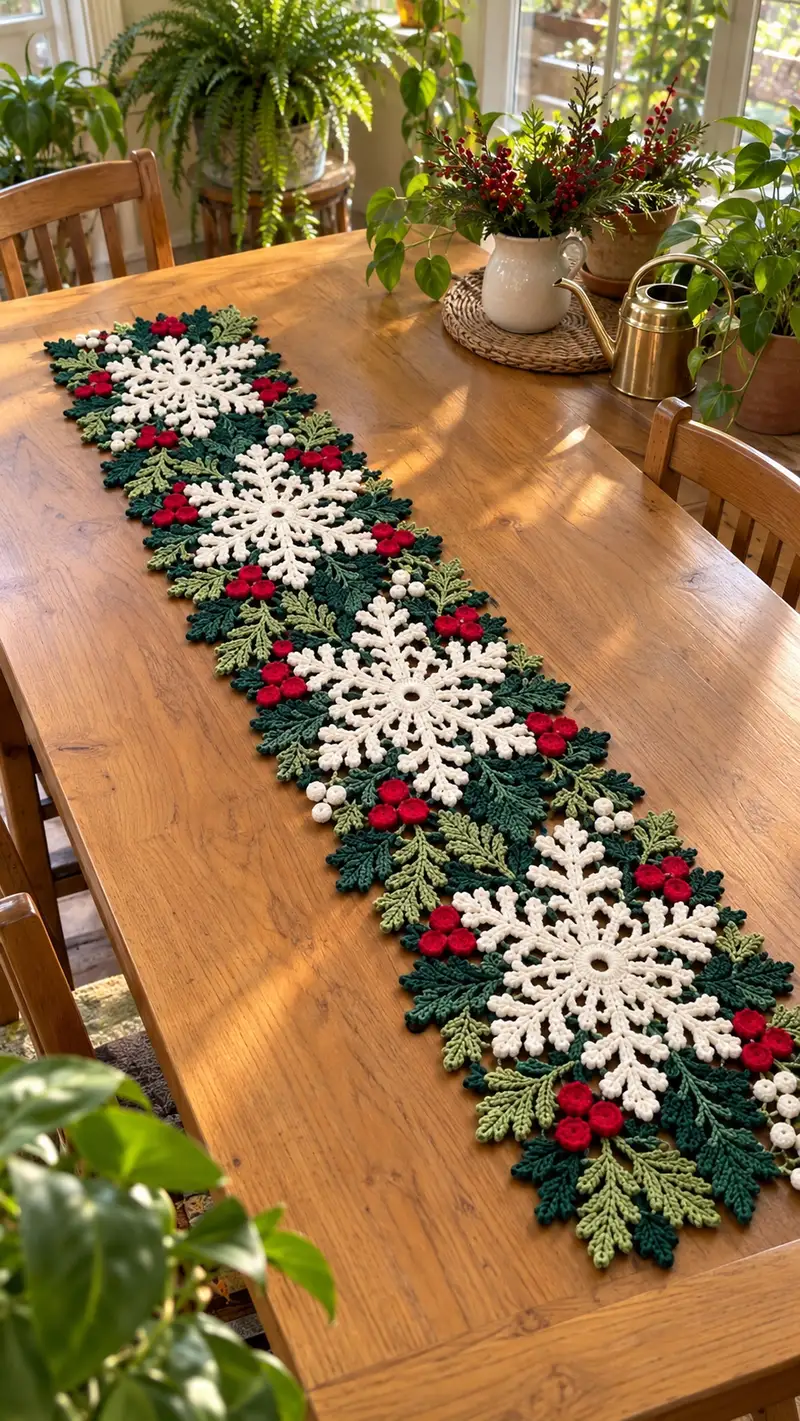
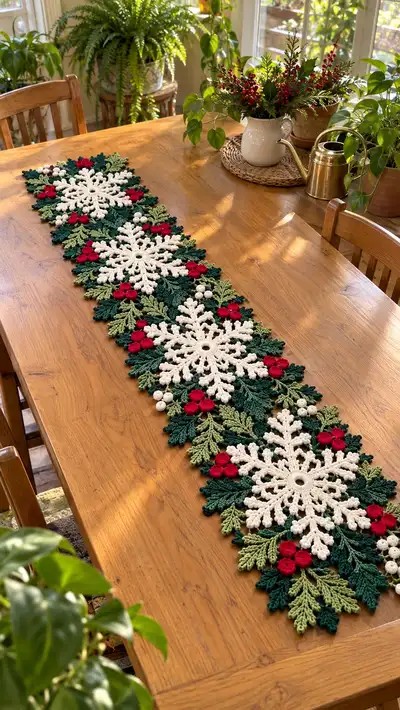
Create a long, elegant table runner made from interlocking crochet snowflakes, layered evergreen leaves and bright holly accents. This pattern uses modular motifs — large cream snowflakes, dark and light green foliage, red holly flowers and tiny white berries — joined into a continuous runner perfect for holiday centerpieces. The finished runner lays flat and decorative; it works beautifully on wood, glass, or layered over a tablecloth for seasonal flair. Detailed instructions and joining methods provided for a polished finished look.
Progress Tracker
0% Complete
— Large Snowflake Motif (make 3) :
Round 1 :
Make a magic ring, ch1, 12 sc into ring, pull tight (12)
Round 2 :
2 sc in each st around (24)
Round 3 :
(1 sc, inc) x12 (36)
Round 4 :
1 sc in each st around (36)
Info :
Change to work in cream/ivory if not started with it. Use a stitch marker to mark start of rounds; the center will look like a small disc.
Round 5 :
(2 sc, inc) x12 (48)
Round 6 :
1 sc in each st around (48)
Round 7 :
Ch3 (counts as dc), *sk2, (1 dc, ch2, 1 dc) in next st, sk2, dc in next 3 sts* rep around to form 12 lacy points; join with sl st to top of starting ch3 (48 base sts)
Round 8 :
Work into each ch2 picot area: (ch1, 3 tr, ch1, sl st) into each ch2 sp to create raised petal base (12 petals formed)
Round 9 :
Into each petal: (sl st to center of petal base, ch5, (1 tr, ch2, 1 tr) into top of petal, ch5, sl st into next joining point) x12 forming long arms (do not join across petals)
Info :
When forming arms, keep tension slightly loose so lace lies flat. Block each motif after finishing to open lace arms fully.
Round 10 :
Working into each long ch5 arm: sc into first ch, hdc into next, 3 dc into center loop (creates bulb), hdc next, sc last ch; sl st back into petal base (creates raised bulb at midpoint) (12 bulbs)
Round 11 :
Round of connecting arcs: ch3, sk 2 sts on base ring, sl st into next st to create scalloped joins between arms; rep around to connect each arm lightly to center ring
Round 12 :
Create outer branches: From outermost dc in each arm, ch7, join to outer arm tip with sl st forming a loop, rep for 6 small loops per arm to mimic snowflake twigging (72 loops total if 12 arms x6)
Round 13 :
Work back into each ch7 loop: sc, hdc, 3 dc, hdc, sc (7 sts per loop), fasten off cream tail for sewing later
Info :
At this stage the snowflake should measure approx 9-11 inches across depending on tension. Block with pins placed at each arm tip to achieve correct diameter before joining.
Round 14 :
Embellish center: Using cream, join to center ring and work (ch3, dc) x12 into alternating spaces to give the center a raised rosette. Finish with sl st and fasten off (visual center pop)
Round 15 :
Optional raised dots: Using surface slip stitch, add tiny raised loops around center ring spaced evenly between arms; 24 tiny surface dots (visual detail)
Info :
Weave in ends and lightly starch if you want extra stiffness for table use. Make three identical large snowflakes.
— Medium Snowflake Accent (make 2) :
Round 1 :
mr, ch1, 8 sc into ring (8)
Round 2 :
2 sc in each st around (16)
Round 3 :
(1 sc, inc) x8 (24)
Round 4 :
1 sc in each st around (24)
Round 5 :
Ch4, *(1 dc, ch1, 1 dc) in next st, ch4, sl st into next 2 sts* rep 6 times forming 6 arms, join (24 base sts)
Info :
These medium accents sit between large snowflakes to maintain rhythm and fill negative space. Block gently to match sizes.
Round 6 :
Into each ch4 arm: sc, hdc, 3 dc, hdc, sc; sl st to base between arms, finish and fasten off (6 little snowflake stars)
— Dark Green Leaf (large) (make approx 24) :
Round 1 :
With dark green, ch9, sc in 2nd ch from hook, sc next, hdc next, dc next 3, hdc next, sc next, sc last (counts along chain form) (9 sts along chain)
Round 2 :
Turn and work along opposite side of foundation chain: sc in next, sc, hdc, 3 dc, hdc, sc, sc; sl st to first st to close leaf (24 total stitches around both sides)
Round 3 :
Edge detail: sc in each st around; at tip do (sc, ch2, sc) to create small picot; continue around; sl st, fasten off (24)
Round 4 :
Surface veins: With tapestry needle and same dark green, embroider a central raised line using surface slip stitch, add two side veins using contrasting light green if desired (visual depth)
Info :
Large leaves are worked flat. Block lightly over a curved form to give a lifelike cupped look; make approx 18-24 depending on how dense you want the foliage.
— Light Green Sprig (small leaf) (make approx 30) :
Round 1 :
With light green, ch7, sc in 2nd ch from hook, hdc, dc, hdc, sc, sl st to turn (7)
Round 2 :
Work back along chain opposite side: sc, hdc, dc, hdc, sc; sl st to starting point and fasten off (14 total around both sides)
Round 3 :
Emboss vein: Using same color, make one surface slip stitch down center; add slight bend by blocking adhesive if desired
Info :
These small sprigs fill in gaps and add contrast. Make more if you prefer a very full runner; they are quick to crochet and require little yarn.
— Holly Blossom (red) (make approx 18 clusters, each cluster 3 flowers) :
Round 1 :
mr, ch1, 6 sc into ring, close (6)
Round 2 :
Ch2, (2 dc, ch1, sl st) into same st to form a petal, sl st to next st, rep around to make 6 mini petals (visual small rosette)
Round 3 :
Fasten off leaving tail to sew; make three of these and sew into tight cluster to form Holly cluster of 3 petals as pictured
Info :
Sew each flower at its center to a tissue of leaves so blossoms sit slightly above leaf plane. Use red working tightly to create fuller puff.
— Cream Berry (small cluster) (make many tiny clusters) :
Round 1 :
With cream, mr, ch1, 6 sc into ring, but do not pull tight; instead pull moderately to produce tiny ball (6)
Round 2 :
Sl st into each st around to finish small bead; leave long tail for sewing; make clusters of 3-6 beads to mimic berries
Info :
Make many of these white berries and space them around holly clusters to create the pictured dotted-berry effect. They are small and quick; secure each with long tail for sewing.
— Joining Motifs & Runner Layout Instructions :
Info :
Layout diagram: Runner uses repeating sequence: large snowflake + foliage halo + medium snowflake accent placed staggered between large motifs. The order from left to right: small end foliage cluster, large snowflake, medium accent, large snowflake, medium accent, large snowflake, small end foliage cluster. Pin everything on floor/table before joining.
Round 1 :
Begin by positioning 3 large snowflakes in line, spaced 1.5-2 inches apart (use pins and measuring tape for accuracy)
Round 2 :
Surround each large snowflake with dark green large leaves: sew large leaves around outer edge at approx 12 evenly spaced positions using mattress stitch through blocked loops; leaves should slightly overlap arms
Round 3 :
Between large leaves sew small light green sprigs: tuck ends under leaves and use whip stitch to secure with long tails; alternate directions to create natural spread (approx 3-4 sprigs between each pair of leaves)
Info :
When sewing foliage around snowflake, place pins at regular intervals and test fit the runner on the table to ensure curvature matches. Add extra sprigs to hide joining seams.
Round 4 :
Sew holly blossom clusters into groupings of three red mini flowers at key focal points around each snowflake (suggested: at 4 cardinal points around each snowflake) using long tails and secure knot inside back; bring thread through several stitches then hide tail inside leaf.
Round 5 :
Sew cream berry clusters close to red holly clusters to emulate frosted berries; cluster white beads in bunches of 2-4 and secure with tight whip stitches so they stand slightly raised.
Info :
Arrange the small medium snowflakes (accents) in the negative space between the large snowflakes, rotating them slightly to break the symmetry for an organic look. Pin, then baste with temporary thread before final secure stitching.
Round 6 :
Once all motifs are pinned in place, join adjacent motifs by slip-stitching through corresponding outer loops using matching dark green yarn: insert hook through loop of motif A and motif B, yo and sl st to join. Work evenly around 6-10 joining points per adjacent pair to create a strong seam.
Round 7 :
For areas with leaf overlap, use invisible ladder stitch to sew leaf tips to base fabric of neighboring leaf so joins are hidden under surface; knot on back and weave ends deep into back of runner.
Info :
Keep stitches small and tight at joins to avoid visible gaps. Use pins to maintain spacing while stitching and check flatness frequently to avoid puckering.
— Edge Lace Border & Final Stabilizing Rounds :
Round 1 :
With 3.25mm hook and dark green, pick up loops along outermost motif edges at approximately every 6th loop: sl st into edge loop, ch5, sl st into next chosen loop; repeat to form even scalloped chain along full runner
Round 2 :
Work into each ch5 scallop: sc, hdc, 4 dc, hdc, sc; this creates full scalloped picot shell; repeat across all scallops to form continuous border
Round 3 :
Optional picot edge: ch3, sl st into outermost dc then repeat every shell to form decorative points; fasten off and weave in ends
Info :
If your runner is wavy after joining, block the finished piece pinned to desired rectangular, then mist and let dry thoroughly. This will flatten joins and open lace.
Round 4 :
To stabilize center seams, run a single crochet round using dark green through the back loops only along the inner seam between motifs: 1 sc in each st BLO to create a subtle ridge and extra stability
Round 5 :
Finish: trim all tails and weave ends into neighboring stitches at least 1 inch; inspect runner under good light and reinforce any loose joins with invisible stitches
Info :
For display use, press lightly using steam or wet-block. For tables that will see heavy use, consider attaching small adhesive felt pads underneath key motif junctions to protect lace and table surface.
— Additional Decorative Variations & Tips :
Info :
If you prefer a denser runner, add extra small sprigs and berries in the gaps; reduce if you want a more airy look. You can also change the cream to pale gold or silver for an elegant holiday sheen.
Info :
To make a shorter runner: remove the center snowflake and join only two large snowflakes with accents at ends. For a longer runner add repeat sections following the established motif rhythm.
Info :
Counting guideline: After full assembly the runner should measure approximately 36-42 inches long and 8-10 inches wide depending on blocking and tension. Adjust spacing to taste during layout phase.
This Festive Snowflake Table Runner brings a cozy, handcrafted holiday touch to any table — a perfect centerpiece for family gatherings and seasonal dinners. Each delicate snowflake and clustered holly blossom adds handcrafted charm and personality. The modular design makes it adaptable and endlessly customizable to your décor. 🧶✨ Celebrate the season by stitching this runner and enjoy seeing it brighten your home for years to come. 🎄