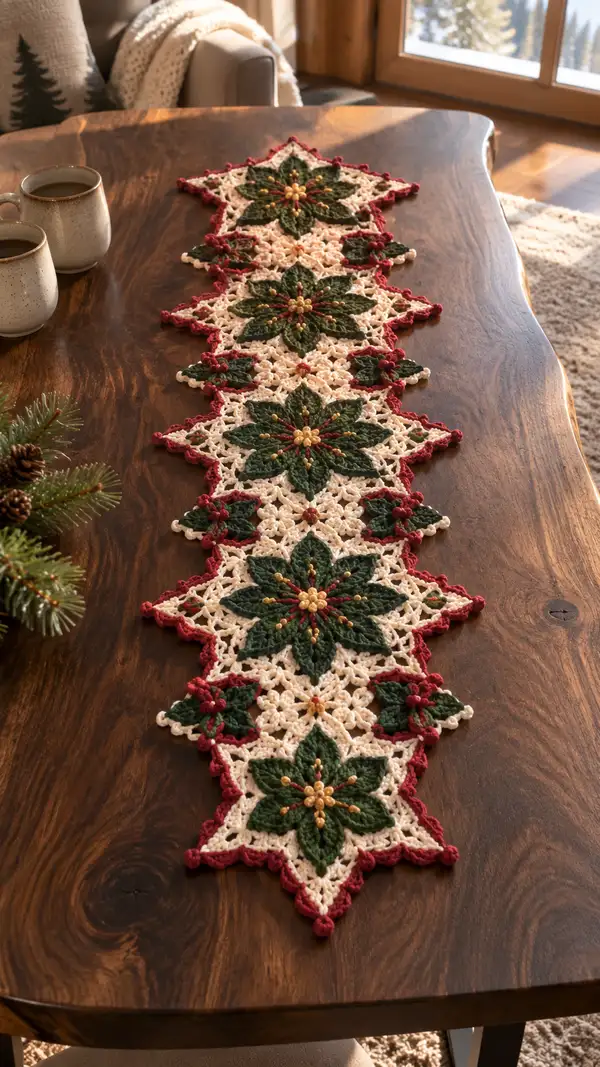
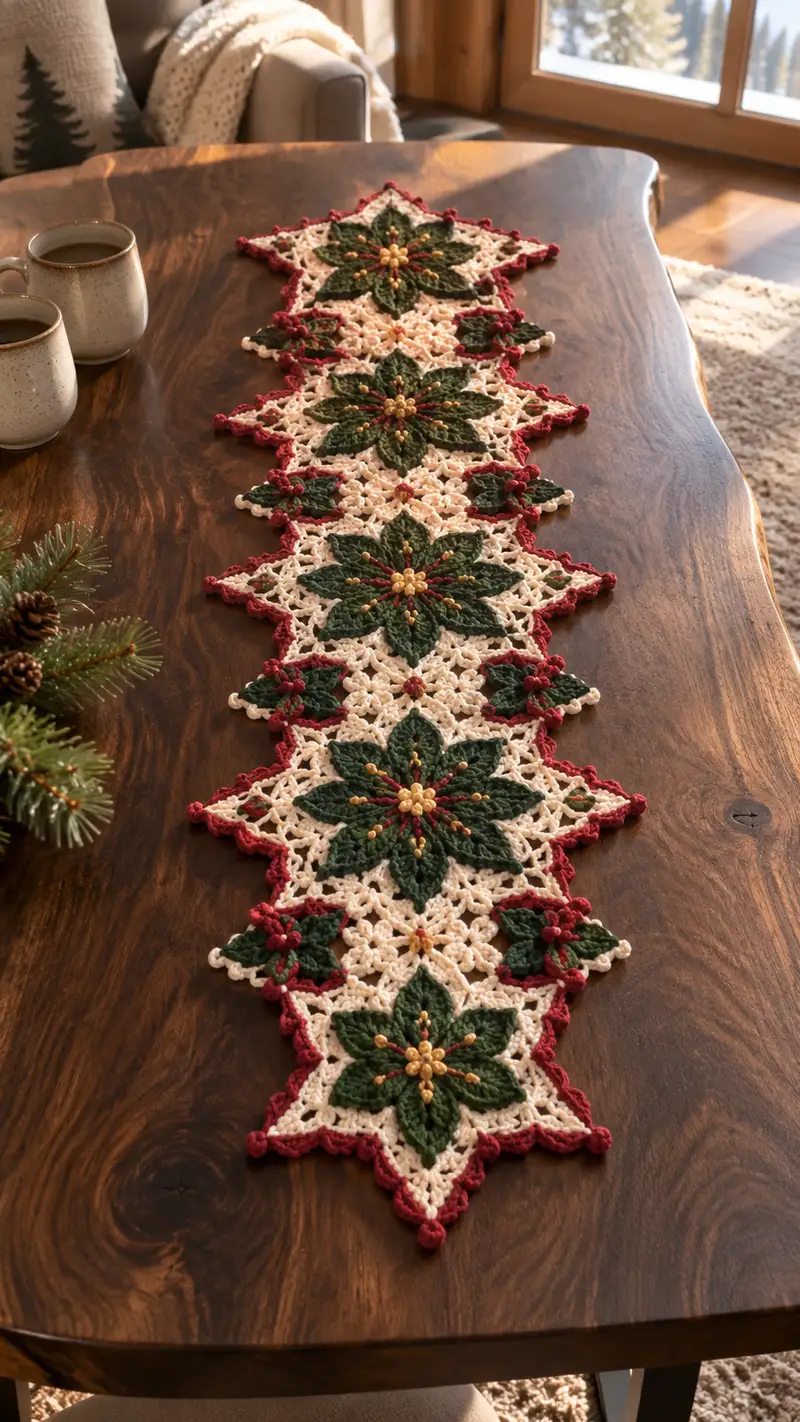
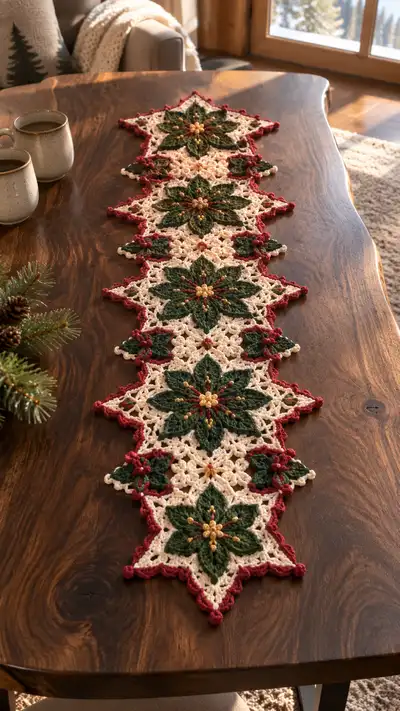
Create a festive, lace-like table runner featuring repeating poinsettia motifs in deep forest green, creamy neutral ground, and berry red edging. Each star-like motif is framed by airy lace, tiny bead centers, and a scalloped berry border for a traditional holiday look. This pattern yields a modular runner composed of repeated motifs joined as you go, perfect for tabletops, mantels, or gift giving. Clear step-by-step rounds and assembly notes make the construction straightforward for anyone comfortable with basic crochet stitches.
Progress Tracker
0% Complete
— Materials & Gauge :
Info :
Gauge is not critical for this runner but for reference: 10cm square with lace connector measured after blocking using 4.0mm hook = approx 14 dc x 8 rows. Adjust hook size to achieve desired drape. Block each motif to exact size for neat joins.
— Poinsettia Motif (Make repeating large motif) :
Round 1 :
With Forest Green yarn, make a magic ring, ch1, 8 sc in ring (8). Pull ring closed. (8)
Round 2 :
Inc in each stitch around (16). (16)
Round 3 :
(1 sc, inc) x8 (24). (24)
Round 4 :
(2 sc, inc) x8 (32). (32)
Info :
Keep these rounds worked tightly to form a firm center for the petals. Place a stitch marker in the first st of each round to track rounds precisely.
Round 5 :
1 sc in each st around (32). (32)
Round 6 :
(3 sc, inc) x8 (40). (40)
Round 7 :
1 sc in each st around (40). (40)
Info :
We will now create 8 petal foundation loops. Each loop will occupy 5 stitches; space them evenly by forming chain loops anchored into the round to provide height for petal clusters.
Round 8 :
*Ch5, sk 4 sts, sl st in next st* repeat from * to * around to create 8 ch-5 petals anchors (as last sl st will fall in final stitches). After final sl st, join with sl st to first sl st. (8 ch-5 loops)
Round 9 :
Work petals in each ch-5 loop: join with sl st to base of first loop, (ch3 counting as dc, 4 dc in loop, tr, dc, sl st in base) Repeat in each loop to make raised petal shapes. After 8 petals, fasten off green. Petals will stand up from center.
Info :
Petal construction uses tall stitches to create texture; maintain consistent tension so all petals match height. Insert bead thread now if you will attach beads from the front later.
Round 10 :
Switch to a lighter-diffused Forest Green if desired or continue same: With yarn at base of petals, ch1, sc in each stitch across petal joins around to create a tidy round connecting petal bases (estimate 48 sc) -- count should be original stitches plus anchors; we will set an exact count by placing 6 sc between petal joins: (6 sc between petals x 8 = 48). (48)
Round 11 :
(5 sc, inc) x8 (56). (56)
Round 12 :
1 sc in each st around (56). (56)
Info :
Round 12 forms base for decorative lace that frames the poinsettia. Ensure the round is smooth; redistribute any tension lumps by sliding a tapestry needle inside to even stitches if needed.
Round 13 :
*Ch6, sk 6, sl st into next* repeat around to create 8 large ch-6 loops for the lace ground (8 ch-6 loops).
Round 14 :
In each ch-6 loop work: (sc, ch3, 5-dc shell [5 dc in same ch], ch3, sc) anchored into base. This creates a petal-surround shell. After 8 repeats, join with sl st. Count: Each shell occupies 7 sts across base; 7 x 8 = 56. (56)
Round 15 :
Change to Cream. Info : Change to Cream yarn now. Carry green behind motifs or fasten off and weave later. Ch3 (counts as dc), dc in each st and in shell spaces to expand the lace ground. Aim for even increase to 72 sts total by working (2 dc in every 3rd space) across so final count becomes 72. (72)
Round 16 :
1 dc in each st around (72). (72)
Round 17 :
*Ch4, sk 3, sc in next* repeat to create 24 ch-4 picot anchors around the motif perimeter (24 ch-4 loops).
Round 18 :
Work lace fans into ch-4 loops: In each loop work (sc, ch2, 3 dc, ch2, sc). Join and adjust so counts remain 72 or a multiple convenient for joining motifs. (72)
Info :
At this stage block the motif flat to a consistent diameter before continuing. The motif should measure approximately 10-12 inches across after blocking depending on yarn. Pin to shape and steam or wet block as indicated by yarn care.
Round 19 :
With Cream, *ch5, sl st into fan top, ch5, sl st into next fan top* around to form elongated loop arches for joining points (24 arches created). This sets up connector points for adjoining motifs.
Round 20 :
Join Berry Red for small berry clusters: In every third arch, work (sl st, ch3, 3 sc in ch-3 to make a small puff berry, sl st) to create 8 small berry clusters around motif. Fasten off red. (8 berries)
Round 21 :
Rejoin Cream to remaining arches and work 1 sc evenly around, making sure to maintain 72 sts total after working in arch stitches by adjusting sc spacing: approximate final count 72. (72)
Round 22 :
Info : Optional beadwork. Thread gold beads onto thin thread or yarn and couch 6-8 beads into the center of the flower using a small embroidery needle. Alternately string beads onto yarn before Round 1 and catch them into the center during early rounds.
Round 23 :
Switch to Forest Green for inner vine detail: Work 8 tiny embroidered veins onto each petal by taking a tapestry needle and running surface slip stitches from the petal base to tip. These are not counted as rounds but are critical texture detail. (0)
Info :
Fasten off, weave in ends. Block each motif square to consistent size. Make as many large poinsettia motifs as needed for your runner length. The pattern photos show five large motifs joined end-to-end for a long runner.
— Small Holly Accent Motif (Make 8 per joining point) :
Round 1 :
With Forest Green, make magic ring, ch1, 6 sc in ring (6). (6)
Round 2 :
Inc in each st around (12). (12)
Round 3 :
(1 sc, inc) x6 (18). (18)
Round 4 :
*Ch4, sc in next 3 sts* repeat 6 times to form 6 ch-4 leaf points around (6 loops)
Round 5 :
In each ch-4 loop work: (sl st, ch3, 5 dc, ch3, sl st) making small pointed holly leaf lobes; finish with sc in base to tidy. After 6 leaves, fasten off. (approx 36 shell sts)
Round 6 :
Join Berry Red and make 3 small berry picot clusters between leaves: *sl st to space, (ch3, 3 sc cluster), sl st* in three equidistant spaces. Fasten off. (3 berries)
Info :
These holly accents sit between large motifs at the join points and add a repeating motif rhythm. Make extras in case of mistakes.
— Lace Connector Square (Make 1 between each large motif — join as you go) :
Round 1 :
With Cream, ch6, sl st to first ch to form ring, ch4 (counts as tr), 11 tr into ring (12 tr total). Join with sl st. (12)
Round 2 :
Ch3, dc in same st, *ch2, 2 dc in next tr* repeat around, join (12 groups) forming 24 dc separated by ch2. (24)
Round 3 :
*Ch4, sl st into middle of next dc pair to create mesh*, repeat to create eight mesh loops for future joining. Ensure final shape is near square by blocking. (8 loops)
Round 4 :
Work (sc, ch3, 3 dc, ch3, sc) into each mesh loop to create a delicate shell, producing 12 shells total (counting both sides). Keep stitch numbers even to match adjoining motif edges. (approx 48)
Info :
The Lace Connector is used to fill the space between two large poinsettia motifs and to create the decorative lattice visible in the runner photo. Block and pin to an exact square shape so joins are neat.
Round 5 :
Ch3, dc evenly around working 2 dc in corners to keep square (aim for 72 dc around the connector to match motif edges). (72)
Round 6 :
Work small cream picots along edge: *sc, ch3, sl st in 1st ch (picot), sc* repeat to create decorative edge (approx 36 picots). (72)
Info :
Make connectors as you go and join to adjoining motifs using sl st or whip stitch to keep joins flat. Use the as-you-go joining method described below for minimal seams.
— Joining Motifs (As-You-Go Method) :
Info :
Join large poinsettia motifs end-to-end using the Lace Connector squares and holly accent motifs. Work final rounds of each motif and connector so that joining arches and picot points align. If you prefer, join motifs by blocking them flat and sewing with whip stitch, but as-you-go keeps fewer ends to weave.
Round 1 :
When motif A is complete and still on hook, align motif B blocked edge and with Cream yarn on motif A, sl st into the corresponding picot on motif B and sl st into motif A, *ch2, sl st into next picot of motif B, sl st into motif A* until the seam is complete. Join at 6-8 points along edge to create stable seam. (joins variable)
Info :
Pin motifs together before joining to ensure spacing is even. Use a small crochet hook (3.5mm) to help with close, neat sl st joins if needed.
— Outer Border & Scalloped Berry Edge :
Round 1 :
After all motifs and connectors are joined into a single runner, pick up Berry Red at one outermost picot. Ch1, sc evenly along outer edge including around small holly motifs and motif points. Aim for 4 sc per motif point section so counts will align. (variable - depends on runner size)
Round 2 :
*Ch4, sl st into next sc to form scallop base* repeat around creating scallop arches for later berry picots. Adjust spacing to create symmetrical scallops around motif points. (variable)
Round 3 :
In each scallop arch work: (sc, picot, 3 sc) where picot = (ch3, sl st in 1st ch). This forms a berry-like rounded scallop that echoes photo design. Fasten off red and weave ends. (variable)
Info :
At the runner points made by motif tips, work an extra picot cluster (ch3, 3 sc cluster, sl st) to form the prominent berry dot visible in the photo. These are decorative and can be adjusted for scale.
Round 4 :
Optional: Re-join Cream to the inner lace perimeter and work one final delicate round of chain loops (ch5, sl st) into each inner net intersection to tidy the interior joins. This creates the soft cream lattice visible between the green petals. (variable)
Info :
Weave all ends on the back and block the entire runner flat using pins on a blocking mat. Steam or wet-block according to yarn care instructions. Blocking is crucial to make the runner lay perfectly flat and the motifs align cleanly.
— Embellishments & Finishing Touches :
Round 1 :
Attach gold seed beads to centers: Thread a beading needle with thin thread; sew 6-9 beads into center of each poinsettia motif in a circular star cluster. Knot securely on the back and hide tails within the motif using a tapestry needle. (6-9 beads per motif)
Round 2 :
Using mustard/gold yarn, embroider 8 short stamen lines radiating from bead center into each petal using small straight stitches. Secure on the back and weave in ends. (8 stitches per motif)
Info :
If you prefer no small beads, use bullion knot embroidery or tiny french knots for center texture. Choose a finish that matches how the runner will be used and laundered.
— Alternative Size & Repeating Layouts :
Info :
The pattern photo shows five large poinsettia motifs in a single-file runner. To make a shorter runner, use 3 motifs; for a table centerpiece width you can make a three-across motif grid. To increase runner width, create additional lace connectors and motifs and join in a brick layout.
Round 1 :
When planning layout, alternate directions of motifs (rotate 90 degrees) so petal tips align with lace connectors for best visual rhythm. Lay out blocked pieces on a flat surface prior to final joining.
Info :
Final inspection: Check all beads and embroideries are secure, trim and hide all tails, and perform a final gentle steam-blocking for a polished, flat finish.
Completing this Forest Green Cream Poinsettia Table Runner is a deeply satisfying holiday project — each motif is like a small celebration, and joining them reveals the full seasonal beauty 🌟. The textured petals, tiny berry scallops, and gold bead centers make for a warm, vintage-inspired centerpiece that delights guests. Pin, block, and admire your handiwork — this runner will become a treasured seasonal piece for years to come 🎄🧶.