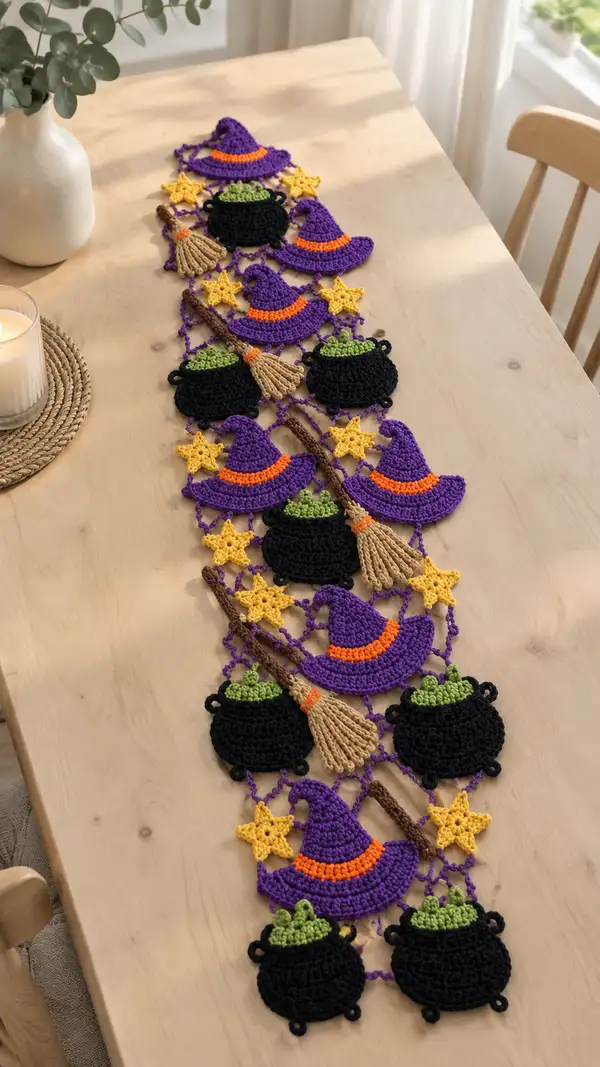
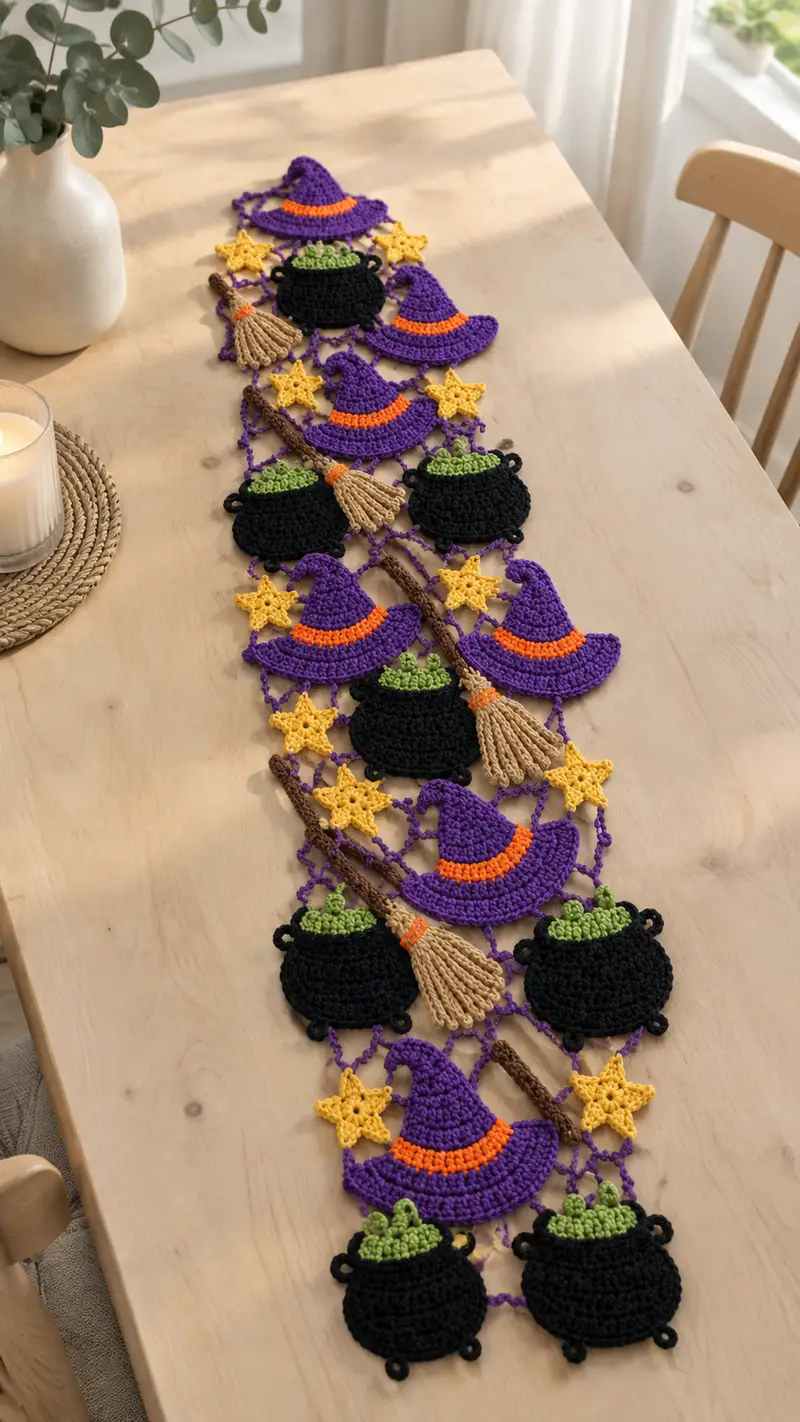
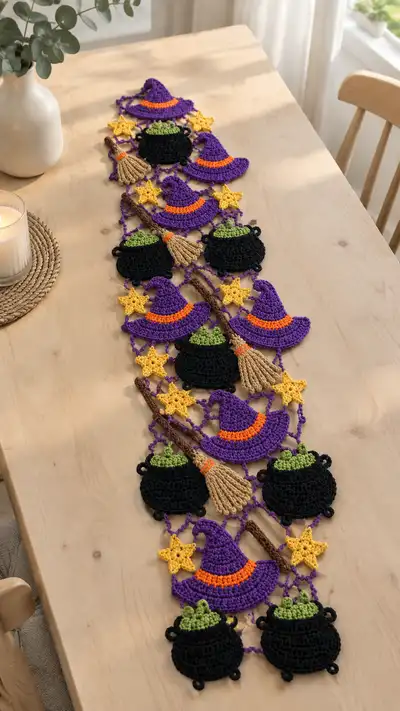
Create a whimsical Halloween table runner featuring purple witch hats, bubbling black cauldrons with green potion, rustic broomsticks, and sunny yellow stars joined by a delicate purple lace mesh. This pattern uses small motifs assembled into a long, decorative runner perfect for seasonal tables or holiday displays. The motifs are crocheted separately and joined with a lacy chain-net, letting you customize length and repeat pattern. Clear, step-by-step instructions and helpful Info notes guide you through shaping, color changes, and neat assembly.
Progress Tracker
0% Complete
— Notes & Gauge :
Info :
Gauge is not critical for this decorative runner, but motifs are designed for worsted weight yarn and a 3.5mm hook. With that combination, a complete witch hat motif measures roughly 9-10 cm across at the brim; cauldron measures about 7.5-8 cm wide. For consistent sizing, use the same hook and maintain consistent tension across motifs.
— Witch Hat Motif :
Round 1 :
6 sc in magic ring (6)
Round 3 :
(1 sc, 1 inc) x 6 (18)
Round 4 :
(2 sc, 1 inc) x 6 (24)
Round 5 :
(3 sc, 1 inc) x 6 (30)
Info :
These early rounds form the crown base of the hat. Work tightly so the crown keeps shape; do not stuff — hat motif is flat. Use purple yarn for Rounds 1-12.
Round 6 :
(4 sc, 1 inc) x 6 (36)
Round 7 :
(5 sc, 1 inc) x 6 (42)
Round 8 :
(6 sc, 1 inc) x 6 (48)
Round 9 :
1 sc in each st (48)
Info :
Begin forming the cone of the hat. For a tapered, pointed effect, next rounds will reduce increases and begin slight decreases and shaping.
Round 10 :
(7 sc, 1 inc) x 6 (54)
Round 11 :
1 sc in each st (54)
Round 12 :
1 sc in each st (54)
Info :
Switch to 2 rows of purple only to build height. At end of Round 12, change to orange for hat band: join orange yarn with sl st to first st of next round.
Round 13 :
Change to orange yarn. Work 1 sc in each st around (54)
Round 14 :
1 sc in each st (54)
Info :
Hat band is two narrow rounds of orange; weave in ends on wrong side later. Now switch back to purple to work brim and shaped pointed top.
Round 15 :
Change to purple. (3 sc, 1 dec) x 12 (48)
Round 16 :
(2 sc, 1 dec) x 12 (36)
Round 17 :
(1 sc, 1 dec) x 12 (24)
Info :
Begin shaping the inner cone and prepare for brim. Keep the center flat; do not over-decrease. At this stage the top of the hat should cup slightly when held flat.
Round 18 :
1 sc in each st (24)
Round 19 :
1 sc in each st (24)
Round 20 :
(1 sc, 1 inc) x 12 (36)
Round 21 :
(2 sc, 1 inc) x 12 (48)
Info :
Rounds 20-21 begin the brim by increasing outwards. Brim is worked flat and will create a slight ruffle. Keep tension relaxed for a softer brim.
Round 22 :
(3 sc, 1 inc) x 12 (60)
Round 23 :
1 sc in each st (60)
Round 24 :
*sk 1 st, (dc, ch1, dc) in next st (shell made), sk 1 st, sc in next st* rep around (60 shells count as 30 shells) (60)
Info :
Round 24 uses shells to create a decorative brim edge — if you prefer a flatter brim substitute 1 sc in each st for Round 24. Fasten off and weave ends. Block hat flat, shaping point and brim curve.
— Cauldron Motif :
Round 1 :
6 sc in magic ring (6)
Round 3 :
(1 sc, 1 inc) x 6 (18)
Round 4 :
(2 sc, 1 inc) x 6 (24)
Round 5 :
(3 sc, 1 inc) x 6 (30)
Info :
These rounds form the base of the cauldron body. Work in black yarn. Keep stitches tight so the cauldron is opaque and holds its round shape.
Round 6 :
(4 sc, 1 inc) x 6 (36)
Round 7 :
(5 sc, 1 inc) x 6 (42)
Round 8 :
1 sc in each st (42)
Round 9 :
1 sc in each st (42)
Info :
Rounds 8-11 create the body height. Keep even rounds for a cylindrical pot shape. The cauldron will be a flattened oval when finished.
Round 10 :
1 sc in each st (42)
Round 11 :
(6 sc, 1 dec) x 6 (36)
Round 12 :
(5 sc, 1 dec) x 6 (30)
Info :
Start slight decrease to form top rim of cauldron. At the end of Round 12, change to chartreuse green to create bubbling potion rim.
Round 13 :
Change to chartreuse green. (2 sc, 1 inc) x 10 (40)
Round 14 :
1 sc in each st (40)
Round 15 :
*ch 2, sk 1 st, sl st in next st* rep around to create small picot chain edge for bubbling effect (40 chains)
Info :
Round 15 makes small chain loops to mimic bubbling foam. Fasten off green and weave ends to back. Rejoin black to add small round feet and handles.
Round 16 :
Rejoin black at side. Make 3 sl st loops evenly spaced for feet: ch 3, sl st into same st; fasten off and weave — repeat at two more positions around base (feet created)
Round 17 :
For handles (make 2): With black, ch 6, sl st into anchor st on cauldron edge, leaving a small loop. Secure with a sl st and fasten off. Weave ends inside round.
Info :
When making handles and feet ensure loops are similar size and evenly spaced for balanced look. Use pins to hold when sewing on for an even appearance.
Round 18 :
Fasten off and weave ends. Block cauldron flat so it lies even; slightly press chain picots inward to resemble foam.
— Broom Motif (Handle & Bristles) :
Round 1 (Handle foundation) :
Ch 18, sc in 2nd ch from hook and in each ch across (17 sc) — this creates a narrow flat handle panel
Round 2 :
Ch 1, turn, sc in each st across (17)
Round 3 :
Ch 1, turn, sc in each st (17)
Info :
Work handle flat for 3-6 rows depending on desired thickness. For a slightly rounder handle, fold panel lengthwise and slip stitch along edge to form a thin tube.
Round 4 :
Fold panel in half lengthwise and sl st through both loops across the long edge to form a slender handle (17 sl st)
Round 5 :
Sl st around ends to close; fasten off handle leaving long tail for sewing to mesh
Round 6 (Bristles start) :
Join tan yarn at one end of handle. Ch 20, sl st back into same join to form first bristle tuft; repeat 12 times along edge creating multiple tufts (12 tufts)
Round 7 :
Trim bristles to even length (approx 4-5 cm). Secure bristles by wrapping a small band of orange yarn near the base: join orange, wrap 6 times around bristles and handle, sl st to secure (mimics broom tie)
Info :
Bristles are made with loop chains or multiple chain tufts. Keep tufts evenly spaced and trim to even length. Glue or secure with stout wool wrap if needed for stability.
Round 8 :
Weave in ends and block flat so broom stays straight. Fasten off leaving long tail for stitching to mesh junction.
— Star Motif :
Round 1 :
6 sc in magic ring (6)
Round 3 :
(1 sc, 1 inc) x 6 (18)
Info :
Switch to mustard yellow color for star. The star will be formed with point petals; make sure center is closed tightly.
Round 4 :
(*ch 3, sl st into next st, sk 1 st* ) around to form 6 small loops (12 loops counted as 6 points)
Round 5 :
Into each ch-3 loop: (sc, hdc, dc, hdc, sc) — form pointed petal x 6
Round 6 :
Fasten off and weave ends. Pin star flat and give it a light blocking to flatten points.
Info :
Stars are small accent motifs; make as many as needed. If stars seem too stiff, work petals slightly looser or use a 3.75mm hook for softer points.
— Mesh Connector (Lace Net) :
Info :
The mesh connector is worked as a long continuous lacy strip in purple. It forms diamond-shaped openings that are used to join and anchor motifs in a staggered layout. Work the mesh to the desired runner length, then attach motifs at intersections. The following rounds describe a repeatable net pattern; repeat Rows 1-8 for length.
Round 1 :
Ch 201 (or desired length multiple of 12 + 9 for edge spacing), sc in 2nd ch from hook and in each ch across — this creates a foundation row for joining (200 sc)
Round 2 :
Ch 6 (counts as tr+ch3), *sk 3, tr in next st, ch 3* rep across ending with tr in last anchor st, turn
Round 3 :
Join with sl st to top of first tr, ch 1, sc in same space, ch 5, sc into top of next tr across — this creates suspended loops forming the diamond centers
Info :
Work tension loosely for mesh to lie flat and create openwork. Adjust chain lengths if you want tighter or wider diamond shapes (ch5 yields medium diamonds).
Round 4 :
Ch 6, *sk to center of next diamond and make tr in sc anchor below, ch 3* rep across aligning tr to previous tr anchors
Round 5 :
Ch 1, sc in each tr top and sc in each sc anchor across, creating row of small sc points (repeat until end)
Round 6 :
Ch 6, tr in alternate anchors to create crossed lacy effect across diamonds; ch3 between each tr (repeat)
Info :
Every 4th mesh row is a reinforcement row built with sc across to stabilize the net for joining motifs. Place stitch markers at regular intervals to count diamond spaces for motif placement.
Round 7 :
Sc across anchors and loops to square up mesh; sc in top of each tr and sc in chain spaces (200 sc)
Round 8 :
Ch 8 to form a vertical loop connector at motif junctions every 12th sc: *sc next 11, ch 8, sc in next st* repeat across (creates loops for motif attachment)
Info :
Mark mesh positions where motifs will attach: measure and mark diamond centers and vertical loops; typically hats and cauldrons are staggered so a hat sits above two cauldrons in the panel layout. Refer to assembly layout to match motif spacing.
Round 9-56 :
Repeat Rounds 2-8 for desired length of runner (repeat the 8-round mesh sequence 6+ times depending on runner length)
Info :
The mesh sequence is repeatable. For the sample runner in the photo, the mesh repeat is worked to create approximately 7 motif rows; you can lengthen or shorten by repeating the 8-round mesh unit more or fewer times. Fasten off and weave ends when mesh reaches desired length.
— Joining & Finishing Rounds :
Round 1 :
Lay out motifs on the mesh according to desired pattern: stagger hats and cauldrons so that each hat overlaps two cauldrons slightly; pins or removable stitch markers hold pieces in place
Info :
When positioning motifs, allow approx 1-2 chains of mesh overlap to sit under the brim or around cauldron rims so seams are hidden and the runner looks cohesive.
Round 2 :
Sew each motif to the mesh using a yarn needle and the long tail left when fastening off: use whip stitch or ladder stitch around motif perimeter through both motif edge and mesh loop. Use matching yarn color for invisible joins.
Round 3 :
For broom placement, position broom handle across two adjacent mesh diamonds and stitch the handle to mesh at three anchoring points. Sew the bristle base to the mesh tightly so the broom appears attached, securing orange wrap as depicted.
Info :
Attach stars at mesh cross points between motifs to fill gaps and add visual continuity. Use small whip stitches and pin firmly before sewing to maintain star orientation.
Round 4 :
After all motifs are tacked, reinforce critical joins with a second pass of small stitches around edges and under brims to ensure motifs lie flat and securely.
Round 5 :
Block the entire runner on a flat surface: pin edges straight and steam-block lightly or wet-block and let dry. This will relax mesh and make runner lay flat.
Info :
Weave in all remaining ends on wrong side. Trim ends close after weaving. If needed, a few small invisible stitches at each motif junction will keep motifs from shifting with use.
— Alternate Finishing (Option) :
Round 1 :
For a cleaner outer edge, work a border: join purple along outer mesh edge and work 1 sc in each st around, placing (ch2, sc) at corners or rounded points to maintain shape, then fasten off and weave ends.
Info :
Adding a crocheted border will help protect mesh edges and give the runner a finished look. Use a contrasting color like orange for a bold edge or black for subtle framing.
This Halloween runner is a delightful blend of playful motifs and delicate lacework — perfect for bringing festive charm to your table. As each hat, cauldron, broom, and star is joined, the design grows into a cohesive seasonal centerpiece you can be proud of. The modular construction makes it easy to customize length and color, so it feels uniquely yours. 🧶🎃✨ Happy stitching and enjoy the cozy, handmade touch this runner brings to your home!