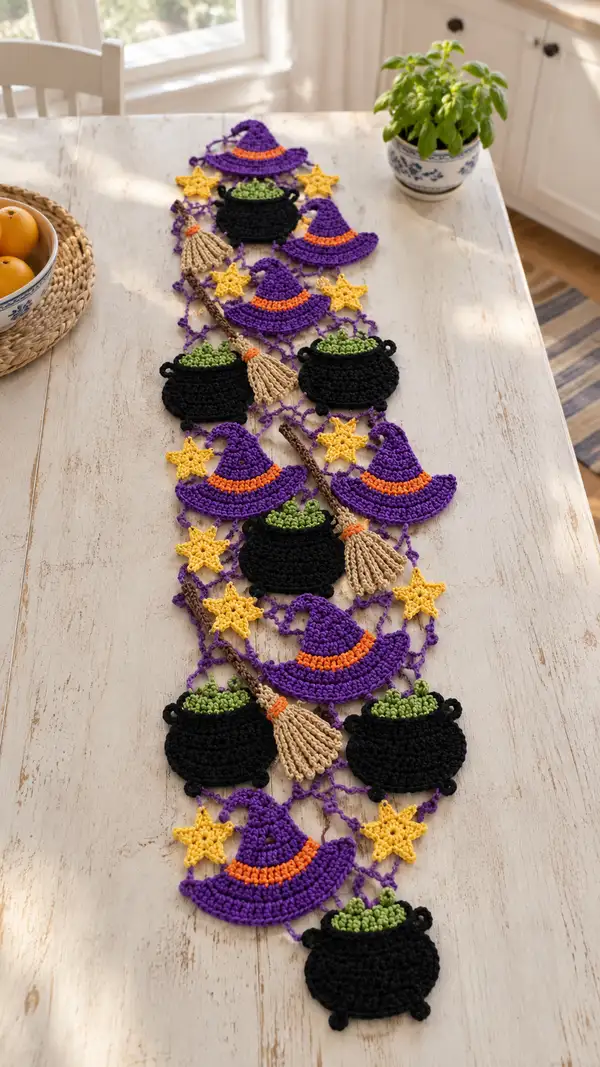
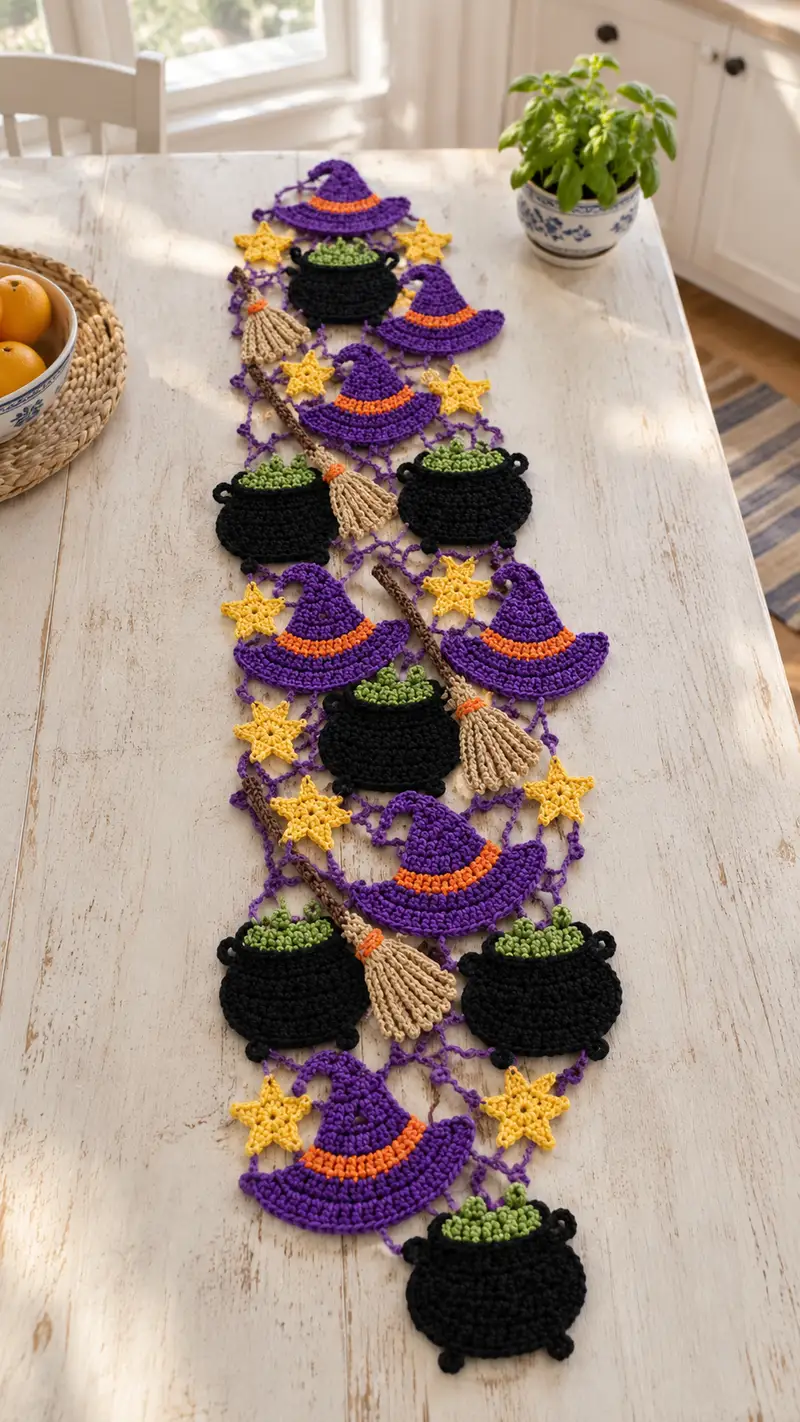
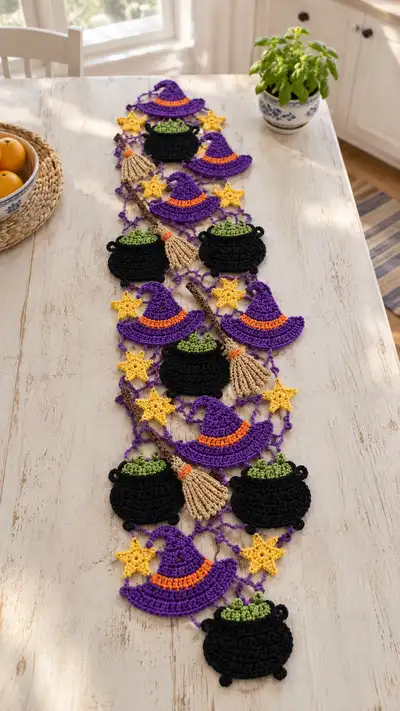
Create a festive Halloween table runner made from linked crochet motifs — witch hats, bubbling cauldrons, broomsticks and stars — worked in bright purple, black, green, orange, yellow and tan. The motifs are joined with a lacy purple mesh to form a long runner that layers beautifully on any table. This pattern shows how to crochet each motif, add textured details like broom tassels and cauldron handles, and assemble everything into a single connected runner.
Progress Tracker
0% Complete
— Notes :
Info :
Make motifs flat following the rounds exactly. Pieces are worked in the round for most motifs; ends are fastened off and woven in. Lightly block motifs before assembly to flatten and shape. The runner pictured is made with multiple repeats: 7 witch hats, 6 cauldrons, 9 stars and 4 broomsticks joined with a lacy chain mesh. Adjust the number of motifs to your desired runner length.
Info :
Tension: Use slightly firm tension so the black cauldrons hold their rounded look and the purple mesh stays open and lacy. If your stitches are loose, drop down one hook size for a neater fabric.
— Witch Hat (Make 7) :
Round 1 :
MR, 6 sc into ring (6)
Round 2 :
Inc in each st around (12)
Round 3 :
(1 sc, inc) x6 (18)
Round 4 :
(2 sc, inc) x6 (24)
Round 5 :
(3 sc, inc) x6 (30)
Round 6 :
(4 sc, inc) x6 (36)
Round 7 :
(5 sc, inc) x6 (42)
Info :
This forms the crown/top of the hat. At this stage the shape is a shallow dome that will be shaped into a pointed witch hat with subsequent rounds and some decreases. Place a stitch marker at the first stitch of the round to keep orientation consistent.
Round 8 :
1 sc in each st around (42)
Round 9 :
1 sc in each st around (42)
Round 10 :
1 sc in each st around (42)
Info :
Work 3 even rounds to build some height for the crown. If you prefer a taller hat, add additional even rounds here before beginning decreases.
Round 11 :
(6 sc, dec) x6 (36)
Round 12 :
(5 sc, dec) x6 (30)
Round 13 :
(4 sc, dec) x6 (24)
Info :
Begin shaping the hat into a gentle point by decreasing evenly. Do not over-stuff or the crown will lose its flat look—we aim for a slightly concave top that will form the curled tip when finished.
Round 14 :
(3 sc, dec) x6 (18)
Round 15 :
(2 sc, dec) x6 (12)
Round 16 :
(1 sc, dec) x6 (6)
Info :
Fasten off leaving long tail for sewing the crown tip closed if desired. For the curled point visible in the photo, instead of closing completely, continue with spiral shaping: join new yarn at the edge to begin shaping brim so crown flows into brim without a hard seam.
Info :
Change to orange yarn for hat band before working brim rounds. Join orange with a sl st at the base of the crown.
Round 17 :
With orange: ch1, 1 sc in each of next 42 sts (42) — creating a narrow band
Round 18 :
With purple: join purple in BLO of last round, 1 sc in each st BLO (42)
Round 19 :
(6 sc, inc) x6 (48)
Round 20 :
1 sc in each st (48)
Round 21 :
(7 sc, inc) x6 (54)
Round 22 :
1 sc in each st (54)
Round 23 :
Work 1 rnd FLO dc in each st (54) to create a flared brim ridge
Round 24 :
1 sc in each st (54)
Round 25 :
(4 sc, inc) x9 (63)
Round 26 :
1 sc in each st (63)
Round 27 :
Optional decorative edge: ch3 (counts as dc), *sk1, dc in next st; rep from * around (creates spaced picots). Join and fasten off. Weave in ends.
Info :
Blocking tip: Gently shape the brim with your hands and pin to a round form to create a slightly curved brim edge. Steam lightly and allow to dry to retain shape.
— Cauldron (Make 6) :
Round 1 :
MR, 6 sc into ring (6)
Round 2 :
Inc in each st around (12)
Round 3 :
(1 sc, inc) x6 (18)
Round 4 :
(2 sc, inc) x6 (24)
Round 5 :
(3 sc, inc) x6 (30)
Round 6 :
1 sc in each st (30)
Round 7 :
1 sc in each st (30)
Info :
This builds a broad flat base. The cauldron pictured has a rounded belly with a narrower top. We'll work shaping rounds to create that silhouette.
Round 8 :
(3 sc, inc) x6 (36)
Round 9 :
1 sc in each st (36)
Round 10 :
1 sc in each st (36)
Round 11 :
(4 sc, dec) x6 (30)
Round 12 :
(3 sc, dec) x6 (24)
Round 13 :
1 sc in each st (24)
Info :
At round 13 attach small round loops for feet and handles. Feet are made by working small 3-sc protuberances at four equidistant points along round 6 or 7; handles are small ch loops attached at round 12-13.
Round 14 :
Make 3-sc feet: sl st to chosen st, ch2, 3 sc in next st, sl st back. Repeat at four points evenly spaced around base. Continue with body.
Round 15 :
Handles (make 2): At round 12-13 position, ch6, attach with sl st to create small loop, fasten and weave tail securely. Return to cauldron body.
Round 16 :
Switch to green yarn: join at the top opening and work 1 rnd sc in each top st (24) to form the potion rim. Do not fasten off.
Round 17 :
With green: (1 sc, inc) x8 (32) — this forms a loose bubbly top for the potion
Round 18 :
With green: 1 sc in each st (32)
Round 19 :
With green: Puff bubble row — *yo, insert hook, pull up loop 3 times in same st, yo and draw through all loops, ch1 to secure; sk1* rep around to create bubbly texture (32 puffs). Fasten off and weave in ends.
Info :
Optional: Add a tiny bit of stuffing under the green bubbles to make the potion look puffy. Work very light amounts so the cauldron top remains flat when joined to the mesh.
Round 20 :
Return to black: sc around the outer rim of green to tidy the join, then fasten off and weave in all ends. Block flat if needed.
— Star (Make 9) :
Round 1 :
MR, ch3 (counts as dc), 11 dc into ring, join with sl st to top of ch3 (12 dc) — fasten off, leave tail to use for sewing if required
Round 2 :
Join yarn at any dc, *ch3, sl st in same dc (creates a point), sl st into next dc; rep from * around to create 6 ch-point petals. Fasten off.
Round 3 :
For a fuller star, join yarn and work 1 sc around each dc, placing 3 sc in each ch3 point to puff the tips. Fasten off and weave in ends.
Info :
Stars are decorative and lie flat. If you want more dimension, work an extra round of picot edging: *sc, ch3, sl st in 3rd ch (picot)* around each point.
— Broomstick (Make 4) :
Part A - Handle :
Using dark brown, ch24 (or desired length for broom handle). Row 1: sc in 2nd ch from hook and across (23 sc). Fasten off leaving long tail for attachment.
Info :
Handles in the photo are slightly textured. Optionally work a second row of sc to make handle sturdier; or work hdc across for a rounder profile. Leave ends long for sewing and weaving into broom head.
Part B - Bristles :
With tan yarn, MR, 8 sc into ring (8). Round 2: (1 sc, inc) x4 (12). Round 3: 1 sc in each st (12). Fasten off leaving long tail to sew to handle.
Round 4 :
Attach bristle cluster to handle: position tan circle at one end of the handle and sew around with long tail, then stitch bristle strands.
Round 5 :
Make broom tassels: Cut 16-20 lengths of tan yarn, fold in half and, using a crochet hook or yarn needle, pull fold through edge of tan circle then pull ends through loop to create knot. Trim ends to shape a broom sweep. Secure with a wrapped orange band: with orange yarn, wrap several times about 1/2" above bristles and stitch ends inside loop to secure.
Info :
For a neater broom, apply a dab of fabric glue to secure wrapped orange band, and allow to dry. Trim bristle ends to be slightly tapered for a natural look.
— Lace Mesh Connector (Make length to join motifs) :
Info :
The mesh is worked as a repeating chain-loop motif in purple that forms diamond-shaped openings. Each mesh unit connects to adjoining motifs with small picots or chains. Work enough mesh units to connect all motifs in the order you laid them out.
Unit Foundation :
Ch12, sl st to form a ring (or MR then ch11 and join). Round 1: ch3 (counts as dc), 11 dc into ring (12 dc). Join.
Round 2 :
Ch6 (counts as ch3 + ch3), *sl st in 3rd dc from previous unit to form a loop, ch6; rep across to create loops that will connect motifs. Fasten off sections as you need to form latticed diamonds.
Connector Repeat :
Make 40 connector loops across the runner length (adjust per your runner length). Each connector loop is joined to motif edges using sl sts and picots as anchors: when you reach a motif edge, attach with sl st into an outer edge stitch, ch6, continue mesh, then attach at next motif edge.
Round 3 :
To make diamonds: working from attached loops, ch5, sc into center picot of opposite chain loop to form X-shaped crossing. Repeat to form open diamond shapes. Each diamond is formed by 4 ch-loops joined at points with sc or picot joins.
Round 4 :
Edge finishing: where mesh meets brim of hat or rim of cauldron, secure with 2-3 sl sts and a small sc edging to keep joins flat. Use small picots to echo star points for a decorative look.
Info :
Important: Pin the entire runner layout on a blocking board before permanently joining. This allows you to check spacing and motif orientation. The mesh can be adjusted in number of loops between motifs to change spacing and overall runner rhythm.
— Assembly Sequence :
Step 1 :
Lay out all motifs on a flat surface in the order you desire (photo reference alternates hat, cauldron, hat, broom, star etc.). Pin pieces in place with map pins or T-pins, spacing approximately 1/2" to 1" between motif edges or adjust for a more open runner.
Step 2 :
Start joining with purple mesh: work a chain loop unit between two adjacent motifs and slip stitch into the edges of both motifs at predetermined attachment points (for hats attach to outer brim stitches; for cauldrons attach to rim or foot stitches). Secure with an extra sc at each attachment point for stability.
Step 3 :
Continue building the mesh across the runner, joining motifs as you go. For motifs that sit staggered (off-set) join with diagonal mesh diamonds so motifs nestle slightly into each other instead of forming a straight column.
Step 4 :
Sew broom handles to the mesh and motifs: place broom handle across a couple of mesh loops and tack down at three points with small whip stitches. Secure ends inside bristle cluster to hide tails.
Step 5 :
Weave in all loose ends with a yarn needle and trim close. Lightly block the entire runner again to set joins and flatten the mesh. If desired, apply a small amount of spray starch for extra flatness; test on scrap first.
Info :
If you plan to launder the runner, use colorfast yarns and hand-wash in cool water; reshape while damp. Avoid machine washing which can distort the mesh joins and delicate bristle tassels.
— Finishing Touches & Variations :
Info :
Optional embroidery: use black and orange to add tiny stitch details on hat bands or cauldron rims. Add tiny clear beads or sequins to the potion froth for a bit of sparkle (sew securely).
Info :
To lengthen runner: make additional motif repeats and extend mesh connector units proportionally. To shorten, remove the outermost motif repeats and adjust mesh counts to finish neatly.
Info :
Color swap idea: change purple to deep teal and orange to bronze for a non-traditional colorway. Stars can be made in metallic gold yarn for shine.
This Halloween table runner stitches together charm and whimsy with a collection of cheerful witch hats, bubbling cauldrons, stars, and broomsticks. The modular design makes it easy to customize length or color, creating a handcrafted centerpiece perfect for seasonal décor. Working each motif and joining them into a lacy runner is a satisfying project that yields a dramatic, playful result. 🧶🎃✨