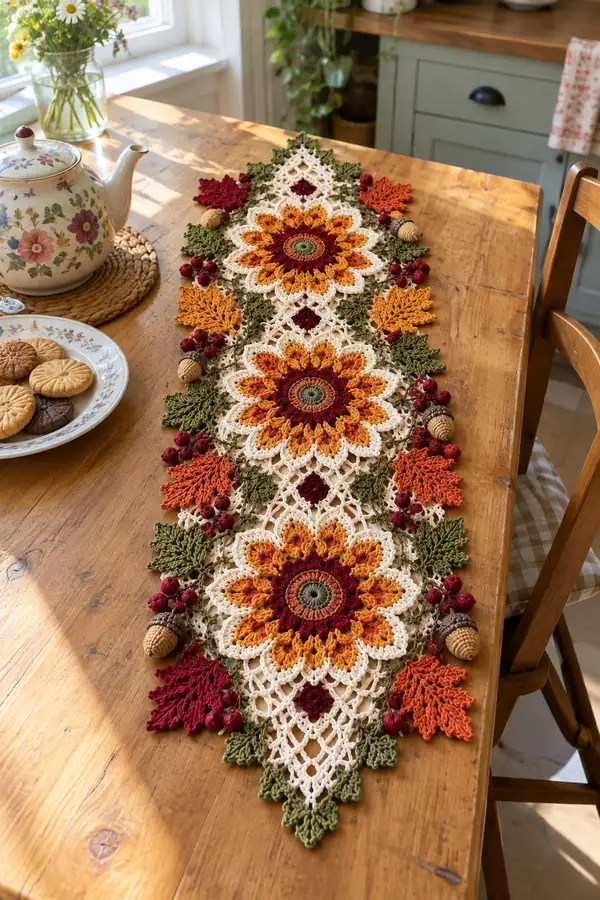
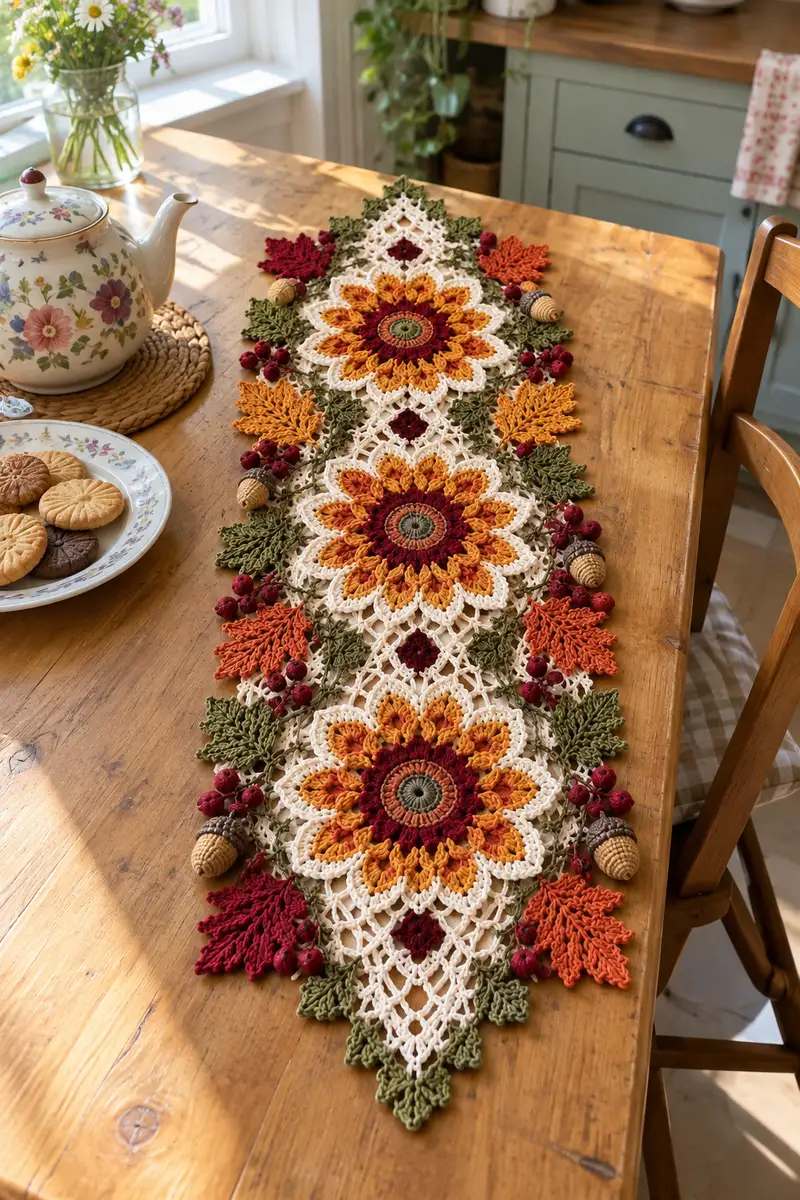
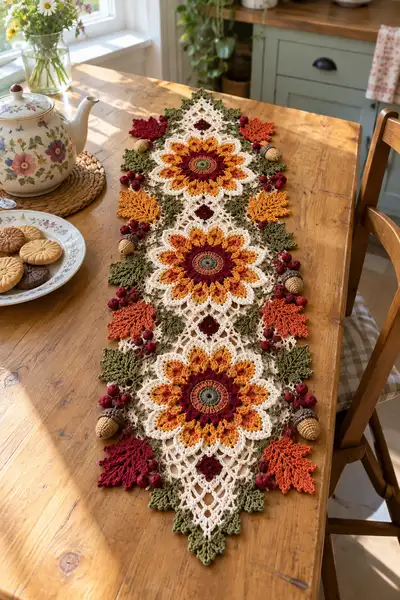
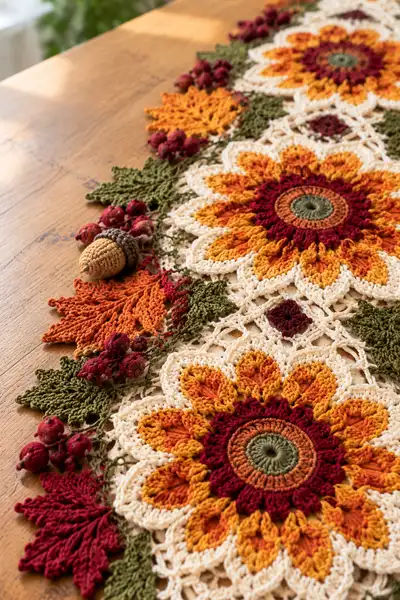
Create a stunning autumn table runner made of three large sunflower medallions linked by a delicate cream lattice, edged with textured leaves, acorns and berry clusters. Rich fall hues—rust, mustard, deep red and olive—give this runner a warm, vintage look. The pattern uses layered petals, lace diamonds and sculpted leaves for a dimensional, heirloom-quality centerpiece.
Progress Tracker
0% Complete
— Sunflower Medallion (Make 3) :
Round 1 :
With olive green, make magic ring, ch1, 8 sc into ring, pull tight (8)
Round 2 :
Inc in each st around (16)
Round 3 :
(1 sc, inc) x8 (24)
Round 4 :
(2 sc, inc) x8 (32)
Info :
Change to dark rust for a short contrasting round. Keep first stitch counts accurate for even petal placement
Round 5 :
Join dark rust, ch1, 1 sc in each st around (32)
Round 6 :
1 sc in each st around (32)
Round 7 :
Change to burnt orange. (3 sc, inc) x8 (40)
Info :
These increases widen the base so petals sit comfortably. Place stitch markers every 8 sts to mark petal centers for later rounds
Round 8 :
1 sc in each st around (40)
Round 9 :
(4 sc, inc) x8 (48)
Round 10 :
1 sc in each st around (48)
Info :
We will create 12 petals; 48 sts divide evenly into 12 groups of 4 sts—this is critical for symmetrical petals
Round 11 :
Change to golden yellow. *ch2, skip 1 st, puff in next st (puff = yo insert, pull up loop; repeat 3 times total leaving loops on hook; yo and pull through all loops), ch1, sl st into base of puff* repeat around in groups to create raised petal bases—work so you have 12 puff bases placed evenly (placement uses every 4th stitch)
Round 12 :
Working behind previous round, join burnt orange into spaces between puffs, ch3 (counts as dc), 2 dc in same space, ch1, 3 dc in next space; repeat around to make petal bulk (12 petals). After last petal sl st to top of starting ch3 (12 petals)
Info :
Petals are layered: the puff round creates a base and the cluster dc round creates the curved petal shape. Keep tension even so petals remain uniform
Round 13 :
In golden yellow, ch1, work 1 sc around each dc and in each ch1 space to even out petal edge (approx 72 sc) Count carefully: if each petal has 6 dcs plus spaces, you will be working around edges to reach ~72 total
Round 14 :
*(ch2, 5 dc in petal tip space, ch2, sc in next joining point)* repeat around to create pointed petal tips. End with sl st to first sc. (12 petals with fluted tips)
Info :
Use stitch markers at the start and end of each petal if you prefer; petals should read as distinct lobes from above
Round 15 :
Change to cream. Working behind the petal tips, *ch4, skip to next petal base and sl st in the st between petals* repeat around creating a ring of chain arches. You should have 12 arches.
Round 16 :
Into each chain-arch: sl st, ch1, 1 sc, ch2, 3 dc, ch2, 1 sc, sl st to create a scallop that embraces the petal base (creates an outer floral border). (12 scallops)
Round 17 :
1 sc in each st around following the scallop outline to even out count (approx 96 sc). This round creates a broad cream ring that will later join the lattice diamonds.
Info :
If your count differs slightly, add or remove sc within even-stitch segments to reach an even divisible count used later for attaching diamonds (target approx 96)
Round 18 :
FLO: 1 sc in each st FLO around to create a neat ridge at the base of the final scallops (96)
Round 19 :
Change to dark rust. Work a decorative picot-edge: *sc3, (ch3, sl st into 3rd ch for picot), sc3, skip 1* repeat around to leave delicate points between scallops (approx 32 picots)
Round 20 :
Weave in ends for this motif. Block flat with pins to open petals for a crisp shape. Leave long tail for joining to lattice.
Info :
Make three identical sunflower medallions. Blocking each medallion before joining ensures consistent shape and easier alignment when crocheting the lattice diamonds between them
— Diamond Lace Connector (Make 4) :
Round 1 :
With cream, ch6, sl st to join into ring (or magic ring optional), ch3 (counts as dc), 11 dc into ring (12 dc total). Sl st to top of ch3 (12)
Round 2 :
Ch4 (counts as tr), tr in same st, *ch3, skip next st, 2 tr in next st* repeat around forming 6 arch pairs (12 tr groups)
Round 3 :
Ch1, sc into each tr and into each ch3 space creating an even round to prepare for mesh (24-30 sc depending on counts)
Info :
We are building a diamond with a central open lattice; exact stitch counts may vary slightly—keep the diamond shape by maintaining even increases on opposite sides
Round 4 :
Ch6, skip 2 sts, sc in next, ch6, sc in next; across opposite side repeat to form the diamond points; join with sl st (creates 4 chain loops at points)
Round 5 :
Work mesh: into each ch6 loop work *(sc, ch5, sc)* to make large open arches; into the central diamond work a small square of 4 sc in a loop to anchor (visual openwork)
Round 6 :
In cream, work 1 sc around overall to tidy edges and bring stitch count to an even number for joining to sunflower scallops (approx 48 sc)
Info :
Make four diamond connectors for this runner: two between sunflowers and two end diamonds trimmed into the runner point. Blocking before joining is essential to keep the lattice even.
— Runner Base & Join Sequence :
Info :
Layout order: Sunflower medallion - Diamond connector - Sunflower medallion - Diamond connector - Sunflower medallion. End diamonds are slightly tapered for pointed runner ends. Join motifs primarily with sl sts and finishing stitches to create an invisible seam in the cream ring around each sunflower
Joining Step 1 :
With right sides up and long tails available, pin the first diamond connector centered to the cream scallop ring of Sunflower A so that the diamond points sit between scallop peaks. Using cream yarn and a 3.25mm hook, sl st through edge loop of scallop and corresponding loop of diamond, working a sl st along each contact point until motifs sit flush. Weave or crochet 6 to 8 join points evenly spaced for secure attachment.
Joining Step 2 :
Repeat to attach Sunflower B to the opposite side of the same diamond connector. Continue with second diamond between B and C. For end diamonds align narrower points to create tapered runner tips and add an extra sc reinforcement row along the seam.
Info :
When joining, do not pull too tightly; keep joins flat. If you prefer, use mattress stitch with a yarn needle for a nearly invisible join rather than working sl sts.
— Large Leaf (Make 6) :
Round 1 :
With olive green, ch6, sc in 2nd ch from hook, hdc, dc, tr, dc, hdc, sc (leaf base worked in single row) Turn to work along other side of chain to form symmetrical leaf: sc, hdc, dc, tr, dc, hdc, sl st to first sc (14 sts total around the chain)
Round 2 :
Ch1, 1 sc in same st, *(1 sc, 1 hdc, 2 dc) in next st, (1 hdc, 1 sc) down the opposite side* Repeat to shape leaf point and base. End with sl st (approx 20 sts)
Round 3 :
Work FPdc along center ridge: ch1, FPdc around the post of each tr along the center to define the vein; on return work single crochets to tidy edges. (maintain stitch counts)
Round 4 :
Add textured edging: *sc, picot (ch3, sl st into 3rd ch), sc* repeat around leaf edge to create crisp serrations.
Round 5 :
Fasten off, leaving tail for sewing. Block leaf with pins to emphasize veins and serrated edge.
Info :
Make 6 large leaves keeping three in olive and three in rust to alternate along runner edge. You can make additional smaller leaves if you prefer a fuller border.
— Small Oak-Style Leaf (Make 8) :
Round 1 :
With rust color, ch7, sc in 2nd ch from hook, hdc, dc, tr, dc, hdc, sc (work back to create rounded shape)
Round 2 :
Working around both sides of the starting chain, increase slightly at the mid point to form lobed silhouette: *sc, hdc, 2 dc, hdc, sc* on one side and repeat opposite. End with sl st to starting sc (approx 18 sts)
Round 3 :
Ch1, sc around each st, adding 3 small picots at even intervals along the edge for oak-like points. Fasten off and block. Leave long tail for attaching.
Info :
Small oak leaves fill spaces between sunflower petals and acorn clusters. Work in both rust and mustard for color balance.
— Acorn (Make 4) :
Bottom (Cap) Round 1 :
With brown, magic ring, 6 sc into ring (6)
Round 2 :
Inc in each st (12)
Round 3 :
(1 sc, inc) x6 (18)
Round 4 :
(2 sc, inc) x6 (24)
Round 5 :
1 sc in each st around (24)
Info :
This forms the textured cap. You may optionally work BPdc or surface slip stitch in a spiral to create the ribbed cap look before attaching top section.
Top (Nut) Round 1 :
Switch to tan, magic ring, 6 sc into ring (6)
Round 2 :
Inc in each st (12)
Round 3 :
(1 sc, inc) x6 (18)
Round 4 :
(2 sc, inc) x6 (24)
Round 5 :
(3 sc, inc) x6 (30)
Round 6 :
1 sc around (30) Begin stuffing lightly; shape into tapered nut. Stuff moderately but leave a small opening to sew cap on.
Round 7 :
Attach cap by aligning cap flat edge to top of nut, whip stitch evenly around joining 24 st cap to the top 24 sts of nut. Before closing, stuff fully for a firm shape. Fasten off and weave in ends.
Info :
Add a small loop of yarn at the top of the cap before joining if you want to hang the acorn as an ornament. For table attachment, sew acorn directly into runner at desired point.
— Berry Clusters (Make 6 clusters) :
Round 1 :
With burgundy, ch2, 6 sc into second ch (6). Sl st to first sc.
Round 2 :
*ch3, 3 sc in same st, sl st in next st* repeat to make small bobbled berries attached to a central ring. Make 3-6 berries on a tiny chain stem (ch6) joining each berry with sl st on the stem.
Round 3 :
Fasten off leaving tail to sew small clusters onto the runner between leaves and petals. Add a tiny bit of stuffing if you want very plump berries but keep minimal for realistic fruit scale.
Info :
Position berry clusters in groups of 3-5 near leaf joins, using yarn tails to sew them securely. Clusters should slightly overlap leaf edges to appear naturally nestled.
— Joining Embellishment Rounds and Edge Scallop :
Round 1 :
Once all motifs are joined in sequence, work a single crochet reinforcement round in cream around the entire runner edge: sc evenly around all motif edges and join seams to tidy openings (approx 400-600 sc depending on final size).
Round 2 :
Work a decorative scallop: *skip 2 sc, 5 dc in next sc, skip 2 sc, sl st* around to create a scalloped lace edge. Adjust counts so scallops align with outermost points of petals and diamonds (approx 32-40 scallops).
Info :
If your join created small gaps, use sc and ch loops to bridge gaps and make the outer scallop continuous and even. Tidy stray threads and block the entire runner again after this final round for a polished shape.
— Finishing Touches :
Info :
Sew leaves, acorns and berry clusters onto the cream lattice and around sunflower perimeters. Use long tails and a yarn needle to secure through multiple stitches for stable attachment. Place acorns near outer petal gaps and tuck berry clusters into leaf bases for a natural composition.
Info :
Trim all tails close to the fabric after weaving ends back into adjacent stitches to prevent unraveling. Steam-block or wet-block the entire runner and shape petals outward so the motif centers sit flat.
Info :
Optional: Add a few hand-sewn wooden beads or tiny faux berry picks attached with thread for additional texture. If adding non-washable embellishments, be sure they are secured and removable if you plan to launder the runner.
Final Note :
This runner combines many individual motifs: three sunflowers, four diamonds and multiple leaves, acorns and berry clusters. Expect to complete motifs over several sessions; blocking and careful joining will be the most time-consuming but most rewarding part.
This sunflower table runner brings the season to your table with layered petals, lacy diamonds and tiny acorns for a rustic, handmade centerpiece. Each motif is a joy to crochet and block, and the final assembly turns separate pieces into an heirloom-quality accent. Place it on a wooden table for perfectly cozy autumn styling—everyone will ask where you found it! 🧶🍂