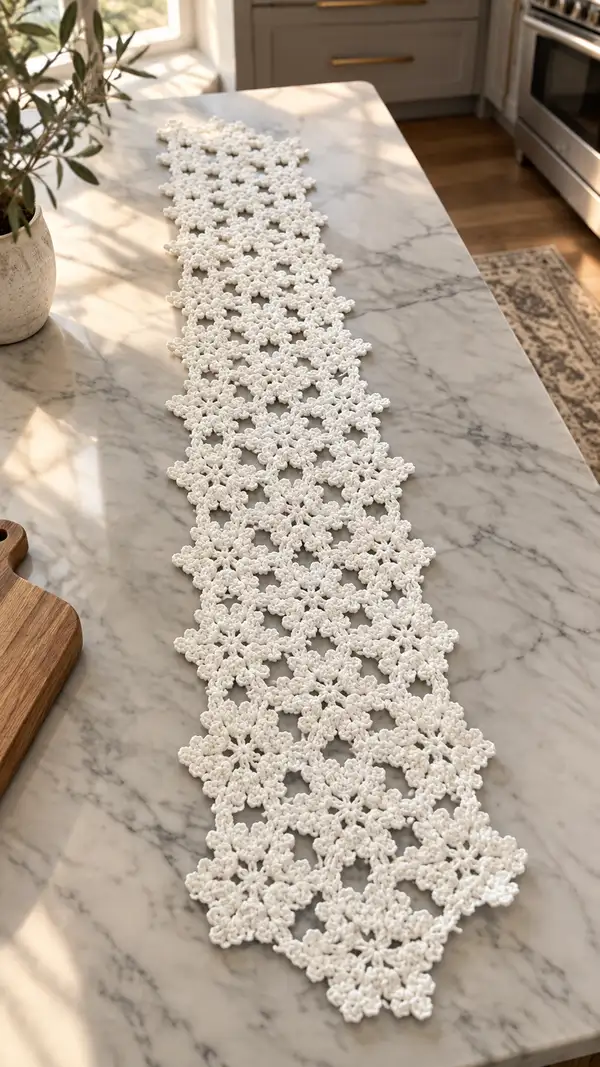
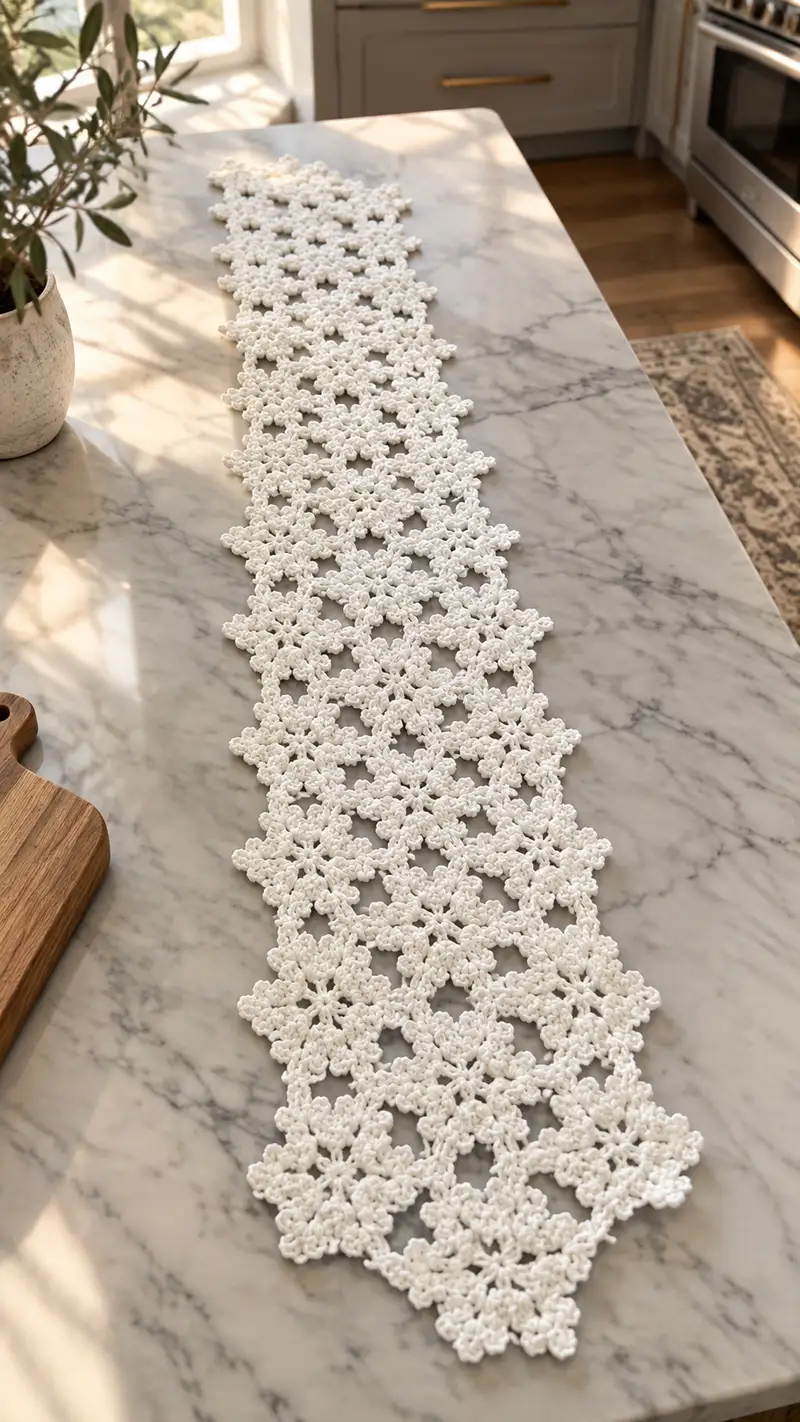
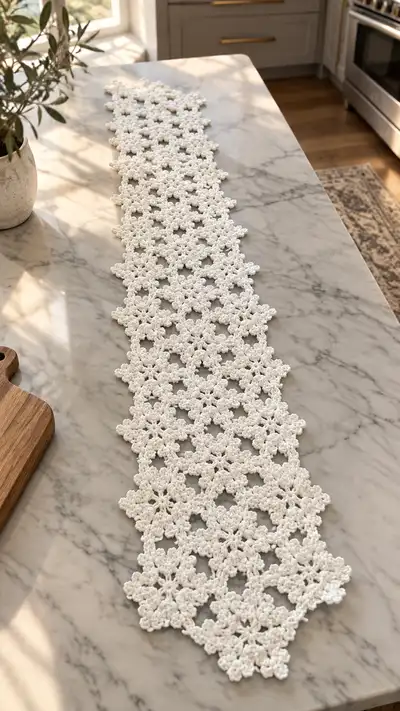
This elegant, lacy table runner is built from repeating six-petal floral motifs joined into a narrow runner perfect for a dining table or kitchen island. Worked in crisp white cotton, the design features delicate puff/petal clusters and open hexagonal spaces that create a lightweight, airy fabric. The seamless joining technique and soft scalloped edges highlight the handcrafted details while keeping assembly straightforward. Ideal for adding a classic handmade touch to your home decor.
Progress Tracker
0% Complete
— Gauge & Finished Size :
Info :
Gauge: One floral motif (after blocking) measures approximately 3.5" (9 cm) across from petal tip to petal tip when worked in worsted weight cotton and with a 3.5mm hook. The pictured runner is composed of motifs arranged in a long staggered grid (approx. 28 motifs long x 3 motifs wide in the photographed layout). Adjust the number of motifs to achieve your desired runner length and width.
Info :
Finished size (photographed): Approximately 10" (25 cm) wide by 60" (152 cm) long. Exact size depends on yarn, hook and blocking. Make more or fewer motifs to change length and width.
— Motif (Make many) :
Notes :
This motif is a six-petal floral hexagon using puff-style petal clusters. Stitch counts are given for main structural stitches; chains form loop spaces indicated in the rounds. Work each motif in a continuous spiral of rounds or join rounds with sl st as you prefer. For joining-as-you-go, start joining on Round 7 (final round) following the joining instructions below.
Round 1 :
mr, ch1, 6 sc in magic ring. Pull ring closed. (6)
Round 2 :
*ch4, sc in next sc* x6 — this creates 6 chain-4 loop spaces around the center. End with sl st to first sc. (6 sc + 6 ch-4 loops)
Round 3 :
Working into each ch-4 loop: sc, ch3, (puff stitch made of 3 loops: yo, insert hook, draw up loop; repeat 3 times total on same st; draw through all loops and ch1 to close puff), ch3, sc in same loop. Repeat in each of the 6 loop spaces. End with sl st to first sc. Petal count: 6 petals; structural count: 6 sc centers and 6 puff clusters (puff x6).
Info :
Puff stitch technique: For the 3-loop puff used here, yo, insert hook into designated loop space, draw up loop; repeat 2 more times in same place (3 loops completed), yo and draw through all 4 loops on hook, ch1 to secure the puff. Keep puffs consistent in height and tension for uniform petals.
Round 4 :
sl st to the space between two petals, ch1, sc into space between petals, ch5, sc into next space between petals. Repeat around to create 6 ch-5 connecting arches between petals. Sl st to first sc. (6 sc plus 6 ch-5 arches)
Info :
These ch-5 arches will form the points of the hexagon and give open lattice points for joining later. Keep arches loose but not sloppy so joins are easy when crocheting adjacent motifs.
Round 5 :
Into each ch-5 arch: sc, ch3, (2 dc, ch1, 2 dc) all worked in arch to create a small petal/point cluster, ch3, sc. Repeat around in each of the 6 arches. End with sl st to first sc. Structural counts: 6 small clusters (each cluster has 4 dc total, so 24 dc in this round) and 6 sc anchoring points.
Round 6 :
Work in the back of Round 5 clusters to begin forming hexagon sides: sl st to next sc anchor, ch1, [sc in anchor, ch2, sc in top of next petal cluster] x6 to create a small ring around the outside. End with sl st to first sc. This prepares placement points for the final outer petal tips. (12 sc counted as anchors in this round)
Info :
At this point you have a compact floral center with six outward anchors evenly spaced. Count anchors to ensure you have 12 or one per small side space; adjust if needed by checking symmetry before continuing.
Round 7 :
Final motif round that creates the outer petal tips: *Into each ch-2 space and side anchor: (sc, ch3, puff (3-loop), ch3, sc), ch1* — repeat around so that there are two small petal tips between each main petal. Finish with sl st to first sc. After finishing, tidy last sl st and fasten off if not joining. Structural count: 12 small outer puff clusters and 12 sc anchors.
Info :
If you plan to join motifs as you work, do NOT fasten off after Round 7. Keep working into Round 8 below to create join loops. Joining-as-you-go will use these outer loops to connect neighboring motifs flatly.
Round 8 :
Optional decorative round for thicker texture and joining preparation. ch1, sc in each sc and in each ch-3 space around, placing an extra sc in the middle of each outer puff cluster to reinforce edges. Work a total of 36 sc (approx) around depending on how many sc anchors you have. Sl st to join and leave yarn attached for joining. (Approx 36 sc depending on tension)
Info :
Round 8 evens the outer edge and creates consistent small loops or spots where you can slip-stitch join to adjacent motifs. Count your sc to match on every motif so joins sit flat.
Round 9 :
Edge refinement: *ch2, skip 1 sc, sc in next, ch2* around to create small chain spaces around outside edge. This makes the motif look lacy and provides tidy picot positions. Sl st to first sc and fasten off if working motifs separately. (Approx 36 sc anchors with 36 ch-2 spaces)
Info :
If working all motifs identically, make a practice motif and block it lightly to confirm desired motif size before making the entire runner. Block a sample motif flat and measure to determine how many motifs you need to reach your intended runner length.
— Joining-as-you-go (JAYGO) Method :
Info :
To recreate the seamless look in the photo, join motifs on Round 7 or 8 using a slip-stitch join into the chain spaces of an already-made motif. The runner pictured uses a staggered hexagonal layout: rows alternate between 3 motifs across and 2 motifs across so that motifs nest in the gaps of the previous row. The join points are at the outer puff tips and the small ch-2/ch-3 spaces.
Step 1 :
Work first motif completely (Rounds 1-8 or 9). If making multiple motifs and joining as you go, make the first motif and leave yarn attached after Round 8.
Step 2 :
Make a second motif until you reach the final round before Fasten Off (Round 7 or 8). When you reach the corresponding outer loop that will meet the first motif, instead of working the sc in the loop alone, insert hook into loop of the new motif, then insert into the matching loop of the already-placed first motif and sl st through both loops, then finish the rest of the stitch in current motif (for example, for a small sc anchor: pull up a loop in current motif, pull up a loop through the join point in the placed motif, yarn over and draw through both and complete the sc). Continue working the round, joining at every corresponding loop where motifs meet.
Info :
Alternate join: If your final round uses ch-2/ch-3 spaces, you can join by making a sl st from the new motif into the join space of the placed motif, then continuing the new motif. Aim for 2–3 slip-stitch joins per motif side for a secure, flat seam.
Step 3 :
As you position motifs, arrange them so that each new motif shares edges at three contact points with neighbors (where petals meet and at side anchors). Pin motifs gently with blocking pins if necessary before final joining to ensure even alignment.
Info :
For the runner shape pictured, construct a central spine of motifs then add staggered side motifs across alternating rows. The join-as-you-go technique reduces finishing work and creates a clean, flat surface ideal for a table runner.
— Layout & Assembly Plan :
Info :
Photographed layout suggestion: Start with 3 motifs across at the widest points and stagger short rows to create tapered points at each end. A typical layout for ~60" length: Row sequence from one end: 1 motif (tip), row of 2 motifs, several rows of 3 motifs (repeat to desired length), row of 2 motifs, 1 motif (tip). This produces a gentle hexagonal taper at both ends as shown.
Step :
Plan your length: Count how many full rows of 3 motifs you need. For a 60" runner using 3.5" motifs, you need ~16 motifs in length (since motifs overlap slightly in the layout), assembled as a staggered chain. The exact count depends on blocking and personal tension.
Info :
Lay out motifs on a flat surface while joining to check alignment. Use pins to hold motifs in place while you slip-stitch join them; this helps prevent distortion or uneven joins.
— Edge Scallop & Final Border :
Info :
Once all motifs are joined and the runner is assembled to desired length and width, you can choose to add an outer scalloped border along both long sides and tapered ends to echo the small petals and give a finished, polished look. The border is worked around the entire perimeter in one continuous round.
Round B1 :
Attach yarn at a side edge corner. ch1, sc evenly around the outer edge of all motifs into the joins and into outer ch-2 loops, placing 1 sc per 1 cm approximately (or into each available loop/space) to create a consistent anchor round. Work sl st to join and do not fasten off. Count total scs around entire runner — this will inform scallop spacing (approx 180–220 sc depending on runner length).
Info :
Ensure even distribution of sc anchors — if you have gaps, add a few extra sc in wide spaces and skip a couple where stitches are too dense to keep edge even.
Round B2 :
*Skip 2 sc, 5 dc in next sc (shell), skip 2 sc, sc in next sc* — repeat around to form scallops along both long sides and ends. Adjust shell size if your stitch count is different: use 3 or 4 dc shells if needed to fit the number of sc anchors evenly. Sl st to join and fasten off. (Shell count will be number of scallops around runner — approx 36–44 depending on length)
Info :
For tapered ends you may need to add smaller 3-dc shells to keep the scallop symmetry; pin and block the runner to view scallop spacing before finalizing the border.
Round B3 (Optional) :
For extra definition, work a reverse single crochet (crab stitch) around the outer edge: attach yarn, sc in each st using reverse direction to create a rope-like edge. Sl st and fasten off.
Info :
The crab stitch gives weight and a subtle frame to the runner, helping it lie flat on a table surface and resisting curling from puff stitches.
— Alternative Motif Variation (Two-tone) :
Info :
To use a second color for petal tips, change color in Round 7 before working outer puff clusters: Info : Change to accent color now. Carry unused yarn or fasten off as you prefer. When joining, use main color for joins so seams sit neutral against both tones.
Round V1 :
Change to accent color, complete Round 7 outer petal tip puffs, then continue Round 8 in main color for joining. This creates a crisp two-tone effect where petal tips differ but the lattice remains unified.
Info :
When changing colors frequently, use small tails and weave them into the centers of motifs to keep the front tidy. A barely visible join will be created when the final assembly uses the main color join round.
— Blocking & Finishing :
Info :
Blocking is essential for this lacy runner. Pin each tip and scallop to a blocking mat, gently wet-block with lukewarm water or spray until damp, then allow to dry thoroughly. Blocking evens motif shape and opens the lace spaces to reveal the pattern shown in the photo.
Info :
Weave in all tails carefully on the wrong side, tuck short ends into the nearest puff cluster so they are hidden. If necessary, use a drop of fabric glue at the base of a slip-stitch join to secure a loose join (test glue on scrap first).
— Tips & Troubleshooting :
Info :
1) Keep motif counts consistent: after making first motif, always measure center to petal and outer width to ensure new motifs match. 2) If motifs begin to look distorted, block them individually to correct shape before joining. 3) If your runner waves after joining, the scalloped border and final blocking will typically correct it — otherwise remove a border round and redistribute shell spacing.
Info :
4) For a more vintage look, use a DK cotton and a 3.0mm hook which will produce slightly smaller motifs and a denser lace; scale motif count accordingly. 5) To enlarge motifs, use a 4.0mm hook or bulkier yarn — then make fewer motifs for the same length.
This lacy floral runner pattern turns simple repeated motifs into a gorgeous long accent piece for your table. The join-as-you-go method creates a seamless, elegant lattice and the scalloped edge frames the runner beautifully. Whether you choose crisp white like the photo or subtle neutrals for a softer look, this project is a satisfying, decorative piece to gift or keep. 🧶✨ The finishing touch of blocking makes the pattern pop and ensures a refined, professional result. Happy stitching and enjoy the beauty of handmade home decor! 🏡