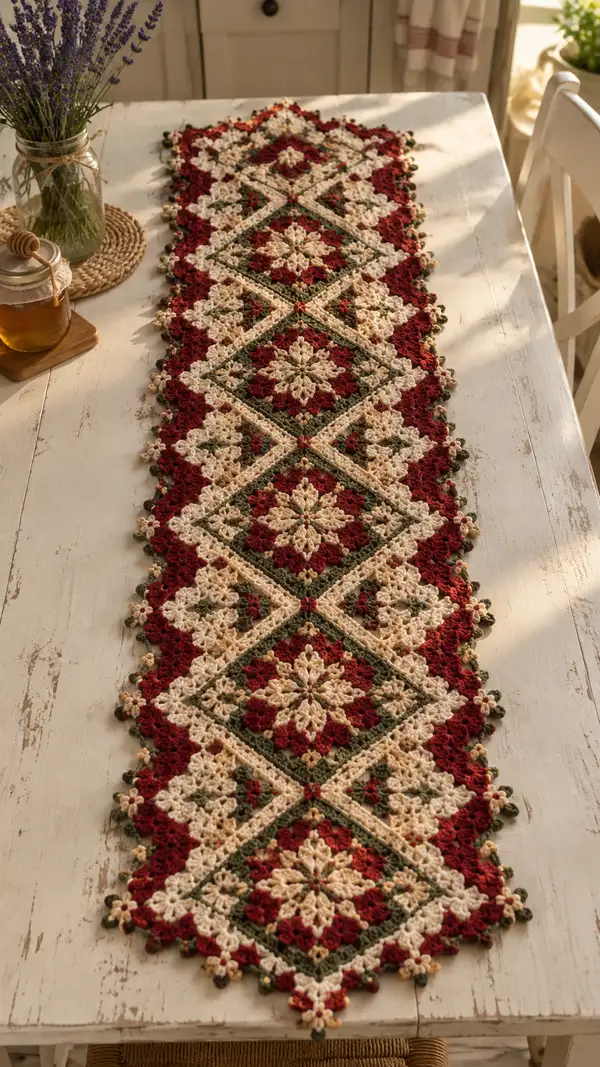
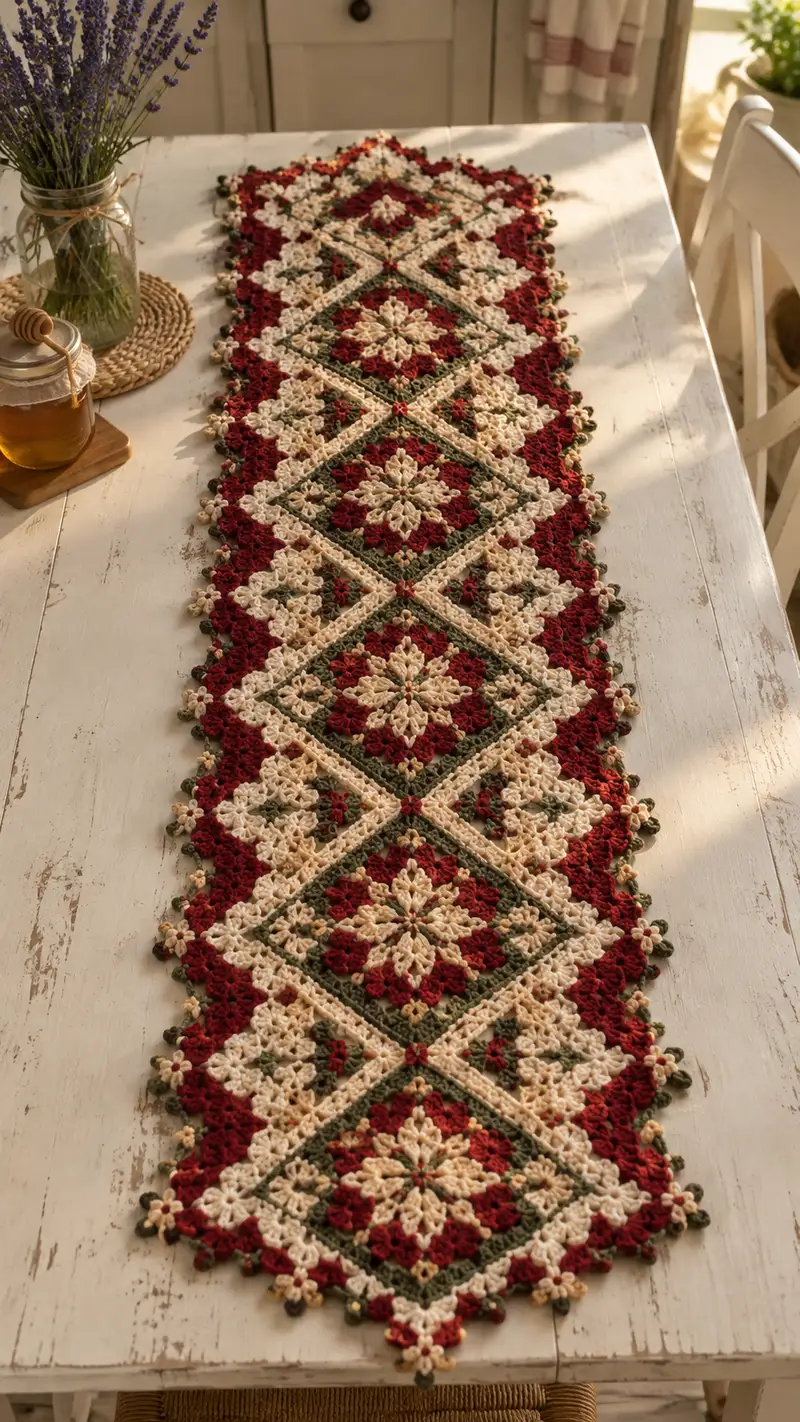
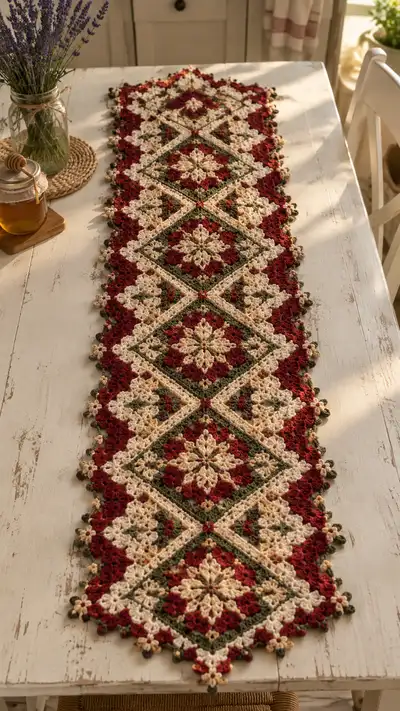
A classic floral diamond table runner worked in rich burgundy, olive green and warm cream. This long, elegant table runner is built from joined floral-diamond motifs and delicate picot edges for a vintage farmhouse look. Perfect for holiday tables or year-round decor, it uses join-as-you-go techniques and gentle texture to create a stunning centerpiece. Intermediate crocheters will enjoy the colorwork and assembly steps to bring this runner to life.
Progress Tracker
0% Complete
— Pattern Overview & Gauge :
Info :
This runner is constructed from large floral-diamond motifs (make 6) and smaller connector motifs placed between diamonds, joined-as-you-go, then finished with a scalloped picot border. Gauge is not critical for motifs, but consistent tension is key for alignment. With worsted yarn and 3.5mm hook, each completed large motif measures approximately 14cm (5.5in) corner-to-corner; final runner in the photo is approximately 130cm (51in) long by 22cm (8.5in) wide.
Info :
Throughout the pattern we use clusters and chains to create the floral look and then stabilize with rounds of single crochet and slip-stitch joining. Keep a stitch marker at the start of each round.
— Main Floral-Diamond Motif (Make 6) :
Round 1 :
With burgundy, make mr, ch3 (counts as dc), work (2 dc, ch2, 3 dc) into ring to create first petal. Rep (3 dc, ch2, 3 dc) x7 around to make 8 petals. Join with sl st to top of ch3. (8 petals, 16 ch2 sps)
Round 2 :
Ch1, sc into same st, *ch4, sk to next petal center and sc between petals (in ch2 sp), rep around to form 8 ch4 loops; join with sl st to first sc. (8 sc, 8 ch4 loops)
Round 3 :
Change to cream in last yarn over of last sl st. Ch3 (count as dc), into each ch4 loop work (2 dc, ch2, 2 dc) to form shell clusters; join with sl st. (8 shells, 16 dc in this round plus 8 ch2 sps)
Round 4 :
Ch1, sc into same st, *ch3, sk to next shell and sc into ch2 sp of shell; rep around. Join with sl st. (8 sc, 8 ch3 loops)
Round 5 :
With cream, into each ch3 loop work (3 dc, ch1, 3 dc) to enlarge motif corners and start forming a diamond shape. Join with sl st. (8 corner shells; stitch-rich round)
Info :
Keep tension even. If your shell clusters look loose, switch to the 3.25mm hook for the next round to tighten. Maintain stitch marker at the start of each round.
Round 6 :
Ch1, sc evenly around working 6 sc along each outer shell side and 1 sc in each ch1 space at corners to create a stable frame. End with total 48 sc. (48)
Round 7 :
Change to olive. Ch2 (counts as hdc), hdc in same st, hdc in next 46 sts (48 hdc). Join with sl st. (48)
Round 8 :
Ch1, sc in next 2 sts, *(ch3, sk 2, sc in next 2) repeat across to form openwork arches along sides; total should remain 48 sc placements + ch loops. Join with sl st. (48 base points + ch arches)
Round 9 :
With cream, into each ch3 arch work (5 dc cluster anchored together as a star cluster) so that each arch becomes a small floral puff; sc between clusters to stabilize. After working around, you will have 16 clusters and 16 sc anchors; join with sl st. (16 clusters + 16 sc)
Round 10 :
Ch1, sc in each st around (count only sc anchor points and single sc between clusters) total counted as 64 sc when including anchors and side sc. (64)
Info :
Place a motif on a flat surface and check that it lies square. If a corner pulls, gently block flat with pins to square up the diamond before proceeding to larger rounds.
Round 11 :
Change to burgundy. Ch3 (counts as dc), into each corner ch2 sp work (3 dc, ch2, 3 dc) and along each side work (2 dc, ch1, 2 dc) equally spacing to reach 88 total dc stitches when counted (this expands the motif into a bigger diamond). (88)
Round 12 :
Ch1, sc in each st around to compress the round and give defined edges; total 88 sc. (88)
Round 13 :
Change to olive. Ch2, hdc in each of next 87 sts (88 hdc). Join. (88)
Round 14 :
Ch1, sc in each st BLO for a raised ridge around the motif (88 sc in BLO). (88)
Round 15 :
With cream, ch3, *(2 dc, ch2, 2 dc) in corner (ch2 sp), 1 dc in each of next 10 sts along the side; rep across four sides to produce a square-ish diamond; estimate 120 dc including corner shells. (approx 120)
Info :
At this stage the motif is large and should measure roughly 14cm corner-to-corner. If your motif is significantly larger/smaller, adjust hook size or yarn tension before making remaining motifs to keep consistent size across pieces.
Round 16 :
Ch1, sc evenly around working 30 sc per side (120 sc total). Join with sl st. (120)
Round 17 :
Change to burgundy. Ch1, sc in each st for 2 rounds to thicken the edge (Round 17 = 120 sc). (120)
Round 18 :
Repeat sc around (Round 18 = 120 sc). (120)
Round 19 :
With cream, *[ch4, sl st into 3rd sc along side to create picot-like spacer] repeat around to create small looped edge; end with 30 picots along sides. (Loop count varies by side length; total approx 120 anchor sts)
Round 20 :
Change to olive, ch1, sc in each st for added firmness (120 sc). (120)
Round 21 :
With cream, work small 5-dc star clusters into every 6th sc around to introduce extra floral detail. After completing, you should have 20 star clusters spaced evenly around. (120 base + 20 clusters)
Round 22 :
Ch1, sc around to stabilize (120 sc). (120)
Round 23 :
Optional: with burgundy, embroider tiny crosses or french-knot style surface stitches at center of each cluster for accent. (Decoration round)
Info :
If you prefer a slightly narrower runner, trim rounds 15-21 from some motifs before joining. Make all motifs identical for best results.
Round 25 :
Fasten off leaving 20cm tails for joining. Weave in starting tail neatly into the back of the motif and leave join tail for JAYG. Block motif flat if desired, pinning corners to preserve diamond shape.
— Small Corner/Connector Motif (Make 7-8, as photo) :
Round 1 :
With cream, mr, ch3 (counts as dc), work (2 dc, ch2, 3 dc) into ring to create a small 8-petal medallion (8 petals). Join with sl st. (8 petals)
Round 2 :
Ch1, sc in same st, *ch3, sk to next petal and sc in next petal ch2 sp; rep around to form 8 ch3 loops; join. (8 sc, 8 ch3 loops)
Round 3 :
Change to olive, into each ch3 loop work (3 dc, ch1, 3 dc) to form tiny shells; join with sl st. (8 shells)
Round 4 :
Ch1, sc evenly around placing 14 sc total (approx), join with sl st. (14)
Round 5 :
Change to burgundy, ch2, hdc in each st around (14 hdc). (14)
Round 6 :
Ch1, sc around (14). (14)
Round 7 :
With cream, ch3, in every 3rd sc make a small 3-dc cluster to add tiny floral bumps; you will make 5 clusters around. Sc between clusters. (14 base + 5 clusters)
Round 8 :
Fasten off leaving long tail for joining; block flat if needed. These connectors will sit in the gaps between large diamonds and help form the runner outline.
Info :
Make a few extra connectors to allow flexibility during layout and because counts may vary slightly by tension. Having extras makes fitting easier.
— Small Square Filler Motif (Make 5-6) :
Round 1 :
With burgundy, mr, ch4 (counts as tr), work (tr, ch2, tr) x3 more to create four corners (4 corner shells). Join with sl st. (4 shells)
Round 2 :
Ch1, sc into same st, *ch3, sc between corners; repeat to make 4 ch3 loops; join. (4 sc, 4 ch3 loops)
Round 3 :
Change to cream, into each ch3 loop work (3 dc, ch1, 3 dc) to form mini corner shells; join. (4 shells)
Round 4 :
Ch1, sc in each st around to produce a tidy square of 20 sc. (20)
Round 5 :
Optional: with olive, sc around in BLO to create a visible ridge. Fasten off leaving long tail for joining. (20)
Info :
These small squares are used under intersections where diamonds meet; make as many as needed during layout to square up points.
— Join-As-You-Go (JAYG) Method to Assemble Runner :
Info :
Layout notes: The runner in the image is made of 6 large diamond motifs in a single column with small connector motifs filling the diagonal gaps. Before joining, block all motifs flat to the same size. Arrange motifs in final order on a flat surface and pin in place.
Round 1 :
Pick the first two large motifs. With the second motif on top and right side facing you, join with cream by connecting at designated points: align corner shells and on Round 20-level sc round, insert hook through both motif edges and sl st to join. Do this at 6 evenly spaced join points along the touching edges - total 6 sl st joins along the seam. (6 joins per touching edge)
Round 2 :
Continue joining motif 2 to motif 3 in the same manner, making sure diamonds align tip-to-tip so seams form a continuous line. Join next large motif to previous at 6 points. Repeat until you have a column of 6 large motifs joined. (5 seam joints between 6 motifs)
Round 3 :
Between each pair of large diamonds there will be diamond-shaped gaps; take connector motifs and join them into these gaps using sl st at each corner to the large motif corner picot loops. Each connector will be attached at 4 points (one at each corner). (4 joins per connector)
Round 4 :
Where three motifs meet (central intersection points), place a small square filler motif and join with slip stitches at 4 corners to reduce tension and stabilize the seam. (4 joins per square)
Info :
Always join by placing the new motif with right side up (patterned side up) and slip-stitch through both layers into the anchor sc that align. For a neater join, work sl st from back to front through the back of the top motif then front to back through the bottom motif to hide tail ends.
Round 5 :
Once all motifs are joined into a strip, inspect seam gaps. Reinforce joins by working a second round of sl st with cream along seams if needed. This adds stability but will slightly reduce flexibility. (Reinforcement round along all seams)
Info :
Keep motifs flat while joining. Use pins to hold pieces and check that diamonds form a straight central axis. If a seam pulls, unpick a few sl sts and re-pin before rejoining.
— Outer Scalloped Picot Border & Edge Fill (Work Around Full Runner) :
Round 1 :
With burgundy, join yarn at one corner of the runner, ch1, sc evenly into each edge st along the entire length of the runner - total sc count will depend on assembled runner length; aim for 480 sc across entire perimeter (approx). (approx 480)
Round 2 :
Ch3 (counts as dc), *5 dc in next sc to make a scallop, sk 3 sc, sl st into next sc, rep around sides and ends to create full scallop rows; expect approximately 120 scallops around entire perimeter. (approx 120 scallops)
Round 3 :
Change to cream. Into each scallop work: sl st into scallop top, ch3, (2 dc, ch2, 2 dc) to create a raised corner shell at each scallop top; sl st into center sc between scallops. This gives a double-row scallop look. (approx 120 shells)
Info :
Work border rounds with the runner flat on a table. If your runner naturally curves, gently steam-block after finishing to coax it flat rather than trying to force the stitches during the border round.
Round 5 :
With olive, ch1, sc into each stitch around this scallop row to tidy and unify colors (approx 480 sc). (approx 480)
Round 6 :
Switch to cream. Work small picot points: *ch3, sl st into third chain to make a tiny picot at the tip of each shell; sl st into base to secure and move to next shell. Repeat around. (picot in each shell approx 120 picots)
Round 7 :
Change to burgundy. Work a final finishing round: ch1, sc into each base stitch, placing a small 3-dc cluster every 8 sc to add textured dots; join and fasten off. Weave in ends. (approx 480 sc)
Info :
If you prefer a simpler edge, perform two rounds of sc in cream and finish with a single picot round in olive for contrast. The pattern pictured uses the deeper burgundy for a more pronounced scallop.
— Optional Decorative Raised Flower Tips (Edge Embellishment) :
Round 1 :
With cream, at every second scallop top, work a small 6-dc bobble (work 6 dc into same st, remove hook, reinsert into first dc and pull through all loops) to create a raised bump. Space these evenly; expect approximately 60 raised flowers around the runner. (approx 60)
Round 2 :
With olive, work a small sc anchor around each raised flower for stability, then secure and fasten off. Weave in tails, trim. (stabilizing round)
Info :
These raised flower tips echo the floral centers from motifs and add tactile interest to the edge when viewed up-close on a table runner.
— Finishing & Blocking :
Round 1 :
Weave in all remaining ends using a tapestry needle, burying tails into motif backs for an invisible finish. Trim close to work. (Finish step)
Round 2 :
Lightly dampen the runner and pin to a flat blocking board to coax motifs square. Pin each diamond corner to preserve shape and allow to dry overnight. Use low-steam iron at a distance if needed. (Blocking)
Round 3 :
Final inspection: check seams and joins, add a few reinforcing sl sts at any loose joins, and fluff scallops gently. Your runner is ready for display.
Info :
Because the runner contains openwork, place a non-slip runner pad beneath when laid on a slick table to prevent shifting. Consider a fabric backing for heavy-use tables to protect the crochet.
Finishing this Olive and Burgundy Floral Diamond Table Runner is such a satisfying moment — watching those floral diamonds click together into a beautiful ribbon of color feels magical! The textured petals and scalloped edge give it a handmade heirloom quality that’s perfect for holiday tables or everyday charm. Pin and block it flat, then enjoy the warm, cozy vibe it brings to your home. 🧶🌿✨