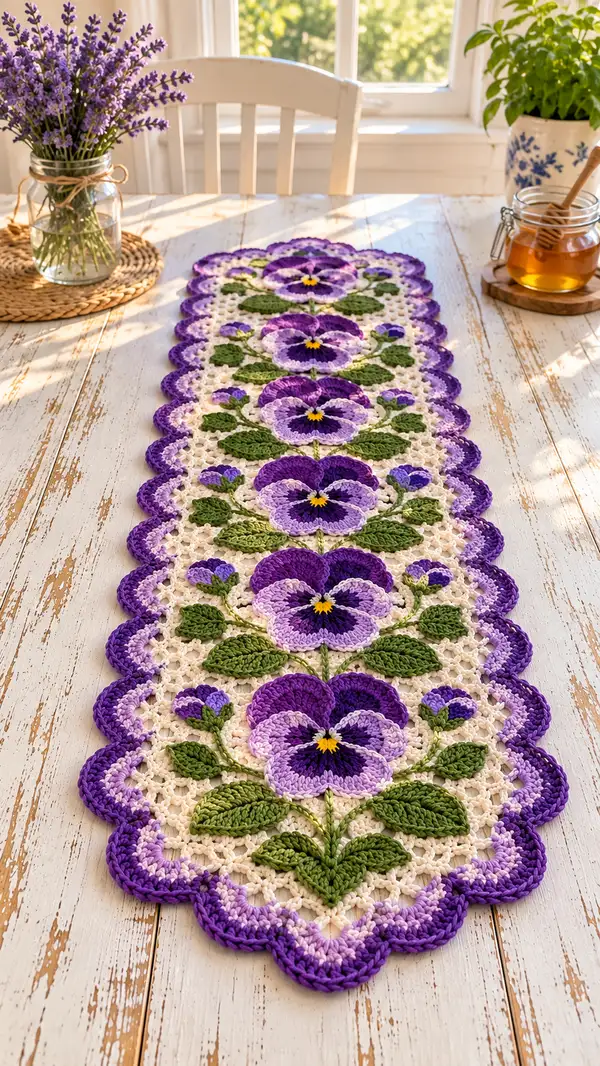
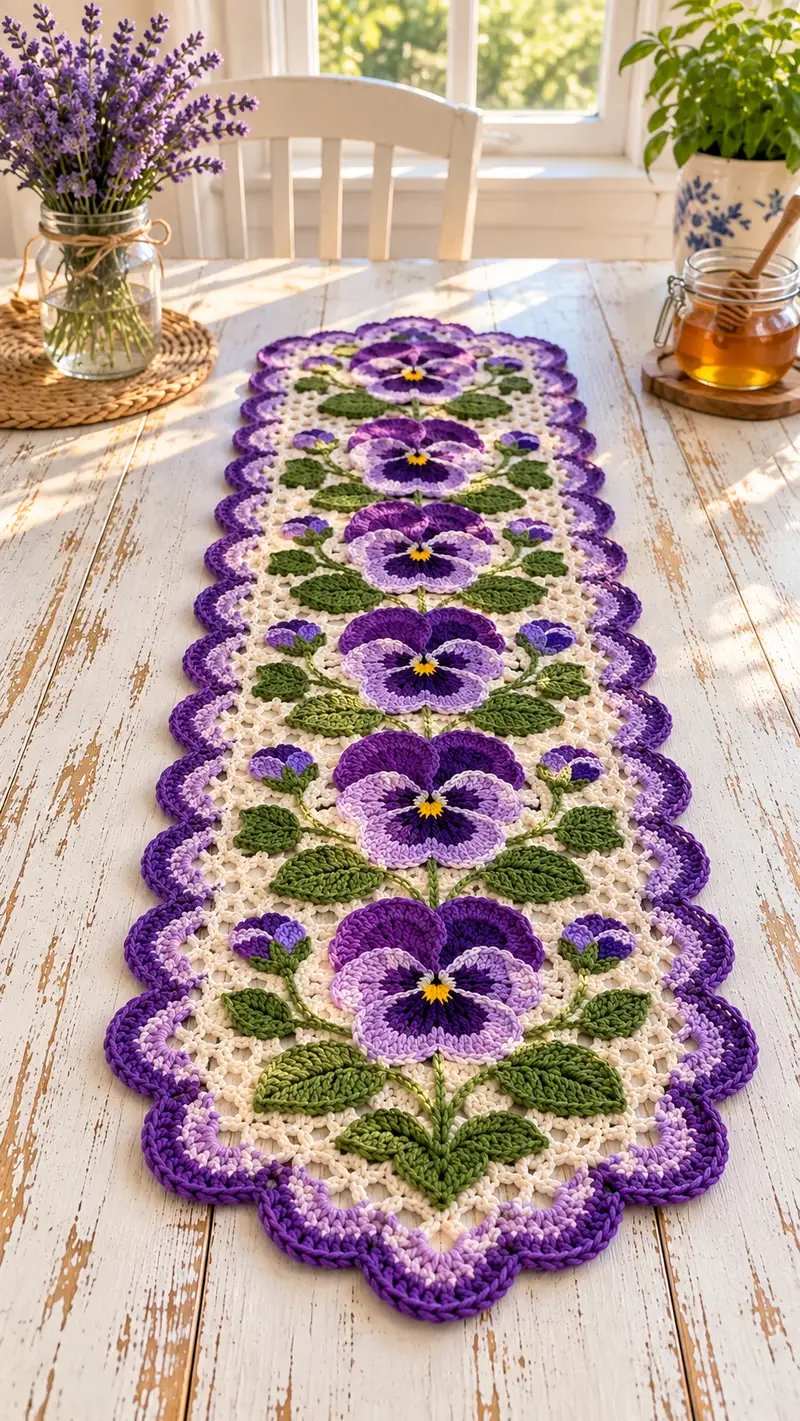
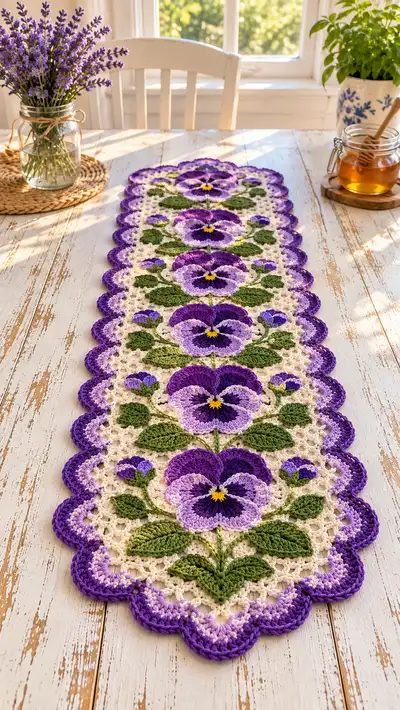
A charming table runner decorated with large purple pansy applique9 motifs on a delicate cream lace background. Each pansy is worked in layered petals with deep purple centers, soft lilac highlights and bright yellow eye accents, accompanied by sculpted green leaves and buds. The runner is finished with a scalloped multi-tonal purple border for a polished, vintage-inspired look. Perfect for brightening a dining table, sideboard, or window seat.
Progress Tracker
0% Complete
— Notes & Gauge :
Info :
Gauge is not critical for overall look but affects finished size. Using 3.5mm hook with DK cotton, each small square in mesh measures approximately 1.2cm across. Runner shown measures roughly 34cm (13.5") wide by 120cm (47") long with five pansy motifs spaced along the length.
Info :
This pattern is modular: make one flower motif unit (flower, leaves, bud) and join to the mesh panel. Repeat motif units along the runner length as desired.
— Pansy Flower Motif (Make 5) :
Round 1 :
6 sc in magic ring (6)
Round 3 :
(1 sc, inc) x 6 (18)
Round 4 :
(2 sc, inc) x 6 (24)
Info :
Work these inner rounds in dark purple to form the deep inner eye of the pansy. Maintain small, tight stitches to keep center compact.
Round 5 :
1 sc in each st (24)
Round 6 :
(3 sc, inc) x 6 (30)
Round 7 :
1 sc in each st (30)
Round 8 :
Change to medium purple. (4 sc, inc) x 6 (36)
Info :
Change to medium purple at the start of this round to build the first layer of the petals. Leave a 10cm tail to weave in later if you prefer, or change color with a standing stitch.
Round 9 :
1 sc in each st (36)
Round 10 :
(5 sc, inc) x 6 (42)
Round 11 :
1 sc in each st (42)
Round 12 :
Switch to light lilac. Work petal base: *ch3, skip 4, sc in next 1* across to create 7 ch-arches (7 arches). (42)
Info :
These arches form the foundation for each petal shell. Adjust the number of chains if your yarn is heavier; aim for 6-8 petal anchors evenly spaced around the circle.
Round 13 :
In each ch-arch work: *(sl st, hdc, 3 dc, hdc, sl st) into arch* x 7 (these are petal shells) (around shape stay at 42 anchors)
Round 14 :
Join shells with sc between petals: *sc into space between shells, sc into top of shell next* around (42)
Round 15 :
Work outer petal shaping: in each shell work *(ch2, 2 dc, tr, 2 dc, ch2) into top center of the shell* x 7 (creates pronounced petal points) (count remains 42 petal anchors)
Info :
Adjust shell height by adding or subtracting dc/tr as needed to match the size of the pictured pansy. Keeping stitch counts consistent across petals ensures symmetrical petals.
Round 16 :
Fasten off light lilac. With dark purple, embroider a small star eye at the center: using yarn needle and yellow yarn, make 6 short surface stitches radiating from the center to create the yellow eye cluster. Secure ends on wrong side.
Info :
Embroider the yellow eye while the motif is flat. A small dense cluster of yellow gives the pansy its characteristic eye. Use small stitches to keep the eye neat.
— Leaf Set for Each Motif (Make 6 leaves per motif: 3 pairs) :
Round 17 :
Using green, ch8, sc in 2nd ch from hook, hdc next, dc next, 2 tr next, dc next, hdc next, sc last (leaf base complete) (8 stitches across backbone)
Round 18 :
Turn and work along opposite side of foundation chain: sc, hdc, dc, 2 tr, dc, hdc, sc (fasten off) - leaf is symmetrical and lies flat
Info :
To create the raised midrib, before fastening off place a length of yarn and use surface crochet: ch1 then sc along center of leaf to make a vein, or whip stitch a raised line with matching green yarn.
Round 19 :
Make a larger leaf variant: ch10, sc in 2nd ch, hdc, dc, 3 tr, dc, hdc, sc last, turn and repeat on other side (larger leaf)
Info :
Make 3 pairs of leaves per motif: one central pair large, and two smaller lateral leaves to recreate the photo’s layered foliage. Leaves should be flat but slightly cupped by varying tension or blocking.
— Bud (Make 2 per motif) :
Round 20 :
With green, ch6, sl st in 2nd ch, sc in next, hdc in next, sc next, sl st last; fasten off leaving tail to sew to stem (bud base)
Round 21 :
Optionally add a tiny lilac cap: with lilac, join to top of bud with sc around 5 sts, finish and weave in
Info :
Buds are small and tidy in the final runner. Sew them to the mesh panel near flowers to add visual variety and verticality.
— Stem (Make 1 per motif connection) :
Round 22 :
With green, ch60 (adjust length depending on layout). Work 1 sc into 2nd ch from hook and 1 sc in each remaining ch to create a cord (59 sc)
Info :
Alternatively, make an I-cord style stem using a smaller hook and 3-4 strands held together for thickness. Stems are fastened to mesh and motifs with small whip-stitches for stability.
— Lace Mesh Panel (Central Groundwork) :
Info :
This mesh is worked in continuous rows (rounds) to form a long rectangle into which you will join motifs as you proceed. The base width for this runner is 54 chain anchors (adjust if you want a wider runner). We will create 5 motif positions evenly spaced along the length; each motif occupies 10-12 mesh repeats horizontally.
Round 23 :
Foundation: Using cream, ch162 (this is wide enough for 5 motifs; each motif block uses 30 chain spaces across when worked in mesh) (162 ch foundation)
Round 24 :
Row 1 (return row): sc in 2nd ch from hook, *ch3, sk3, sc in next* across to last 2 ch, sc in last 2 ch. (This establishes every-other chain as a mesh anchor) (count approx 54 sc with 27 ch3 spaces)
Info :
Mark the center point and the centers for each motif using stitch markers: divide foundation into five equal sections so that motifs are centered. This ensures you place applique9s symmetrically.
Round 25 :
Row 2: ch1, turn, sc in same st, *ch3, sk next ch3 sp, sc in next sc* across (continue mesh) (maintain 54 sc anchors)
Round 26-34 :
Repeat Row 2 for 9 more rows to build a stable mesh foundation where motifs will rest (54 sc anchors, 27 ch3 spaces)
Info :
Make mesh until you reach the distance required for placing the next motif vertically. The picture shows a pattern where motifs are placed in sequence with about 18-22 mesh rows between centers; follow your preferred spacing. Block each motif slightly if needed before attaching.
Round 35 :
Place first motif: Position one pansy motif flat at your marked center. From the wrong side, using cream, work slip stitches through the outermost sc base of the motif into the adjacent mesh scs to tack it down: sl st around 12-16 attachment points (no change in mesh stitch counts)
Info :
Sew rather than slip-stitch if you prefer a neater seam—use an invisible ladder stitch with matching cotton thread to anchor the motif to the mesh. Ensure motif edge lies flat with no puckering.
Round 36 :
Attach leaves and bud: Using yarn needle and green, sew each leaf set to the mesh at positions below and beside the motif. For each attachment, use 6-8 small whip stitches through leaf base and mesh scs to secure (mesh counts unchanged)
Info :
Arrange two smaller leaves to angle outward and one larger leaf centered below the flower to replicate the photo. Stems should be stitched along the mesh with a few long whip stitches to appear continuous.
Round 37-40 :
Work 4 more mesh rows in cream to secure motif integration: ch1, turn, sc in each sc and ch3 space anchor as before (54 sc anchors)
Info :
Repeat this sequence: 18-22 mesh rows, attach next motif, then 4-8 mesh rows of reinforcement between motifs until you have attached all five pansy motifs along the length. Number of mesh rows between motifs: aim for 18 rows to replicate spacing in photo.
Round 41 :
After all motifs attached and mesh grown to desired length, work an even row of sc around entire perimeter: sc evenly into sides of mesh (approx 220 sc around full perimeter depending on final length)
Info :
This perimeter sc row provides a firm base for the decorative border. Count and mark corner/curve points so the scalloped edge will be uniform and not pull the mesh out of shape.
— Scalloped Border (Multi-tone Purple) :
Info :
Border uses three purple tones: dark (outermost), medium (mid), and light lilac (inner). Work the inner shade first adjacent to the cream sc row, then medium, then dark on the outermost scallop so the runner matches the pictured graduated effect.
Round 42 :
Change to light lilac. Work: *ch3, skip 1 sc on perimeter, sc in next sc* around edge, placing (ch3, sc) pairs evenly to create small loops for the next rows. End with sl st to join (count will vary depending on perimeter; aim ~110 ch3 loops)
Round 43 :
In each ch3 loop work: sl st, hdc, 3 dc, hdc, sl st (a small scallop) across each loop (maintain same number of scallop anchors approximately 110)
Info :
If your edge has fewer or more ch3 loops, adjust stitch counts per scallop by adding or removing a dc or hdc to keep scallops even. Blocking after this round helps scallops look smooth.
Round 44 :
Change to medium purple. Work between scallops: *sl st into top of scallop, ch2, 2 dc in space between scallops, ch2, sl st into next scallop top* around (this builds medium ridge connecting scallops) (maintain count ~110)
Round 45 :
Change to dark purple. Work outer scallop: in each medium ridge space work *(sl st, hdc, 5 dc, hdc, sl st) into space* around producing larger prominent scallops (approx 110 outer scallops)
Info :
Outer scallops may flare; use a slightly smaller hook (3.0mm) for the final round if you want a firmer edge that curls less. Keep tension consistent to maintain uniform scallop size.
Round 46 :
Work a neat finishing round in dark purple: sc around the edges of each outer scallop, placing 3 sc across each scallop top to give a corded finish. Fasten off and weave all ends into the work.
Info :
Weave in ends using a yarn needle and then block the runner by pinning to true dimensions on a blocking board or towel. Spray with water or use steam per yarn care instructions. Allow to dry fully before use.
— Finishing Details & Variations :
Round 47 :
Optional surface detail: With dark purple or deep violet, use surface slip stitch to add veining on petals and leaves: work short surface sl st lines radiating from petal base outward. This is decorative and does not change stitch counts.
Info :
When adding surface slip stitches, test tension on a scrap motif so stitches lie flat and do not pull the base fabric. Keep surface stitches short and subtle for a natural look.
Round 48 :
Edge reinforcement: If runner will be used frequently, tack the scallops down to the mesh every 3-4 scallops with small slip stitches from the underside to prevent heavy items from catching the edge.
Info :
Store the runner flat or rolled rather than folded to avoid creasing the applique9 motifs. Handwash gently in cool water if needed; avoid agitation which could distort the lace.
Round 49 :
Final check: inspect all seams attaching motifs and leaves; secure any loose points with additional small stitches and snip stray ends closely after weaving.
Info :
For gifting, press the runner lightly after blocking and tuck a small care note with washing instructions (cool hand wash, dry flat) into the package to help the recipient preserve the lace and colors.
This elegant pansy table runner brings springtime charm to any tabletop with vibrant purple petals and delicate lacy background. The modular design means you can make it longer or shorter by adding or removing motif repeats, and the scalloped border gives a framed finish that looks professionally made. Working the layered petals and sculpted leaves is so satisfying—each motif feels like a small floral garden. 🧶🌸 Display it proudly or gift it to someone who loves handmade florals. Happy stitching! 🌿