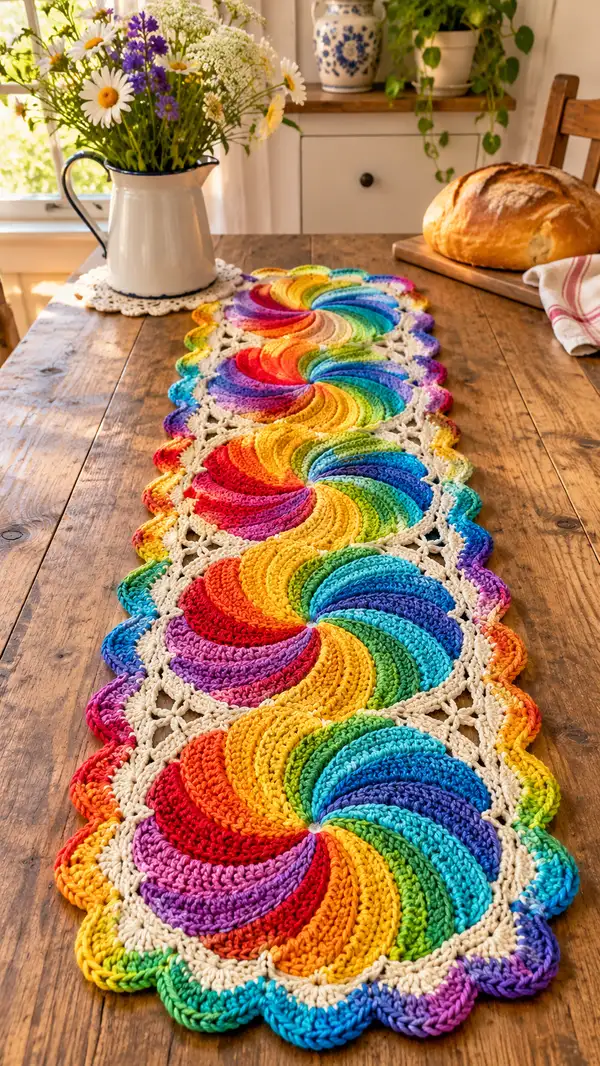
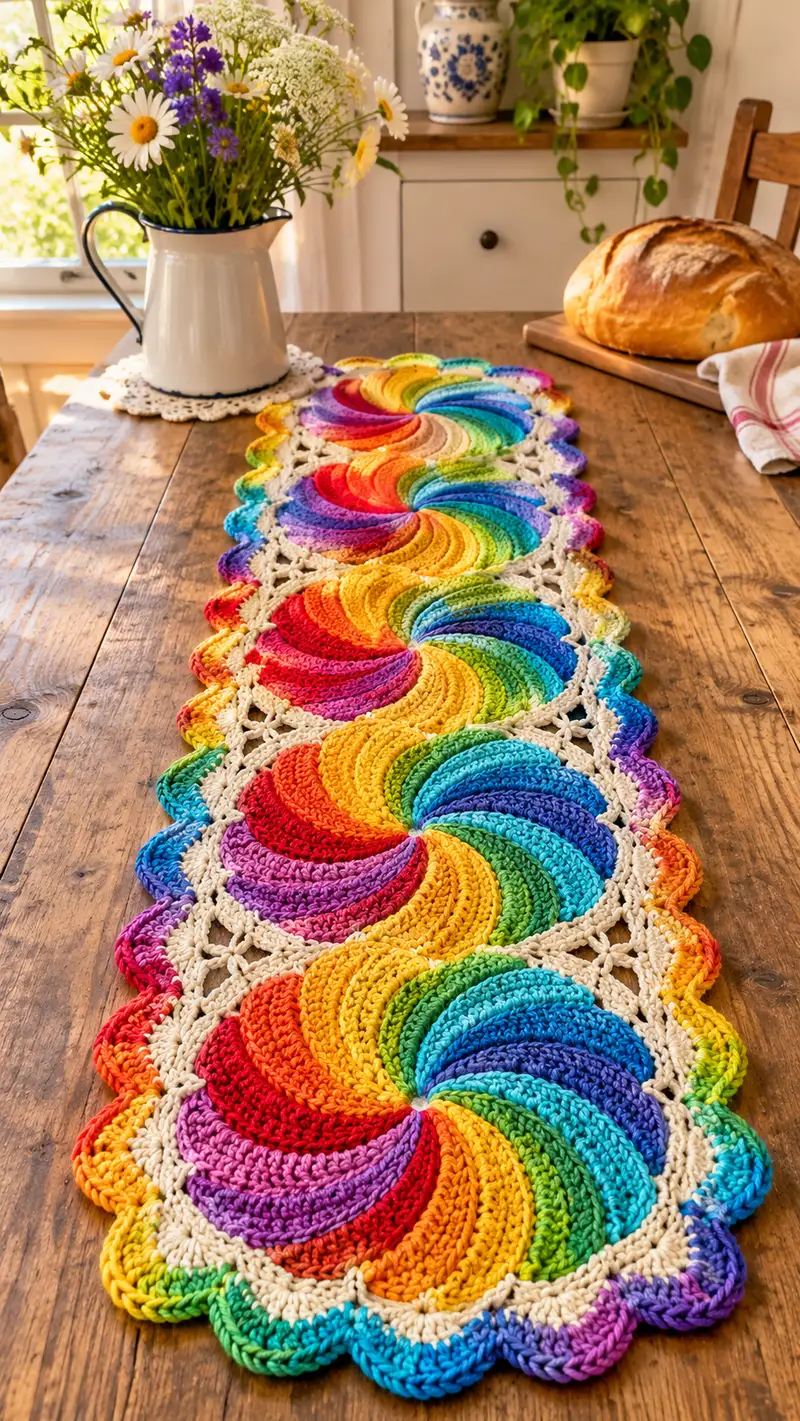
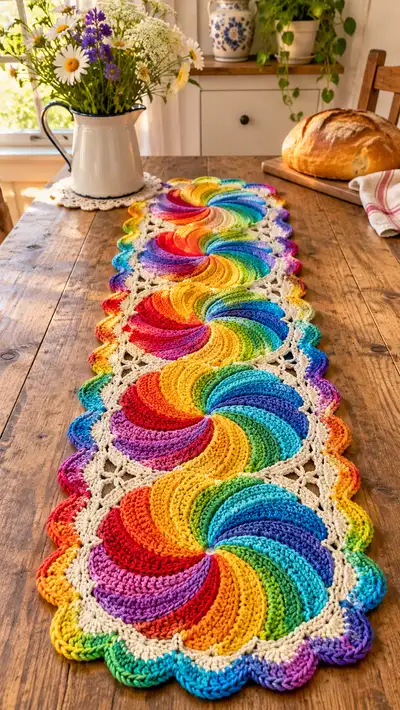
A bright, colorful table runner made from repeating rainbow pinwheel motifs joined with a soft neutral lace connector and finished with a scalloped edge. Each swirl bursts in vivid gradient colors for a cheerful centerpiece. This pattern shows how to make the pinwheel motif, join motifs into a runner, and apply the decorative neutral lace border for a polished finish.
Progress Tracker
0% Complete
— Notes & Overview :
Info :
This pattern is written for worsted weight yarn and a 3.5mm hook. The runner in the photo is made of 5 repeating pinwheel motifs joined end-to-end with a neutral lace connector and edged with a scalloped border. Adjust number of motifs for desired length. Each pinwheel motif is worked flat in rounds and finishes approximately 9.5-10 inches (24-25 cm) diameter before joining. Work tightly enough to maintain texture; blocking each motif before joining helps even edges.
— Pinwheel Motif (Make 5 or desired number) :
Round 1 :
Start with rainbow color A. 6 sc in magic ring (6)
Round 2 :
Inc in each st around (12)
Round 3 :
(1 sc, inc) x6 (18)
Round 4 :
(2 sc, inc) x6 (24)
Round 5 :
(3 sc, inc) x6 (30)
Round 6 :
(4 sc, inc) x6 (36)
Round 7 :
(5 sc, inc) x6 (42)
Round 8 :
(6 sc, inc) x6 (48)
Info :
These first rounds form a flat, stable disc. Use a stitch marker to mark the first stitch of each round. Keep tension even. If disc begins cupping, make next round with more increases; if ruffling, work one round without increases.
Round 9 :
1 sc in each st around (48)
Round 10 :
1 sc in each st around (48)
Round 11 :
Change to color B. Carry tail toward back and join new color with sl st. 1 sc in each st around (48)
Round 12 :
Work 1 sc in each st BLO around (48)
Info :
Working in BLO on Round 12 creates a small ridge that begins the layered effect. Place stitch markers every 6 stitches to demarcate 8 wedge groups (48/6=8) or every 4 stitches for 12 wedges depending on preferred swirl width. For the pictured tighter sweeps, place markers every 6 stitches to create 8 primary blades.
Round 13 :
Change to color C. Ch2 (counts as hdc). *hdc in next 3 sts, 2 hdc in next st (inc)* rep across to end (48 -> pattern keeps 48 hdc total because incs balanced by grouping choices)
Round 14 :
Change to color D. Ch2. 1 hdc in each st around, working in FLO (48)
Round 15 :
Change to color E. Ch3 (counts as dc). *dc in next 5 sts, FPdc around the 3rd st of previous wedge to pull fabric forward* rep to end (48)
Info :
Rounds 13-15 begin to build raised panels. Using post stitches (FPdc) helps lift the blade edges and creates the spiral appearance when offset in subsequent rounds. Use stitch markers to note wedge boundaries to keep posts consistent.
Round 16 :
Change to color F. Ch3. Dc in each st around working partly in BLO to deepen the ridge on the inner edge of each blade (48)
Round 17 :
Ch2. *hdc in next 2 sts, 2 hdc in next st* rep x12 (this will be written as (2 hdc, inc) x12 but total remains 48 when grouping precise locations) (48)
Round 18 :
Change to color G. Ch1. 1 sc in each st around in FLO (48)
Round 19 :
Ch3. *Dc in next 4 sts, FPdc around the middle post of the previous fan* rep across (48)
Info :
To get the pinwheel swirl, offset the placement of your front post stitches by one or two stitches each time you work the decorative rounds; this subtle step-by-step offset creates the visual spiral without adding or removing many stitches. Mark the 'pivot' stitch where the swirl should visually gather (center point) to help you place offset posts consistently.
Round 20 :
Change to color H. Ch2. Hdc into each st around (48)
Round 21 :
Ch3. Dc around in pattern maintaining FPdc placement to elevate ridge on every second blade. Continue patterning so that each decorative round is offset by one stitch to the right to create swirl motion (48)
Round 22 :
Ch1. Sc in each st around in BLO (48)
Round 23 :
Change to next rainbow color. Ch3. Work dc in pattern so that clusters grow slightly taller on the outer half of each wedge: *dc in next 3 sts, (dc, ch1, dc) in next st to form small picot-like lift* rep around (48)
Round 24 :
Ch2. Hdc in each st around (48)
Round 25 :
Ch3. Dc in each st around working in FLO to create outer-ridge definition (48)
Info :
At this stage you should see a raised petal or blade appearance. If the motif is cupping, add a few additional increases evenly spaced in the round; if ruffling, remove one increase round or use a slightly tighter hook for the subsequent rounds.
Round 26 :
Ch1. Sc in each st around (48)
Round 27 :
Change to neutral/cream for contrast band. Ch2. Hdc in each st around (48)
Round 28 :
In cream. Ch3. *Dc in next 4 sts, ch1, skip 1 st* rep to end to form a slightly open outer ring (48)
Round 29 :
In cream. Ch1. Sc in each st and into ch-1 spaces created previously, working 72 sts total when worked into chain spaces and stitches (counts vary by how many ch-1 spaces you used — maintain even distribution)
Info :
Round 29 transforms the decorative ring into a foundation for the lace connector. The goal is to create a consistent outer perimeter to join motifs. If you have small gaps, adjust by adding a sc in the ch-1 space and reducing accordingly elsewhere to maintain balance.
Round 30 :
In cream. Ch4 (counts as tr). *Tr in next 2 sts, ch2, sl st in next sc to create small open arches* rep 12 times around aligning arches between blades (48 arches)
Round 31 :
In cream. Join to top of each arch with sl st, ch3, (2 dc, ch2, 3 dc) in the ch-2 space to form a shell. Sl st to next arch top. Rep around (12 shells)
Round 32 :
In cream. Ch1. Sc in each stitch and in center of shell (work 72 sc total around approximately) to create a firm band for joining motifs (72)
Round 33 :
In cream. Ch3. *Dc in next 5 sts, 2 dc in next st* rep x12 (if each group of 6 mapped per wedge this creates 84 sts total; add or omit increases evenly so final count matches the circumference of your motif) (approx 84)
Info :
Round 33 is optional and can be used to expand the outer circumference slightly if you want larger lace connectors. If you keep 48 sts in inner rounds, do fewer increases here. The exact stitch count should be even and divisible by the number of decorative arches you plan to use for joining motifs.
Round 34 :
In cream. Ch1. Sc in each st around (final outer round for motif to be used for joining) (final stitch count dependent on increases above)
Info :
Fasten off, leaving a 12-18 inch tail for blocking and joining if you will sew motifs. Lightly block each motif to round shape: pin to measurement (approx 9.5-10" diameter) and mist with water or steam. Allow to dry before joining for even edges.
— Repeat Motifs :
Info :
Make a total of 5 pinwheel motifs for a runner similar to the photo. You can change the number to make a longer or shorter runner. Keep color order consistent across motifs if you want a continuous rainbow flow; for mirrored symmetry, reverse the color order in alternating motifs.
— Lace Connector / Joining Motifs :
Round 36 :
Lay two blocked motifs right sides up. Using cream yarn and tapestry needle, whip stitch through the outer band (Round 32 region) joining the top of shell arches. Match shells together one-to-one. Sew securely with mattress or whip stitch. Repeat to join all motifs into a strip (sew motif 1 to 2, then 2 to 3, etc.).
Info :
Alternatively you may join motifs by slip-stitching through corresponding arch tops. If slip-stitch joining, place motifs wrong sides together and sl st through both arch tops across. For a flat join, use mattress/whip stitch and flatten seam with steam if needed.
Round 37 :
With motifs joined, re-join cream yarn at a seam and work one continuous round of sc across the seam: sc evenly in outer band of each motif and through seam allowance to neaten joins (work 1 sc per visible stitch along outer band) (count approx 400 sc across entire combined runner — exact count depends on final motif stitch counts)
Round 38 :
Ch3. Dc in each st around for a full round of dc to begin border (same count as previous sc round) (400+ depending on motifs)
Info :
Make sure the combined runner is laying flat; if it waves, either add an extra dc evenly spaced or remove a few dc evenly to flatten. Pin across runner while you test the first border round and adjust as necessary.
Round 39 :
Ch1. Sc in each st around (same count as previous round)
Round 40 :
Ch3. *Dc in next 3 sts, ch2, skip 2* repeat along length to form small arches between motifs and along long sides (arch count will be high — space evenly)
Round 41 :
In cream. Join with sl st in arch, ch3, (3 dc, ch2, 3 dc) in ch-2 spaces to create larger scallop shells along long sides and around ends (scallop every ch-2 space) (shells count approx 1 per arch)
Info :
Work shells consistently: always make shells centered on arches. Use stitch markers at seam areas to ensure shells align in the seam gaps as they travel across joins between motifs.
Round 42 :
Ch1. Sc in each st and in center of shells (this evens out and secures the scallops) (same total stitch count approx)
Round 43 :
Ch3. Dc around in FLO for inner edge definition (same count)
Info :
At this point the runner should look continuous. Check both long edges and ends: if border scallops are uneven at ends, add one or two extra shells at ends to balance the runner visually.
— Scalloped Edge Finish (long sides and ends) :
Round 44 :
In cream. Ch1. Sc in each st around including shells and spaces to create a firm base round (counts will match previous sc rounds)
Round 45 :
Ch4 (counts as tr). *Tr in next 2 sts, ch2, sl st in next st* rep across to refine scallop points (counts equal number of scallops)
Round 46 :
Ch1. Sc in each st and in each ch-2 space to stabilize scallops (same total)
Round 47 :
Ch3. *5 dc in next st (full picot scallop), skip 3 sts, sl st in next st* rep around long edges; at ends work shells of (3 dc, ch2, 3 dc) to round runner corners smoothly.
Info :
If shells are too tight, reduce to 4 dc per scallop; if too loose, increase to 6 dc. Consistency is more important than exact number so the scallops are uniform along length.
Round 48 :
Ch1. Working in BLO around scallops, sc evenly across to finish edge, then fasten off and weave all tails in securely.
Info :
Blocking: Once fully joined and edged, block the entire runner flat. Pin down scallops and shapes, mist lightly, and allow to dry fully. This final step opens the lace and even the pinwheel shapes so the runner lies perfectly flat on the table.
— Optional Embellishments and Variations :
Info :
Add small embroidered french knots at the center of each pinwheel for a button-like detail, or sew small fabric or wooden beads at centers for a tactile accent. To make the runner wider, make additional lateral lace panels connecting two columns of motifs with the same joining technique.
Info :
To create a continuous rainbow flow across motifs, plan color sequencing before beginning all motifs: e.g., motif1 = red->orange->...->violet, motif2 = orange->yellow->... etc., so the end of motif1 color matches the beginning of motif2 for a seamless gradient.
This rainbow pinwheel table runner is a joyful centerpiece that blends color, texture, and careful finishing into a standout handmade accessory. Each pinwheel motif is a little work of art that becomes even more lovely when linked with the neutral lace and finished with a scalloped edge. Whether brightening a breakfast nook or used as a festive table display, it will bring warmth and color to your home. 🧶🌈 Place it proudly on your table, and enjoy the compliments! ✨