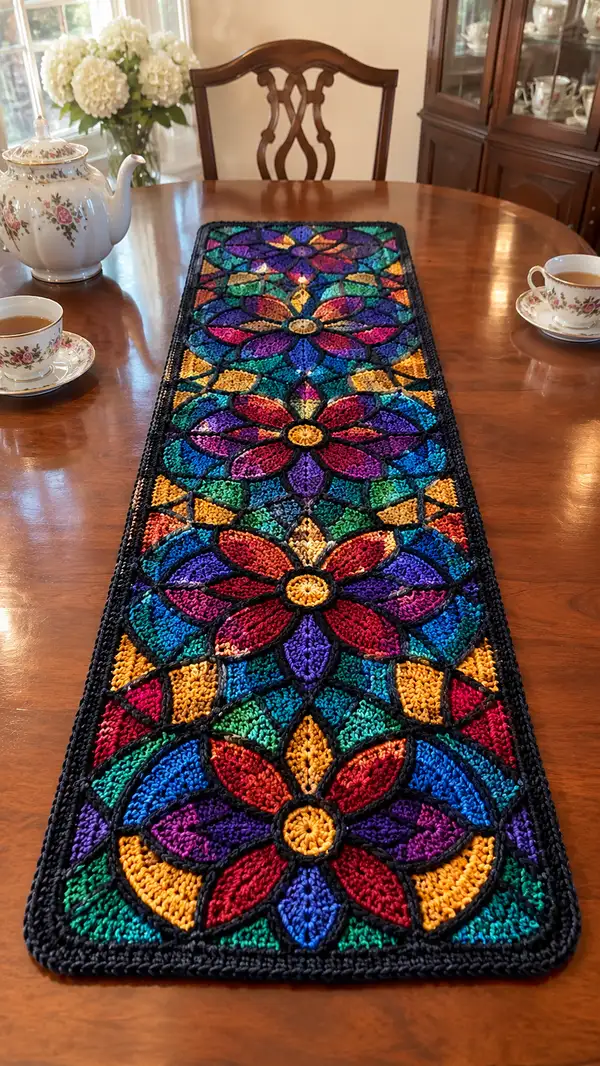
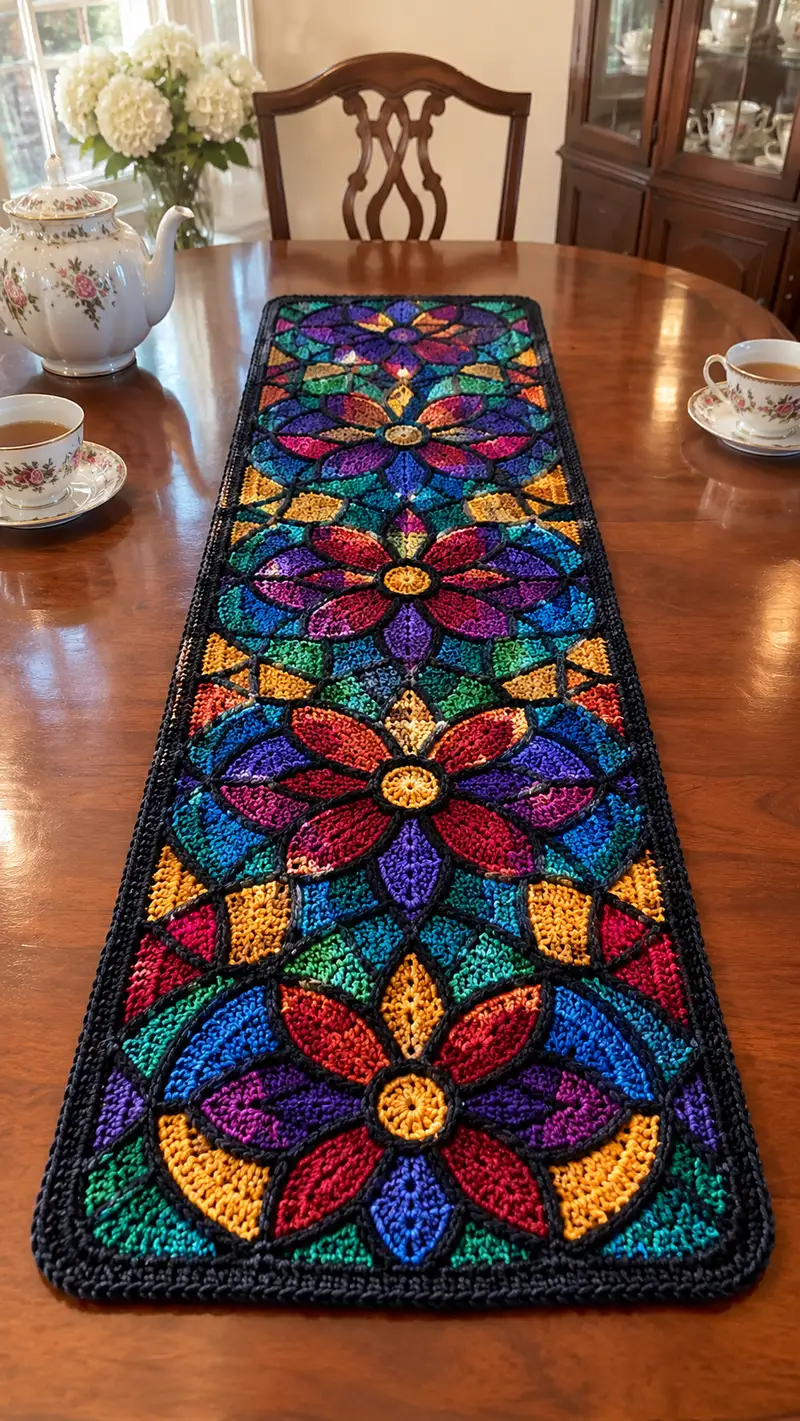
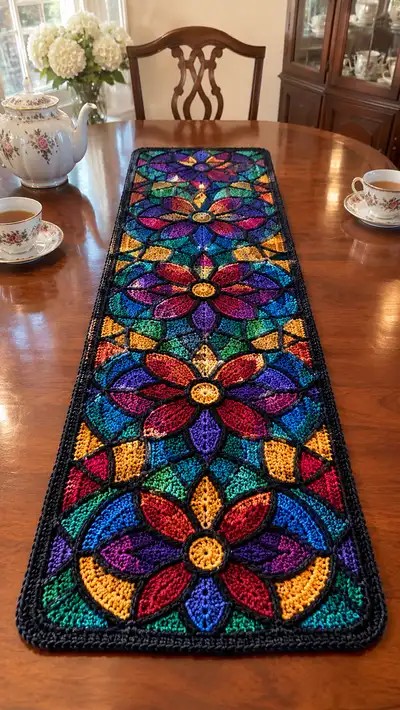
A vibrant stained-glass inspired crochet table runner worked in jewel-toned motifs and outlined in deep black for dramatic contrast. This long rectangular runner features repeated floral medallions, rich multicolor petals, and a bold black join and border that mimics leaded stained glass. The finished piece is perfect for a dining table centerpiece or special occasion décor and showcases colorwork and join-as-you-go techniques.
Progress Tracker
0% Complete
— Overview :
Info :
This pattern constructs a long rectangular table runner by making repeated circular floral medallions (full motifs) and two half-motifs for the ends. Each full motif is approximately 9-11 inches wide depending on yarn/gauge. The motifs are joined using black contrast yarn to create the stained-glass leading and then edged with a deep black border. Make 4 full motifs and 2 half motifs to create a runner approximately 36-44 inches long; make more motifs for a longer runner. Use sport/DK yarn and a 3.5mm hook for crisp texture. Read all Info sections and block each motif flat before joining.
Info :
Throughout the motif rounds the stitch counts shown refer to the base stitch count unless otherwise noted. Color changes happen inside rounds; carry unused yarn where possible or weave tails neatly on the wrong side. Use stitch markers on round starts for each motif; motifs are worked in continuous rounds unless noted.
— Full Floral Motif (Make 4) :
Round 1 :
6 sc in magic ring (6)
Round 3 :
(1 sc, inc) x 6 (18)
Round 4 :
(2 sc, inc) x 6 (24)
Round 5 :
(3 sc, inc) x 6 (30)
Info :
Change to a bright gold or yellow for the center at the end of Round 5 if you want a contrasting center. Fasten off center color after Round 8 if you prefer a distinct center circle; otherwise continue in the same color.
Round 6 :
(4 sc, inc) x 6 (36)
Round 7 :
(5 sc, inc) x 6 (42)
Round 8 :
(6 sc, inc) x 6 (48)
Info :
At this point you have a flat circular disc of 48 base sts. Place a stitch marker to mark the first stitch of each round. The next section will create 8 petal zones — each zone uses 6 base stitches (48/8 = 6) as anchor points for petal shells and clusters.
Round 9 :
1 sc in each st around (48)
Round 10 :
*Sc in next st, [2 dc in next st, ch2, 2 dc in same st], sc in next 2 sts; rep from * around (48 base anchors)
Info :
Round 10 creates the first petal shell shape. The shells sit on specific base stitches; the visible count of stitches on the round will be larger because shells contain multiple stitches worked into single base stitches. Continue using contrast jewel colors for shells — change color at the start of any shell to create multicolored petals.
Round 11 :
*Ch1, sc in each of next 5 base sts across the petal zone, sc in space between shells; rep from * around (48)
Round 12 :
Change color if desired. *Sc in next st, [2 dc in next st, ch3, 2 dc in same st], sc in next 2 sts; rep from * around (48 anchors)
Round 13 :
1 sc in each st around in current color (48)
Round 14 :
*Sc in next st, shell (3 dc, ch2, 3 dc) in next st, sc in next 2 sts; rep from * around (48 anchors)
Info :
Rounds 10-14 are establishing petal outlines and depth. Vary colors between rounds for jewel-tone gradients: for example, work round 10 in ruby, round 12 in magenta, round 14 in deep purple to create layered petal shading. Keep stitch markers handy and note where each petal begins to maintain symmetry.
Round 15 :
1 sc in each st around (48)
Round 16 :
Switch to a brighter highlight color for the petal tip shaping. *In the petal zone: (ch2, 3 dc) all worked into the central base of the petal; sc in next 3 base sts; rep around (48 anchors)
Round 17 :
Sc in each st around (48)
Round 18 :
*Into the petal center anchor: fpdc, tr, fpdc (worked into same base stitch to create raised column), sc in next 4 base sts; rep from * around (48 anchors)
Info :
Using front post stitches on Round 18 creates vertical ribs that make petals pop. Use the same color as Round 16 or a slightly deeper shade to emphasize depth. Keep tension even; post stitches pull fabric together and will slightly tighten previous rounds.
Round 19 :
Sc in each base st around (48)
Round 20 :
Change to a second highlight shade if desired. *In petal zone: (2 dc, ch2, 2 dc) in petal tip anchor, sc in next 4 base sts; rep around (48 anchors)
Round 21 :
Sc in each st around (48)
Round 22 :
*(1 sc, inc) x 1 across the petal base to gently increase petal curve, then sc in next 4 base sts; rep around — note this adds 8 increases total so base anchor count becomes 56 (56)
Info :
Round 22 performs a small increase to allow petals to fan outward. Count carefully: 48 base anchors + 8 inc = 56 base positions for subsequent rounds. From here on treat the motif as 56 base anchors.
Round 23 :
1 sc in each st around (56)
Round 24 :
*Sc in next st, shell (3 dc, ch2, 3 dc) in next st (petal face), sc in next 5 sts; rep around (56 anchors)
Round 25 :
1 sc in each st around (56)
Round 26 :
*In petal face: (2 tr, ch2, 2 tr) in same anchor to build height; sc in next 6 sts; rep around (56)
Info :
Rounds 24-26 add height to petals and increase stitch depth to create a textured, layered look. Alternate jewel colors between these rounds for a stained-glass gradient effect. Keep notes of color order so motifs match if you want a repeating pattern.
Round 27 :
Sc in each st around (56)
Round 28 :
Work 1 round of hdc in each st to slightly raise the petal plateau (56)
Round 29 :
Switch to deep teal or emerald for background infill. *Sc in next 3 sts, skip 1 st, sc in next 4 sts (creates small negative spaces between petals); rep around (56)
Round 30 :
1 sc in each st around (56)
Round 31 :
Change to a deep jewel accent and work 1 sc in each st BLO around to create a subtle ridge (56)
Info :
Round 31 (BLO) creates a textured line that helps the later black outline sit neatly on top of a ridge. It also provides a slight step between petal and background so the black surface crochet can clearly delineate shapes.
Round 32 :
Sc around in current color (56)
Round 33 :
Optional decorative round: Using a bright highlight color, *(ch2, sc) in next 2 sts, sc in next 2 sts; rep around (56)
Round 34 :
Sc around; fasten off color and weave ends neatly (56)
Info :
Block the completed motif flat and pin petals gently outward to even shape and size. Make four identical full motifs. For consistent stained-glass look keep the same color order or plan a repeating color rotation across motifs.
— Half Motif for Runner Ends (Make 2) :
Round 1 :
Make full motif Rounds 1-20 following the same color order (56 anchors after Round 22). Stop at Round 20 for a half motif preparation (work until petals are established but before final increase round)
Info :
:
After Round 20 remove marker, fold motif in half and map which stitches fall along the center line. The half motif is made by trimming the circular motif: you will work across the top half only from the center line out. For practical purposes, make a mirror image by folding and slip stitching across the center line, then finish with 1-2 rounds to flatten the cut edge so the half motif sits flush against the runner end.
Round 2 :
From the cut edge, pick up 28 base anchors across the half-motif edge and sc in each picked st around to form a flat straight edge (28)
Info :
Make 2 half motifs and block. These will be joined to the end full motifs with the flat edge aligned to the runner ends.
— Join-as-you-go and Outline (Stained Glass Lead Lines) :
Info :
Join motifs using the contrast black yarn (cc). The stained-glass effect is created by applying the black lines both by joining and by surface slip-stitching to create continuous lead lines. Before joining, layout motifs on blocking board to confirm orientation and color order. Work join-as-you-go so black lines are continuous between petals of adjacent motifs.
Round 1 :
Using cc (black), with motif A laying right-side up and motif B to be joined on the right-hand side, join black to the outermost stitch on motif A at the junction point and ch1, sc evenly across edge of motif A until you reach the corner point where it will meet motif B; do not fasten off (stitch counts vary by edge length)
Round 2 :
With motif B positioned and right sides together, align edges, then sl st through corresponding stitch on motif B and sc through the next black sc on motif A; rep across to join edges seamlessly. Continue working round along adjacent edges, keeping tension firm so the joint sits flat
Info :
When joining each pair of motifs, create black connectors at the petal tips — these small black wedges mimic the lead between glass panes. To do this, work 3-4 tight sc in the petal tip junction before moving onto the next edge. Keep the black work neat on the right side; carry the black along the back minimally between joins.
Round 3 :
Once full motifs are joined in a straight row, work a round of black sc along the top and bottom long edges to create a continuous black band that frames the runner and hides minor join irregularities (stitch count equal to combined edge length — count as you go)
Info :
:
Use a smaller 3.0mm hook for the black join work if you prefer a tighter, cleaner lead line. The black should sit slightly raised; you can emphasize this later with surface slip stitch outlining across petal seams to strengthen the stained-glass visual.
Round 4 :
Surface crochet outlining: With cc on right side, join black to one petal edge and work surface slip stitch (sl st) or surface single crochet along the seam lines of petal shapes and background triangles. Follow petal contours carefully; work slowly so lines stay smooth. Outline all petal edges and inner shapes; do not outline every stitch — follow the visual seam lines created by shells (no fixed stitch count).
Info :
Surface crochet is what really creates the stained-glass look. Use a small hook and work even surface sl sts approximately 2-3 mm apart to create continuous bold lines. If you make a mistake, gently unpick the surface sl sts with a tapestry needle and redo for neater lines.
— Border and Edge Finishing :
Round 1 :
With cc and a 3.5mm hook, join at any corner. Work 2 sc in first stitch, sc in next 3 sts, [2 sc in corner stitch, sc in next 3 sts] repeat evenly around outer perimeter until you reach the beginning (counts will vary based on runner length; corners increased to form rounded corners)
Info :
Because the runner is long and narrow, we recommend three rounds of border for a substantial frame. The first border creates a smooth edge and rounds corners slightly. Keep increases only at corners to avoid ruffling — if your runner flares, reduce increases; if it buckles, add increases evenly.
Round 2 :
1 sc in each st around (no increases) — this evens the edge and hides previous join stitches
Round 3 :
Final decorative ridge: *Ch2, skip 1 st, sc in next st; rep around for a subtle lacy line. Fasten off and weave ends (stitch count equal to perimeter/ pattern repeat)
Info :
For an extra-polished finish, work one last round of sc in BLO using cc to create a raised inner ridge. Alternatively, leave the final round as sc for a flat, modern finish.
— Alternative Narrow Join (If You Prefer Visible Black Cells) :
Round 1 :
Instead of join-as-you-go, place motifs on a table in final order. Using cc, work sc around each motif edge leaving no more than 2-3 mm between sc rows on adjacent motifs. With motifs next to each other, use slip stitch to connect the black rows across gaps so the black forms closed cells between motifs. This requires careful spacing to keep black lines straight and even.
Info :
This method lets you perfect outlines on each motif first and then join them with a grid of black lines. It is slightly more time consuming but gives maximum control over the look of lead lines.
— Finishing Touches :
Info :
Weave in all ends through the back using a yarn needle, then block the entire runner by pinning it flat and spraying with water or light starch to set shape. Let dry fully. If desired, add light fabric glue to secure surface slip stitches on the back. Trim any stray fibers and steam-block for polished shine.
Info :
Optional: Add small beads or sequins sewn into motif centers for sparkle, or stitch a line of metallic thread inside a petal to simulate glass highlights. Be careful with beads on a functional table runner — place them away from areas where plates will sit.
— Sizing and Customization Notes :
Info :
Full motif approximate diameter after blocking: 9-11 inches. Full motif height (when stacked vertically with borders) ~9 inches. Four full motifs + two half motifs yield a runner length of approximately 36-44 inches depending on exact block and border width. To lengthen, add more full motifs following the same join and border method.
Info :
To change scale, use lighter fingering yarn with a smaller hook to make smaller motifs, or heavier DK/light worsted with a larger hook for a bigger runner. Adjust number of motifs accordingly to get your desired table coverage.
Completing this stained-glass table runner is a joyful journey from bright jewel rounds to bold black lead lines. Watching each medallion come together, then connecting them into a luminous panel, is endlessly satisfying. The result is a dramatic centerpiece that feels handcrafted and refined — perfect for special dinners or as a treasured handmade gift. Enjoy the slow, colorful process and celebrate every perfectly outlined petal! 🧶✨