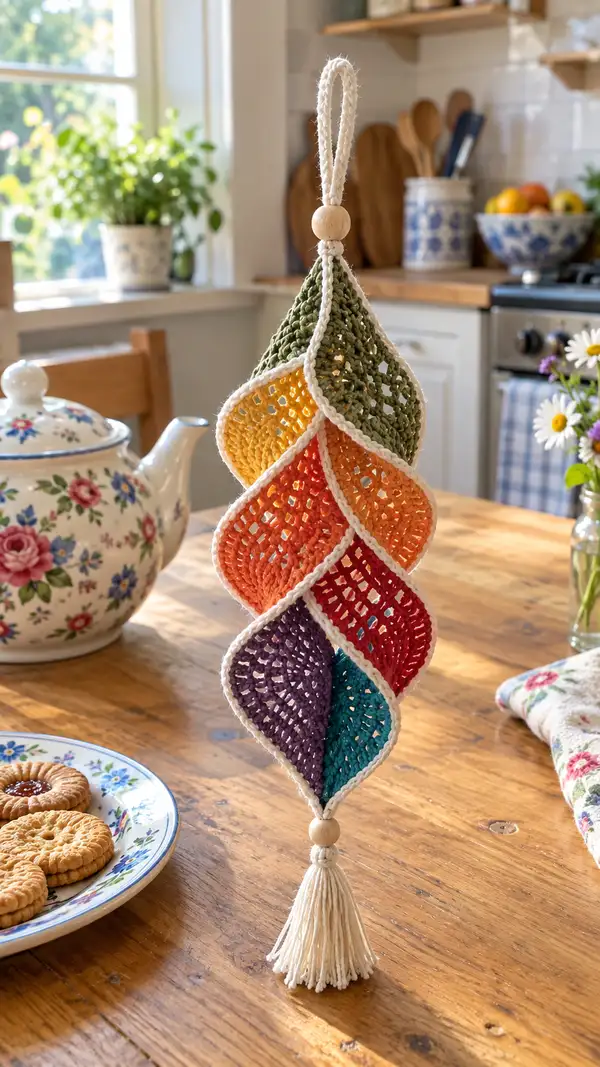
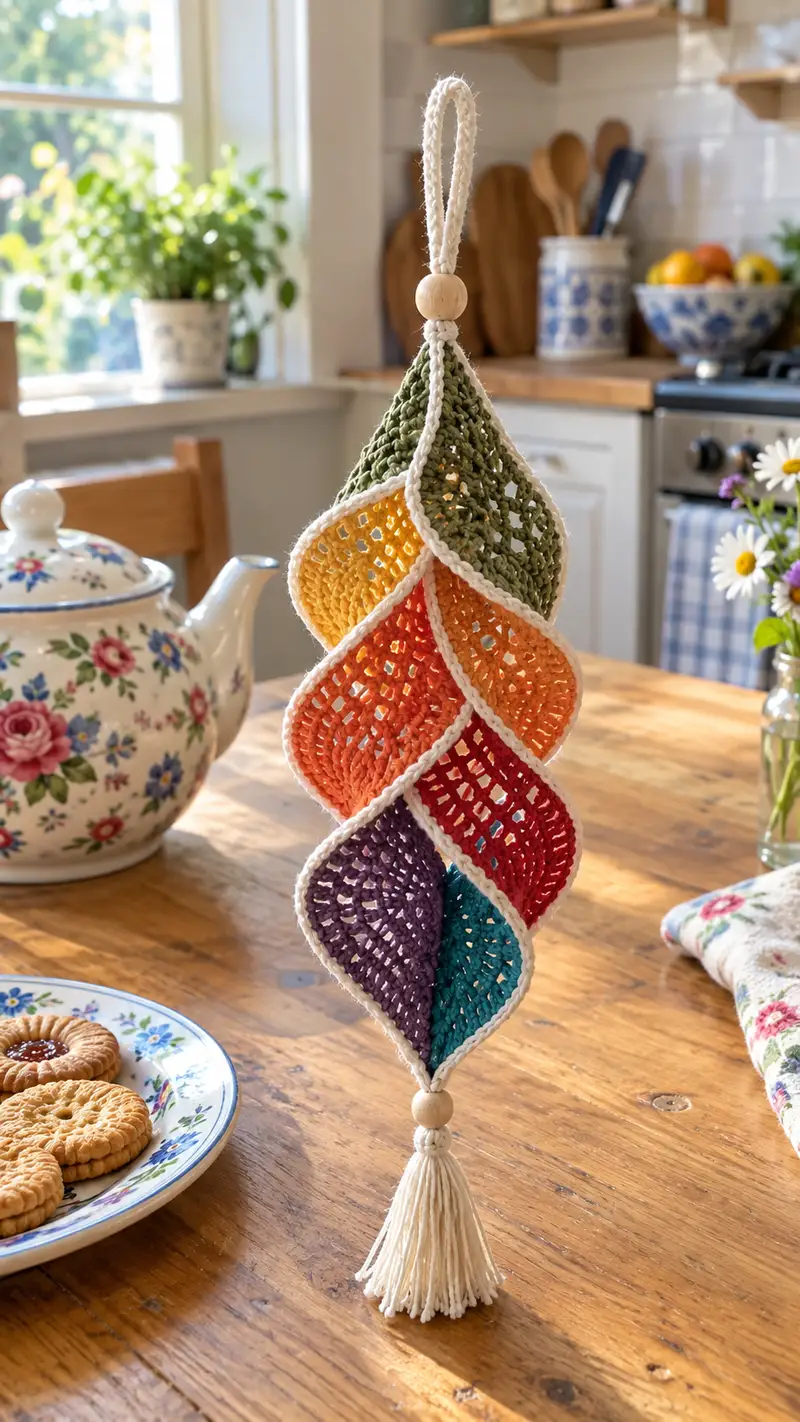
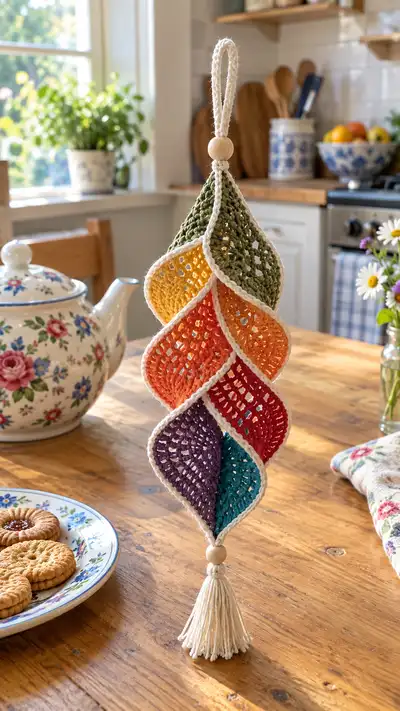
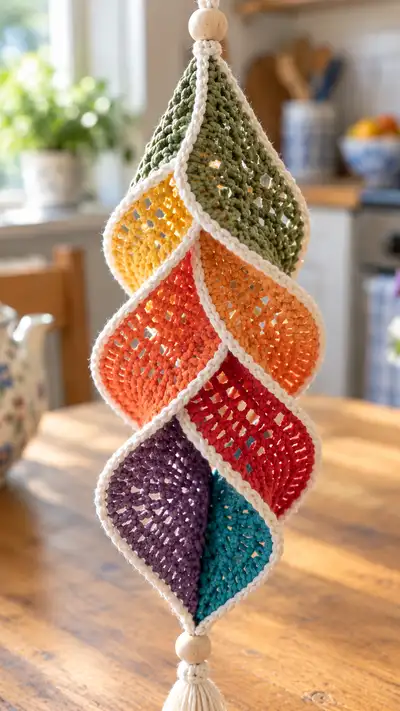
Create a bright, twirling rainbow spiral ornament perfect for kitchen windows, doorways or seasonal displays. This hanging decoration features six crochet leaf panels in jewel tones, finished with a cream scalloped edge, wooden beads and a soft cream tassel. The construction is modular—make each leaf panel separately, add the neutral border, and join them in a gentle spiral for a beautiful hanging twist. A charming accent that folds flat for gifting and opens into a playful, sculptural twist when hung.
Progress Tracker
0% Complete
— Overview :
Info :
This pattern creates six identical leaf/diamond panels worked in rounds from a small center out to an oval shape. Each panel is worked entirely in one color, then edged in cream. After edging, panels are joined edge-to-edge in a column and shaped into a spiral. I provide round-by-round instructions for a single panel, then repeat the same rounds for each color panel. Exact stitch counts are given and math checked—follow the counts to maintain even panels. Use a 3.5mm hook and cotton yarn for structure similar to the photographed piece.
— Panel (Make 6) :
Note :
Work each color panel in the sequence below. Each panel works 14 shaping rounds then 2 cream border rounds. Round counts and stitch math are consistent across all colors. The sample uses 6 panels: olive green, yellow, light orange, deep orange, red, purple/teal pair—alternate as you prefer.
Round 1 :
6 sc in magic ring (6)
Round 3 :
(1 sc, inc) x 6 (18)
Round 4 :
(2 sc, inc) x 6 (24)
Info :
At this point the panel is a small disk. Keep your tension even to encourage a smooth curve. Move your stitch marker up each round to mark the first stitch.
Round 5 :
(3 sc, inc) x 6 (30)
Round 6 :
(4 sc, inc) x 6 (36)
Round 7 :
(5 sc, inc) x 6 (42)
Round 8 :
(6 sc, inc) x 6 (48)
Info :
By round 8 you have a broad oval base. We will maintain this width for a couple of rounds for height. If your panel seems to pucker, go down one hook size for the next panel or ease tension.
Round 9 :
1 sc in each st around (48)
Round 10 :
1 sc in each st around (48)
Round 11 :
(6 sc, dec) x 6 (42)
Info :
Work the decreases evenly; the mental map is that the panel's long axis ends up slightly pointed at the two opposite sides—these decreases begin the subtle taper that will make the panel leaf-shaped when lifted.
Round 12 :
(5 sc, dec) x 6 (36)
Round 13 :
(4 sc, dec) x 6 (30)
Round 14 :
1 sc in each st around (30)
Info :
Finish the color panel by fastening off and leaving a 20-25 cm tail for weaving if you prefer to weave it in now. Press or lightly block the panel flat—this helps the border sit evenly when you add the cream edging.
Border Round A (Cream) :
Join cream yarn with a sl st to any stitch at the round 14 edge. Ch 1, then 1 sc in same st and 1 sc evenly in each of the 29 remaining sts (30 sc) (30)
Info :
The cream border unifies panels. Work the first cream round with a slightly looser tension if you find panels pulling in; this creates a gentle scallop line when assembled.
Border Round B (Cream Ridge) :
1 sc in each st BLO around (30)
Info :
Working the second border round in BLO creates a raised ridge and a neat edge that reads like the cream piping in the photos. Fasten off and weave in tails along the border to hide them within the ridge.
— Repeat Panels :
Info :
Repeat the 'Panel (Make 6)' section for each color panel: make 6 total colored panels, each finished with the cream Border A and Border B. Keep consistent tension and check stitch counts: each finished panel should have 30 cream edge stitches around.
— Blocking & Shaping :
Info :
Lightly block each finished panel: pin gently to flatten and align the border, or press with a damp cloth and low heat if your yarn allows. Blocking will help each edge be even and make joining easier. If you skip blocking, pin well during assembly to maintain even edges.
— Join Panels Into Column :
Info :
Panels are joined edge-to-edge in a column so that they slightly overlap and twist. Decide the order of colors; photograph shows green at top, then yellow, orange, red, purple, teal at bottom. When joining, you will attach panel B to panel A by sewing along half of the edge of each to create an offset seam; this offset produces the spiral twist.
Join Step 1 :
Lay panel A flat with the cream ridge facing up. Place panel B next to it, overlapping the top half of panel B's cream ridge onto the right-hand side of panel A's ridge by approximately 6-8 stitches (about one quarter of the circumference). Pin in place every 6-8 sts.
Join Step 2 :
Using cream yarn and a blunt tapestry needle, whip stitch through the cream ridge of both panels along the pinned overlap. Use small, even stitches; you will pass through 12-14 paired stitches for a quarter overlap—the exact number depends on how much offset you want. The seam should be secure but flexible.
Info :
Weave your yarn through the ridge only (avoid catching colored rounds beneath if you prefer the colored panels to remain free and flowing). The seam should be tight enough to hold the twist but not so tight that it flattens the panels.
Join Step 3 :
Continue joining panels sequentially: B to A, C to B, D to C, E to D, F to E. Each join should overlap the previous panel by the same amount and on the same side (consistently offset clockwise or counterclockwise) to build a consistent spiral. Pin and check the visual twist frequently.
Info :
For a long spiral like the one pictured, offset each join by approximately 6-8 stitches (one quarter circumference). If you offset more, the spiral tightens; offset less for a looser twist. The joining process is visual—adjust to taste.
— Securing the Column (Extra Join Rounds) :
Round J1 :
After all panels are pinned and lightly joined, crochet a securing chain along the seam using the cream yarn: insert hook into the base of the seam at the topmost join and ch 1, sc through paired ridges along the seam length (approx 30 sc total across all joins where there is overlap). Work slowly to follow the seam path and maintain an even line.
Info :
This added crocheted seam gives a tidy, consistent finish and helps hold the spiral shape. Keep stitches small and unassuming so the seam reads as a narrow cord rather than a bulky ridge.
Round J2 :
1 sc in each st around the seam cord, working into the top loops only to flatten the seam (approx 30 sc). Fasten off and weave ends into the seam.
Info :
These final join rounds may slightly alter the panel spacing; re-hang your work and adjust as needed before finishing to ensure the spiral looks balanced.
— Top Loop & Bead Assembly :
Top Loop Step 1 :
Cut three strands of cream yarn each about 60 cm long. Fold them in half and tie an overhand knot 2 cm from the folded end to create a loop for hanging. Braid or twist the hanging loop to create a tidy rope. Alternatively, make a 40-chain cord and slip stitch back to create a sturdy loop.
Top Loop Step 2 :
Slide a 20 mm wooden bead onto the cord so the bead sits snugly above the top panel. Secure the bead by tying a small gathering knot beneath it, then cover this knot by wrapping a small length of cream yarn around the cord once and sewing it down with a tapestry needle.
Info :
You can also crochet a small 6-8 st ring to seat the bead if your bead hole is narrow, then sew the ring to the topmost cream ridge to conceal the join.
— Bottom Bead & Tassel :
Tassel Step 1 :
To make the tassel, wrap cream yarn around a 6 cm wide piece of cardboard 30-40 times (or until the desired fullness). Slide the looped yarn off and tie a short strand tightly around the top to form a head. For the decorative bead above the tassel, thread the main cord through a second wooden bead and position it above the tassel head.
Tassel Step 2 :
Cut the bottom loop, trim ends even, and comb the tassel lightly. Attach the tassel to the bottom of the column by inserting the cord through the bottommost cream ridge and tying securely on the inside. Hide the knot by wrapping a few strands of cream yarn and sewing them in place.
Info :
Adjust the tassel length to taste; the photographed tassel is long and soft to balance the hanging spiral visually. Make sure all knots are secure to support the weight of the entire ornament.
— Final Finish & Adjustments :
Info :
Check every join and weave in all remaining tails into the cream ridges. Re-block lightly if any panels pucker or misalign. Hang the ornament and adjust the panels so the spiral is evenly spaced—gently tug each panel to sit at a pleasing angle. If desired, stitch a few invisible reinforcing stitches through the colored panels near the seam to limit flaring.
Care :
Spot clean with a damp cloth and mild soap. Avoid heavy washing due to wooden beads and structural shape. Reshape by re-blocking if needed.
— Tips & Variations :
Info :
Make panels taller by adding two more even rounds before decreases, or make a shorter spiral by reducing the number of panels. For a softer look use a DK yarn and a larger hook, or for crisp structure try a heavier cotton sport/worsted and a slightly smaller hook. Add embroidered metallic running stitch along the cream ridge for sparkle, or replace the tassel with a fringed ornament for a boho look.
Finishing this rainbow spiral ornament is such a joyful moment — watching the flat panels transform into a flowing twist is genuinely satisfying. The bright colors and crisp cream edging look gorgeous in a sunny kitchen or as a handmade gift that will brighten someone's day. Make extra panels to lengthen the spiral or change colors to suit seasons and celebrations. Enjoy the process and the graceful movement of your finished piece! 🧶🌈✨