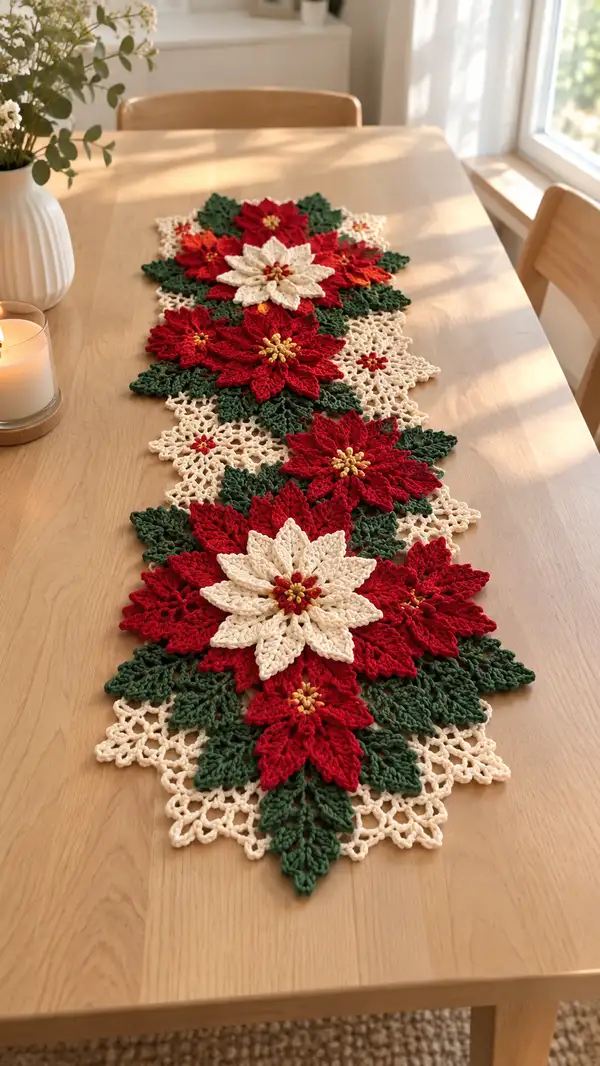
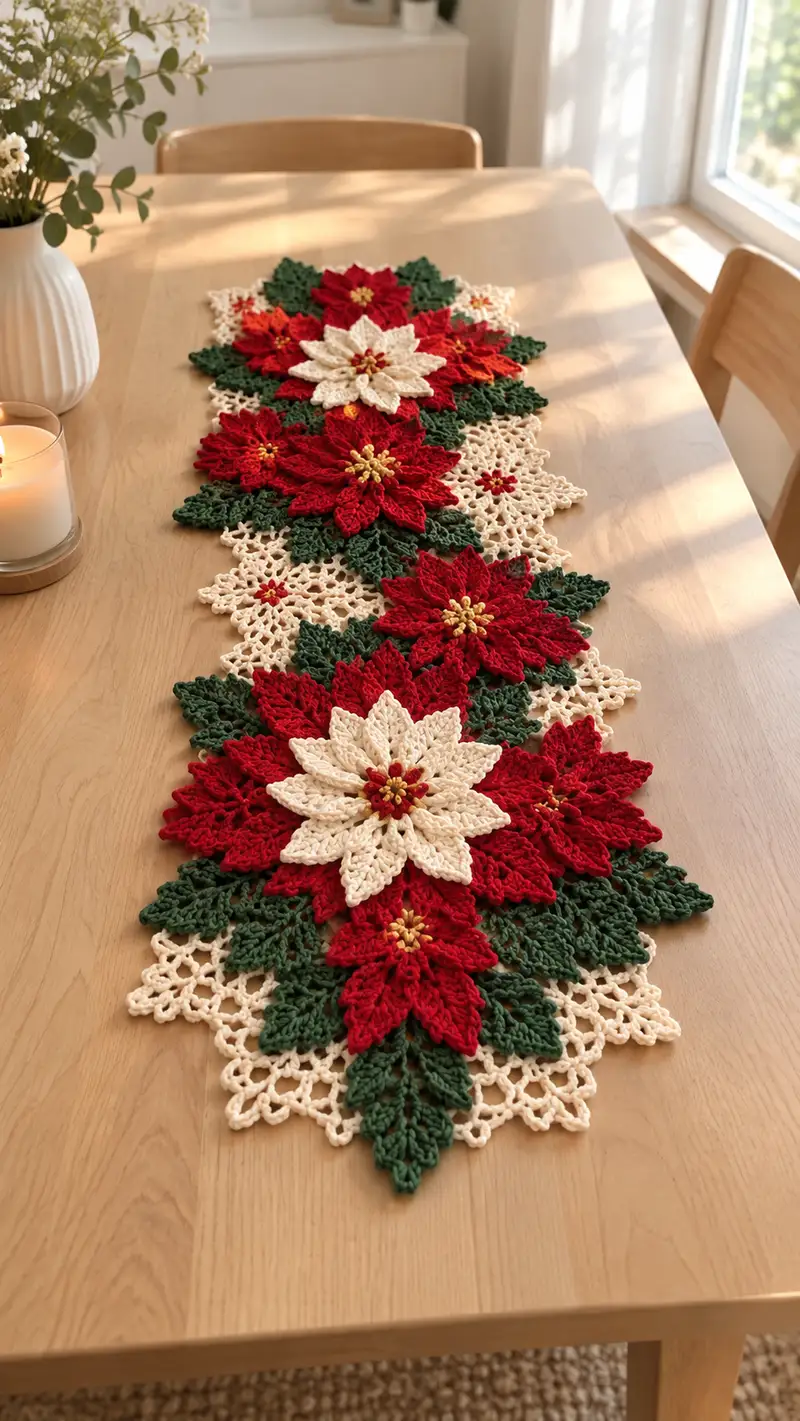
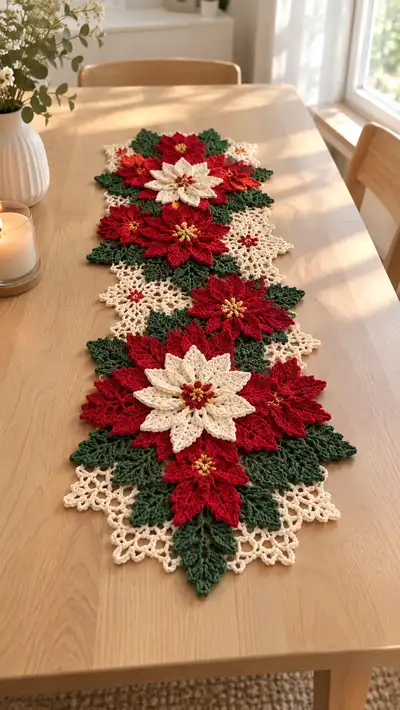
Create a festive Red and Cream Poinsettia Table Runner with layered crochet poinsettia motifs, deep green leaves, and delicate cream lace connectors. This pattern uses motif assembly and decorative edging to produce a long, elegant holiday centerpiece. Includes step-by-step rounds for large and small poinsettias, detailed leaf motifs, lace connectors and finishing instructions for a polished heirloom-quality runner.
Progress Tracker
0% Complete
— Overview :
Info :
This pattern is motif-based. Make each motif separately and join as you go or finish all motifs and sew them together. Motifs used: Large layered poinsettia (Make 3), Small poinsettia (Make 4), Leaf motifs (Make 20), Lace connector motif (Make 12), Center stamen clusters (Make 7). All rounds below are written in US crochet terms. Use a 3.5mm hook for most rounds; switch to 3.25mm for tighter petal work if you prefer crisper petals. Work loosely for lace connector to match photo drape. Gauge is motif-dependent; approximate finished runner length in photo is 110-120cm (43-47in) depending on spacing.
— Large Poinsettia Flower (Make 3) :
Round 1 :
With Deep Red, mr, ch1, 8 sc in mr. Pull tight. (8)
Round 2 :
Inc in each st around (working 2 sc in each of 8 sts) (16)
Round 3 :
(1 sc, inc) x8 (24)
Round 4 :
(2 sc, inc) x8 (32)
Round 5 :
(3 sc, inc) x8 (40)
Info :
These early rounds form the base disk for petal attachment. Keep tension even; do not over-tighten the magic ring. Use a stitch marker to mark the beginning of rounds.
Round 6 :
1 sc in each st around (40)
Round 7 :
1 sc in each st around (40)
Round 8 :
*Ch6, sk 2 sts, sl st in next st, rep from * around to create 10 ch-loops for petal bases (10 loops). Adjust to make 10 even points if necessary.
Info :
Place loops for petals evenly — this creates anchors for the layered petals. If you prefer more petals, change ch6 to ch4 and create more loops; the pattern uses 10 main petals for a full look.
Round 9 :
Work petal 1 into first ch-loop: (sc, hdc, 3 dc, picot (ch3, sl st in 3rd ch), 3 dc, hdc, sc) into ch-loop. Sl st to base to finish petal. Rep into each loop (10 petals).
Round 10 :
Space between petals: ch3, sl st into next base sts to anchor and create small arches between petals around the flower. Work evenly so petals don't bunch (10 arches).
Info :
After first petal layer, assess fullness. If petals feel too open, use slightly smaller hook or add an additional round of hdc on each petal to bulk it.
Round 11 :
Switch to BLO technique on scallop foundation: In each petal root, work 1 sc in base, then 1 sc BLO in next stitch around to prepare for second petal layer. Maintain total 40 sts around as anchors (40)
Round 12 :
Second petal row: Into each petal valley work (sc, hdc, 5 dc, picot, 5 dc, hdc, sc) to create taller second-layer petals (10 larger petals).
Round 13 :
Sl st to finish row, ch1, 1 sc in each st around anchors (40)
Round 14 :
Ch5 loops between petals for decorative picot points: *Ch5, sl st into next anchor*, rep around (10 ch-5 loops).
Info :
Add texture here by using front loop-only stitches on the petal edges if you desire more raised veins. Work (hdc FLO) along petal sides to emphasize veins optionally.
Round 15 :
Optional vein round: With slightly smaller hook, work surface slip stitch veins on each petal: bring yarn up at petal base, sc along center of petal to the tip, return with a line of sc on opposite side. Repeat for all 10 petals (10 veins).
Round 16 :
Switch to cream if making an inner cream star (optional). If staying red, continue: ch1, sc in each anchor around to maintain base (40)
Info :
To create a cream center layered petal (as seen in photo), change to Cream yarn now and make 8-10 smaller petals centered inside the red petals. This yields the two-tone layered effect. Carry red yarn behind work or fasten off and weave ends to back.
Round 17 :
Inner layer start (Cream): mr with cream, ch1, 6 sc in mr (6)
Round 18 :
Inc in each st around (12)
Round 19 :
(1 sc, inc) x6 (18)
Round 20 :
(2 sc, inc) x6 (24)
Round 21 :
1 sc in each st around (24)
Round 22 :
Create 8 inner cream petal bases: *Ch5, sl st into next st* around to make 8 ch-loops anchored across 24 stitches (8 loops).
Round 23 :
Work inner petals: Into each ch-loop work (sc, hdc, 3 dc, picot, 3 dc, hdc, sc) creating 8 pointed inner petals that sit above the red base.
Info :
These inner petals are smaller so they nest inside the red petals. Adjust counts of dc if necessary to make them proportionate. Use a tighter hook here for crisp definition.
Round 24 :
Secure inner layer: sl st to anchors and sc evenly around inner base (24)
Round 25 :
Fasten off inner layer leaving long tail for sewing. Weave tail to center and secure. Add optional bead cluster center now or leave for separate stamen cluster attachment.
Info :
Bead cluster: Thread 8-12 small gold beads on fine thread and sew them into a tight cluster at the flower center, securing with multiple passes. This creates the golden stamen look seen in the photo.
Round 26 :
Weave and tidy: Use yarn needle to weave in ends behind inner petals, trim, and tuck. Block flower flat and pin petal tips for professional shaping. Repeat entire Large Poinsettia instructions to make 3 identical large flowers.
— Small Poinsettia Flower (Make 4) :
Round 1 :
With Deep Red, mr, ch1, 6 sc in mr (6)
Round 2 :
Inc in each st (12)
Round 3 :
(1 sc, inc) x6 (18)
Round 4 :
1 sc in each st around (18)
Round 5 :
Create 6 ch5 loops around for petals: *Ch5, sl st in next st* x6 (6 loops)
Round 6 :
Petals: Into each loop work (sc, hdc, 3 dc, hdc, sc) to make compact single-layer petals (6 petals).
Info :
Small poinsettias are simpler: they provide filler in the design. Create 4 of these to tuck between large flowers for the composition seen in photo.
Round 7 :
Ch3 and sl st between petals around to create small arches and shape. Sl st to finish and fasten off leaving tail for sewing. Weave in ends.
— Center Stamen Cluster (Make 7) :
Round 1 :
With Gold yarn or embroidery thread, ch6, sl st to form ring or use mr and make 6 sc in ring (6)
Round 2 :
Ch2, (hdc in next st) x6 to create small raised bumps (6)
Round 3 :
Fasten off leaving long tail. Use tail to sew cluster onto center of a flower. Optionally secure 6-8 small gold beads to cluster for more shine.
Info :
Alternatively, thread beads on sewing thread first, anchor thread to center, and weave beads around cluster for a realistic stamen appearance. Secure tightly and hide knots behind petals.
— Leaf Motif (Make 20) :
Round 1 :
With Forest Green, ch8, sl st to join into small loop (or mr and 6 sc to form small ring). Ch1 to start first leaf base.
Round 2 :
Work foundation row along chain: Starting in next ch from hook, sc in next 4 ch, hdc in next 2 ch, 3 dc in next ch (center), hdc next, sc next 4 (mirror back) to shape leaf. Sl st to base. This creates one flat leaf attached to a small central chain base.
Round 3 :
Edge round: sc around leaf edge to neaten, adding 1 sc in tip and 2 sc in base stitches to stabilize. Fasten off leaving tail for joining. (Approx 28 edge sts)
Info :
For larger leaves, work an additional center row: after base create (sc, hdc, 5 dc, hdc, sc) for a fuller leaf. Leaves are layered into clusters under and between flowers in the final assembly.
Round 4 :
Optional vein round: With contrasting lighter green or using surface slip stitch, run a single line down leaf center to imitate vein. Repeat for all leaves.
— Lace Connector Motif (Make 12) :
Round 1 :
With Cream yarn, mr, ch3, 12 dc in mr (12) — or ch12, sl st to form ring, then 12 dc in ring (12)
Round 2 :
Ch4 (counts as tr), *ch3, sk1, tr in next dc* repeat to create spaced arches across 12 initial dc (12 arches)
Round 3 :
In each tr arch work (ch5, sl st in arch top) to create elongated lacy loops. Aim for 12 larger loops to interconnect motifs.
Info :
These lace connectors form the light cream background visible beneath the poinsettias. They are worked loosely on a 3.5mm hook for airy texture. Block them flat and pin loops evenly so joining is simple.
Round 4 :
Edge scallop: sc in each top of loop and make a small picot every third loop to create decorative points. Fasten off leaving long tail for sewing/whip-stitch joining.
— Alternate Larger Lace Panel (Optional - Make 4) :
Round 1 :
With Cream, ch10, sl st to join into ring, ch3, 24 dc in ring (24)
Round 2 :
*Ch4, sk1, dc in next* around making openwork star motif with 24 points (24)
Round 3 :
Work ch6 loops into alternating spaces, sl st to anchor; repeat around to form lacy hexagon. Fasten off and block flat.
Info :
Use these larger panels as filler for longer runners to create the continuous cream lace seen under the flowers. Position them between clusters of leaves and flowers, joining with whip stitch.
— Joining Motifs and Layout Instructions :
Info :
Before joining, lay out all motifs on a blocking mat or table in the photo composition: large poinsettia near each end and one central large poinsettia, surrounded by clusters of small red poinsettias and leaf motifs, with cream lace connectors filling gaps. Photograph and rearrange until you are happy with spacing.
Round 1 :
Joining start - Position two motifs to join: Hold right sides together, whip stitch through back loops only of adjacent motifs using matching cream yarn for lace joins or red/green yarn for flower-to-leaf joins. Use small invisible stitches and pull tight enough to bring motifs flush but not distort shapes.
Round 2 :
Sew each large poinsettia to adjacent small poinsettias and leaf clusters: Attach at 6-8 evenly spaced anchor points per flower (corners of base disk and at petal valleys) to secure petals and avoid flipping.
Info :
When sewing, insert needle under two loops only (top of stitch) to create a nearly invisible seam. Keep tension light to maintain flat petals. Use blocking pins during sewing to preserve motif placement.
Round 3 :
Attach lace connectors along long sides by sewing through the picot points and small loop tops to the undersides of flower bases and leaves. Aim to sew at least 4-6 connection points per lace motif to stabilize the runner.
Info :
For a join-as-you-go method, pick up third loop on one motif with a sl st into the corresponding stitch on the second motif and continue working border rounds to lock motifs. The written instructions use sewing for stronger long-term durability for a table runner.
— Decorative Edging and Border :
Round 1 :
Once all motifs are sewn into the runner composition, pick a continuous edge row in Cream yarn and work 1 sc evenly around the entire perimeter, working 3 sc in sharp corners to maintain flatness. Keep stitch count consistent along straight edges (approx 320-360 sc total depending on runner length).
Round 2 :
Decorative scallop round: *Skip 2 sc, 5 dc in next sc, skip 2 sc, sl st* across to make scallop shells around edge. At pointed leaf tips and petal tips, work extra (sc, picot, sc) to create dainty points. Fasten off and weave in ends.
Info :
If you prefer a more delicate lace border, switch to cream and do chain loops and picot trims: *Sc, ch5, picot, sc* repeating around for lightweight beauty. Block again after trimming to open lace details.
Round 3 :
Optional gold thread accent: With fine gold thread and needle, stitch a thin line or small French knots along some petal bases or at center joints to tie golden stamen to petal edges as a subtle highlight.
— Finishing and Blocking :
Info :
Press and block the entire runner: pin motifs flat on blocking mats in the final layout, mist lightly with water, and allow to dry completely. Use steam gently on cotton-blend yarns if comfortable. Blocking evens stitch tension and opens lace so the runner lies flat on the table.
Round 1 :
Weave in all ends with tapestry needle: pass tails through several stitches in the same color region, trim close to surface. Double-check bead clusters and secure with extra passes of thread.
Info :
Add a light layer of spray starch or fabric stiffener to petals if you want them to hold a more sculpted shape on display. Test on a scrap first to ensure desired stiffness.
— Notes on Customization and Scale :
Info :
To make runner longer, add additional lace connector motifs or duplicate small poinsettia and leaf clusters and continue joining. To reduce size, remove one large poinsettia cluster and adjust connectors. If you want a non-holiday version, substitute color palette: pinks and sage for spring, jewel tones for autumn, or neutrals for an all-year look.
Info :
All stitch counts are approximate for given motif sizes; slight differences can occur depending on yarn brand and hook tension. Keep motifs consistent by working all of the same type with the same hook and yarn ball tensions to minimize size variation.
This Red and Cream Poinsettia Table Runner is a beautiful, festive centerpiece that brings handmade charm to holiday gatherings. Each layered poinsettia and delicate lace connector combines to form a curated, heirloom-quality runner you can be proud of. The assembly process is relaxing and rewarding — and the finished piece will make a striking focal point for years to come. 🎄🧶