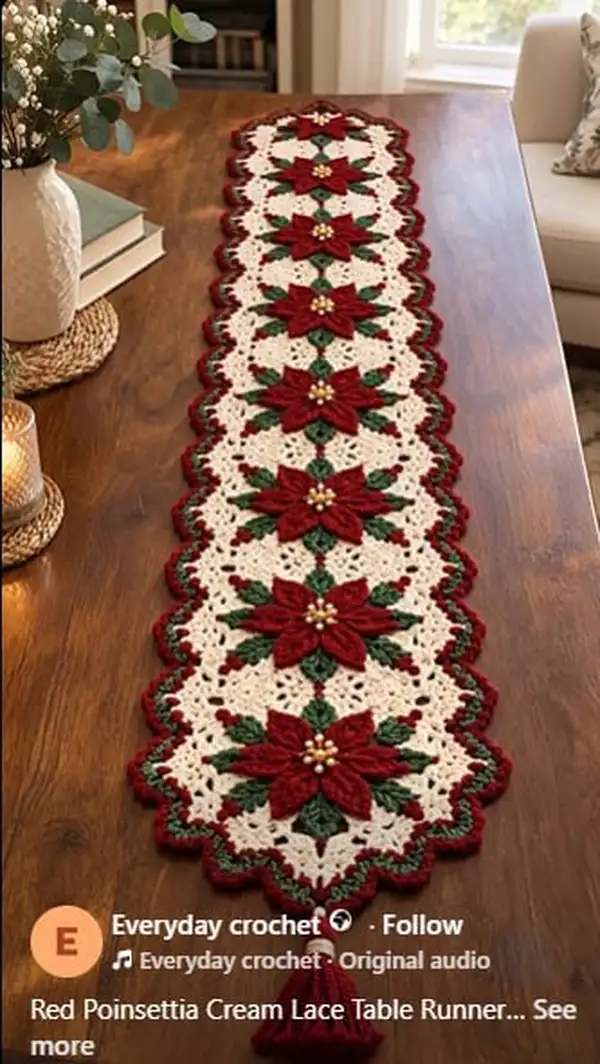
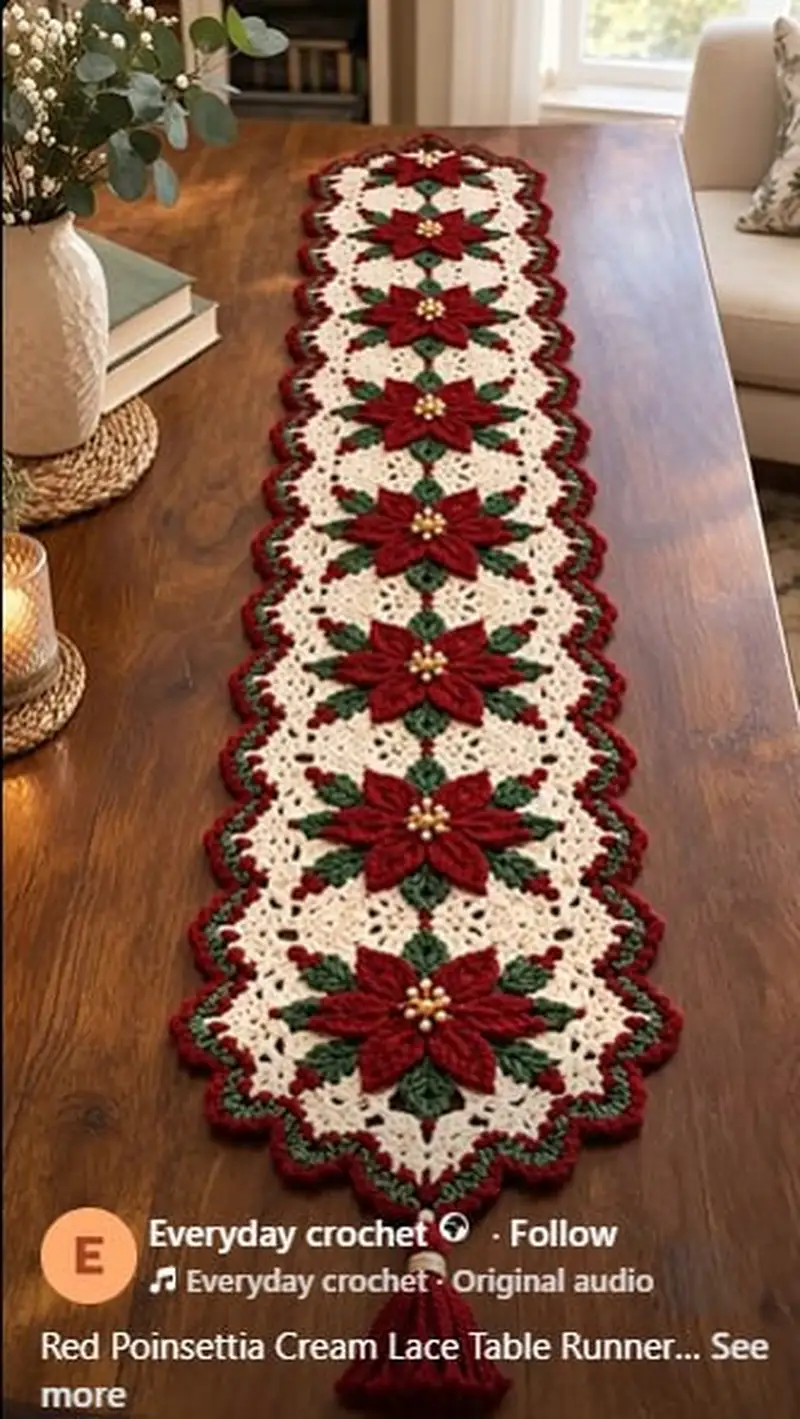
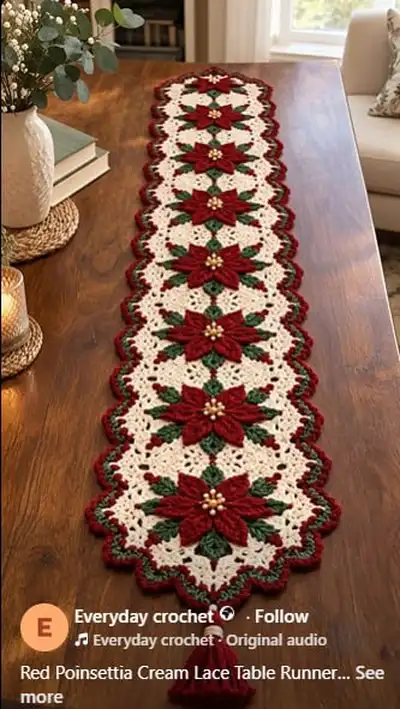
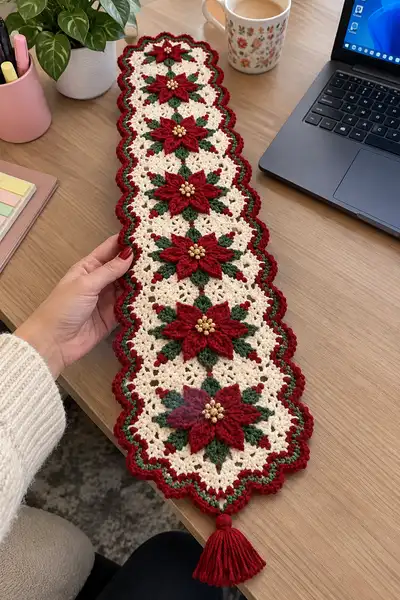
Create a festive Red Poinsettia Cream Lace Table Runner inspired by the images — layered poinsettia medallions in deep red, evergreen leaves, cream lacy background and a scalloped red border. This step-by-step pattern walks you through each motif, petal and joining round to create a beautiful holiday centerpiece. Includes detailed assembly, edging, and tassel finishing for an elegant seasonal heirloom.
Progress Tracker
0% Complete
— Overview :
Info :
This pattern is modular — create multiple poinsettia medallions and join them as you go to make a runner as long as you wish. The sample shown is seven medallions long and finished with a tassel at each end. Work each motif in the order: center cluster, inner green leaves, red petals layered in two rounds, background lace frame, then join to the running chain. Final rounds form the scalloped double-border. Use a stitch marker at the start of every round; counts are verified at each round.
— Poinsettia Motif: Center Cluster and Foundation (Make X motifs; sample uses 7) :
Round 1 :
With cream yarn, form a magic ring. Ch3 (counts as dc), work 11 dc into ring. Join with sl st to top of ch3. (12 dc)
Round 2 :
Ch1, *1 sc in next dc, ch3; rep from * around to form 12 sc and 12 ch-3 picots. Join with sl st to first sc. (12 sc, 12 ch-3 sps)
Info :
Ch-3 loops created in Round 2 will be used as anchor points for the green leaves. Keep tension even; the magic ring will make the center sit flat. Do not pull the center too tight.
Round 3 :
Ch1, in each ch-3 sp: (sc, hdc, 2 dc, hdc, sc) — this forms 12 small shell clusters around center. Join with sl st. (12 shells)
Round 4 :
Ch1, sc in each st and in the spaces between shells to create a continuous round: (sc in next dc, sc in next dc, sc in top of shell apex, sc in space) around — total 48 sc (approx). Join with sl st. (48 sc)
Info :
Round 4 evens the edge to give a sturdy base for leaves and petals. Count your stitches — there should be consistent spacing corresponding to the 12 shell cluster tops.
— Leaves (Make 4 leaves per motif into alternating shell spaces) :
Info :
Use green yarn. Leaves are worked into every third shell space (12 shells → 4 large leaves between petals). Weave in tail securely when changing colors.
Leaf Round 1 :
Join green in a chosen shell top. Ch1, sc in same st, ch2, sk1, (sc, hdc, 2 dc, hdc, sc) in next space — this creates a small pointed leaf. Fasten off leaving a 10cm tail for sewing if needed. (one leaf)
Leaf Round 2 :
Rejoin to base, ch1, sc around base stitches to make a firmer shaped leaf: sc in base sc, sc in next 6 sts to stabilize leaf. Fasten off. (shape stabilized)
Info :
Work 4 leaves spaced evenly around the circle: visualize at 12, 3, 6, 9 o'clock. Leaves will show under the red petals and provide the evergreen contrast visible in the image.
— Petal Layer A (lower petals) (Make 8 petals per motif - alternating positions) :
Info :
Use deep red yarn for petals. There are two petal layers; this first layer is worked directly onto the round-4 foundation into the shell tops (12 shells). Work petals into every shell top except where leaves occupy the base; this produces 8 lower petals and leaves fill the gaps.
Petal A Round 1 :
Join red at a chosen shell top. Ch1, sc in same st, ch2, (sc, hdc, 3 dc, hdc, sc) in shell top; sl st into next few foundation sts to anchor. Fasten off. (one petal)
Petal A Round 2 :
Rejoin to red petal base, ch1, sc 6 along petal base (working into FLO of petal base stitches where possible) to add thickness and ridge. Fasten off. (petal reinforced)
Info :
Make 8 lower petals alternating with the green leaves. Petal A forms the lower layer, slightly smaller than the top layer to give a stacked look. Use slip stitches to anchor each petal firmly so it sits upright.
— Petal Layer B (top petals) (Make 8 top petals per motif) :
Petal B Round 1 :
Join red approximately 3-4 sts back from the tip of a Petal A so the top petals overlay the lower petals. Ch1, (sc, ch2, sc) in same st, *(sc, hdc, 4 dc, hdc, sc) in next petal foundation; sl st to next anchoring st; rep from * to make 8 top petals. Fasten off. (8 top petals)
Petal B Round 2 :
Rejoin and work sc around base of each top petal to add weight: sc 8 along each petal base, join with sl st. Fasten off and weave ends. This gives the petals the 3D raised look seen in the images.
Info :
Top petals should be slightly larger and anchored so the points lift from the background. Adjust number of dc in petal body for size variance. If petal tips flop, add one more round of sc at their bases for stiffness.
— Center Bead Cluster :
Info :
For the gold center seen in the images, either sew six to eight small gold seed beads in a tight cluster or use gold embroidery thread to create French knots; we recommend beads for shine. Mount beads onto a tiny circle of felt first for secure sewing.
Bead Step :
Cut a small 2cm felt circle. Use a short length of strong thread, sew one bead at a time into the felt in a tight circular cluster of 6-8 beads. Sew the felt circle to the motif center through the foundation stitches of Round 1 and Round 2 of the motif. Hide stitches under petals. Clip excess felt close to beads for invisibility.
— Motif Lace Frame (Cream) :
Frame Round 1 :
With cream, rejoin at any petal gap. Ch4 (counts as tr), *sk 2 sts, 1 tr in next st; ch2; rep from * around to create an airy tr mesh. Join with sl st. (approx 24-30 tr depending on spacing)
Frame Round 2 :
Ch1, sc in each tr and ch-sp around to create a solid loop: sc in tr top, sc in ch2 space (2 sc), sc in next tr top. Join. (st count approx 72)
Info :
Frame rounds convert the dense floral center into a lacy motif that joins well with neighboring motifs. Adjust ch counts to keep the frame round flat; if cup, increase slightly, if ruffle, reduce stitches.
Frame Round 3 :
Ch3, *(2 dc, ch2, 2 dc) in every 3rd sc to create shell clusters around the frame; ch1 between shells for spacing; rep around. Join with sl st. (12 shells)
Frame Round 4 :
Ch1, sc in each st and ch-space around to stabilize the shell rim. Join. (st count varies — aim for even count around)
Info :
Frame Round 3 forms the visible scalloped inner edges between motifs. Keep shells consistent in height for neat joining later.
— Motif Edge and Connector Row (Create connecting chain points used to join motifs in a linear runner) :
Connector Round 1 :
Ch1, *sc 3 in next shell apex, ch5, sc 3 in next shell apex; rep across half of motif so that two ch-5 loops are formed on each long side where motifs will join. Fasten off and weave ends. (This round creates 6-8 ch-5 connector loops along each longitudinal side, depending on motif spacing)
Info :
Decide which sides will be the runner's long edges. Create extra sets of ch-5 loops on those sides for joining motifs. The sample has connectors along both long sides to create a straight column of motifs joined center to center.
— Joining Motifs As You Go (Join motifs in a straight runner) :
Join Step 1 :
Place Motif A and Motif B right sides facing. Match connector ch-5 loops. Join with sc through both loop edges: insert hook through loop on Motif A, then through corresponding loop on Motif B and sc to join. Continue across all connector loops. Repeat to join all motifs in a straight line.
Info :
When joining, pin motifs together on a flat surface to ensure centers line up. Join using a contrasting tail to visually check spacing before final weaving with matching cream yarn. Maintain tension so motifs do not pull toward each other.
— Continuous Lace Border (worked after all motifs are joined) :
Border Round 1 :
With cream, join anywhere along the runner edge. Ch1, sc evenly along the sides and ends of runner, placing (sc, ch3, sc) at points where motifs meet to preserve the scalloped spacing. Work all around runner. Join. (st count depends on length — typical sample: 500-600 sc around full runner)
Info :
This round evens the outer perimeter, creating a uniform edge for the decorative scalloped rounds to follow. Work evenly — use pins if needed to hold edges flat during work.
Border Round 2 :
Switch to green for a narrow accent round. Join green in any sc, ch2, *sk next sc, 1 dc in next sc, ch2; rep around to create spaced small arches. Join with sl st. Fasten off green. (accent row)
Info :
The green accent sits between the cream body and the red scallop to echo leaf color seen in the photos. Keep this round light to let the cream lace remain dominant.
Border Round 3 :
Rejoin red yarn. Ch1, *in next sc: (sc, ch3, 3 dc, ch3, sc) to make a large scallop; skip 2 sc between scallops; rep around. Join with sl st. (This round forms bold red scallops around the entire runner.)
Info :
Arrange scallops evenly — on a long runner this is crucial for a polished final look. If your stitch count does not divide evenly, adjust spacing at the ends to maintain symmetrical scallops at both ends.
Border Round 4 :
Ch1, work sc around each scallop edge to tidy points: sc evenly around each 3-dc cluster, placing 3 sc into the top of shell center to form a crisp point. Join. Fasten off and weave ends. (final edge stabilization)
Info :
If you prefer a double scallop like the image, repeat a second narrow red scallop round: ch3, 5 dc cluster in each previous scallop valley, sc in between to hold shape. This deepens the edge profile.
— Optional Raised Tiny Bobble Accents (red little dots between petals in photo) :
Bobble Step :
With red, work small bobbles into select cream mesh spaces: (yo, insert, pull up loop) x 3, yo, draw through all loops, ch1 to close. Anchor with sl st. Space evenly between points where petals meet; this mimics the small red dot accents in the original photos. Make about 12–16 bobbles per motif depending on spacing.
Info :
Bobble placement is decorative; pin each bobble location before committing to sewing if you want perfect symmetry along the runner.
— Tassel Finishing (Make 2 tassels for ends) :
Tassel Step 1 :
Using red yarn, wind yarn around a 6cm card about 40 times for a medium-thick tassel. Slide looped yarn off card carefully. Fold in half to create a loop-top tassel. Secure top by wrapping a 10cm length of yarn several times about 5mm below fold and knot tightly. Trim bottom loops to even length (approx 7-8cm). Make two tassels for two ends.
Tassel Step 2 :
Attach tassels by passing tail through final center bottom scallop. If you want a fuller tassel head like the sample, create a small pompom or wrap extra yarn around the tassel head and secure with tight stitches, then sew into border. Hide knots inside the scallop for neat finish.
Info :
For extra durability, tie the tassel tail several times around the runner's end and secure with a few stitches into the fabric with the yarn needle. Trim tassel ends straight and steam-block lightly to align fibers if using acrylic blend yarn.
— Blocking and Finishing :
Info :
After completing all motifs and border, wet-block the runner to square it and open the lace. Pin onto a blocking mat at measured intervals, pulling scallops into smooth curves. Let dry completely. Sew in all ends and trim excess yarn. If beads were attached to felt, check that felt is flush and not visible from the right side.
Final Step :
Check runner for any loose stitches, reinforce joins with a small whip stitch if needed. Press gently with a steam iron (cover with a damp cloth if using acrylic blends to prevent melting) to remove any creases. Enjoy your finished runner!
Info :
To lengthen the runner, make additional motifs and join in the same sequence. For a shorter runner, reduce motifs and create a balanced number so border scallops align neatly at both ends.
Completing this Red Poinsettia Cream Lace Table Runner turns yarn and time into a classic holiday centerpiece you'll be proud to display. Each motif stacks rich red petals atop evergreen leaves that pop against the warm cream lace, finished with shimmering bead centers and scalloped edging. The repetitive, rhythmic work of each medallion is relaxing, and the final blocking transforms the runner into an elegant heirloom. 🎄🧶 Hang onto the pattern — you'll return to it as a seasonal favorite every year!