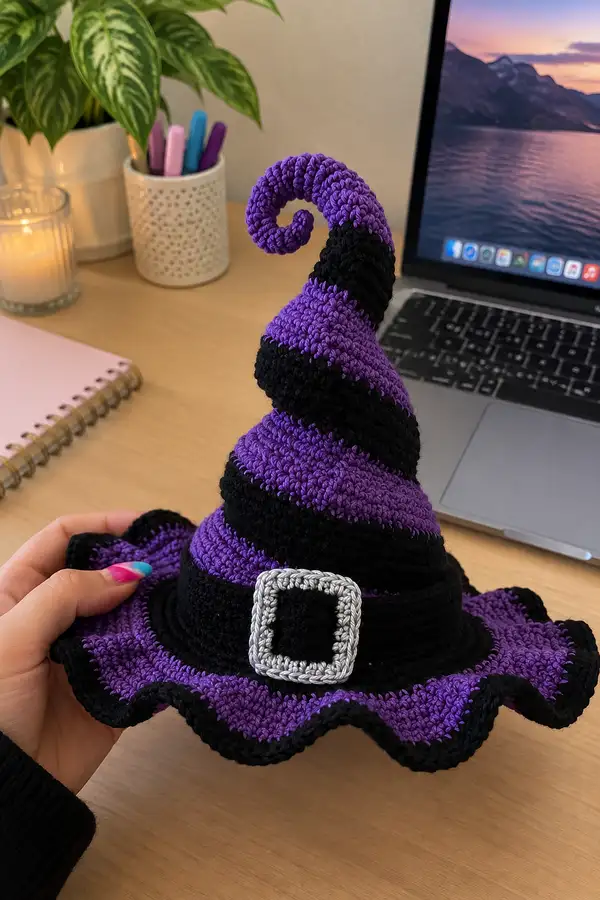
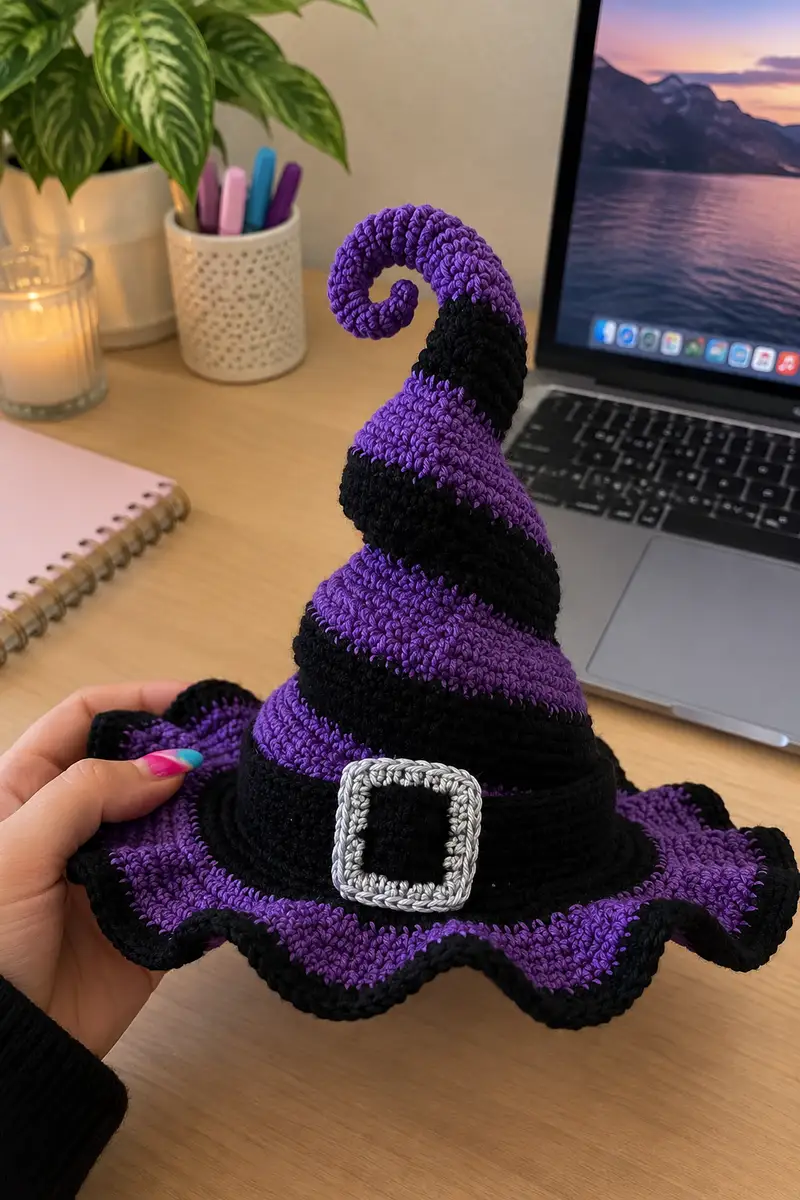
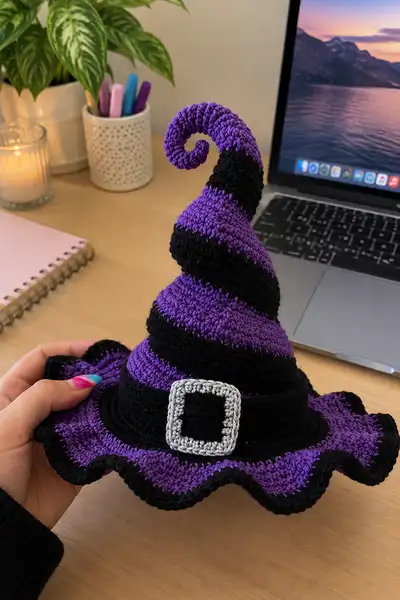
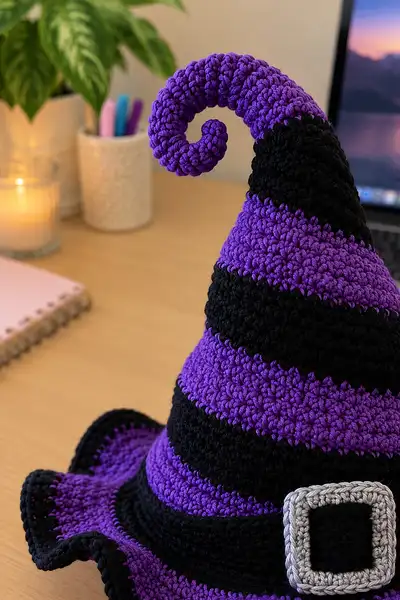
Create a whimsical striped witch hat with a curled top, wide wavy brim and a decorative buckle. This pattern uses alternating purple and black stripes, a structured hatband, and a removable spiraled tip that can be stuffed or wired for posing. Perfect as a seasonal decoration, costume accessory, or a charming desk ornament—the finished hat holds its shape while still being soft to the touch.
Progress Tracker
0% Complete
— Crown & Cone (Top to Brim) :
Round 1 :
6 sc in magic ring (6)
Round 3 :
(1 sc, 1 inc) x 6 (18)
Round 4 :
(2 sc, 1 inc) x 6 (24)
Round 5 :
(3 sc, 1 inc) x 6 (30)
Info :
Begin with purple yarn for the top crown. Keep stitches tight to prevent gaps since the spiral tip will attach here later. Place a stitch marker at the first stitch of each round.
Round 6 :
(4 sc, 1 inc) x 6 (36)
Round 7 :
(5 sc, 1 inc) x 6 (42)
Round 8 :
(6 sc, 1 inc) x 6 (48)
Info :
By round 8 you have a stable crown top. This is the narrow point where the hat starts to fan out. Continue working in continuous rounds (do not join) for smoother stripes. Mark the first stitch of every round.
Round 9-12 :
1 sc in each st (48)
Info :
These even rounds form the beginning of the cone shaft and establish the first visible purple stripe. Keep tension consistent; these rounds set the height of the top cone section.
Round 13 :
(7 sc, 1 inc) x 6 (54)
Round 14-16 :
1 sc in each st (54)
Info :
Change to black yarn at the end of round 16 if you want a 3-round black stripe; in this pattern we will keep stripe widths consistent by working stripes that are roughly 4-6 rounds tall. Carry the unused yarn along the inside if you want to avoid too many ends, or fasten off and weave in tails for cleaner edges.
Round 17 :
(8 sc, 1 inc) x 6 (60)
Round 18-20 :
1 sc in each st (60)
Info :
Stripe pattern: for a bold alternating look like the sample, change color every 4 rounds: two rounds even (or three) plus one increase round as indicated. Here the increase rounds increase the cone base by 6 stitches each time.
Round 21 :
(9 sc, 1 inc) x 6 (66)
Round 22-24 :
1 sc in each st (66)
Round 25 :
(10 sc, 1 inc) x 6 (72)
Round 26-28 :
1 sc in each st (72)
Info :
Keep track of your stripe count. If you change color at the end of a round, slip stitch to the last stitch of the round, fasten off and join the next color in the following stitch to create a clean color join. Carrying yarn inside will create fewer ends but slightly bulkier seam lines.
Round 29 :
(11 sc, 1 inc) x 6 (78)
Round 30-32 :
1 sc in each st (78)
Round 33 :
(12 sc, 1 inc) x 6 (84)
Round 34-36 :
1 sc in each st (84)
Info :
If your brim will be very wide and floppy, consider using a slightly tighter tension or a smaller hook for the cone rounds near the base so the transition to the brim is neat and the brim can be shaped more easily during blocking.
Round 37 :
(13 sc, 1 inc) x 6 (90)
Round 38-40 :
1 sc in each st (90)
Round 41 :
(14 sc, 1 inc) x 6 (96)
Round 42-44 :
1 sc in each st (96)
Info :
At this point you should see the cone widening smoothly. You can shape the cone more tapered by inserting occasional dec rounds instead of increases, but for the striped, wavy hat we continue to expand gradually to reach a broad brim circumference.
Round 45 :
(15 sc, 1 inc) x 6 (102)
Round 46-48 :
1 sc in each st (102)
Round 49 :
(16 sc, 1 inc) x 6 (108)
Round 50-52 :
1 sc in each st (108)
Round 53 :
(17 sc, 1 inc) x 6 (114)
Round 54-56 :
1 sc in each st (114)
Round 57 :
(18 sc, 1 inc) x 6 (120)
Info :
Round 57 is the planned base circumference for the brim in this guide (120 sts). If you want a smaller or larger brim, adjust the number of increase rounds. Always keep increases evenly distributed (we use 6 increase points) so the hat keeps a smooth spiral geometry.
Round 58-62 :
1 sc in each st (120)
Info :
These rounds form a short band where the hatband will sit; work neat even stitches here. If you plan to add a removable crocheted band, leave long tails or add button loops to allow the band to slide on and off.
Round 63 :
Using black yarn: 1 sc in each st (120)
Round 64-66 :
1 sc in each st (120)
Info :
We are now at the top edge of the brim starting point. Do not fasten off. For a consistent ring, place markers at quarter points to help count when you begin the brim increases.
— Brim Base & Expansion :
Round 67 :
Attach yarn (purple) at any stitch on base edge. (120) 1 sc in each st (120)
Round 68 :
1 sc in each st (120)
Round 69 :
(5 sc, 1 inc) x 20 (140)
Info :
This increase round adds 20 stitches to widen the brim. We place increases every 6th of the 120-st base (every 6 stitches), creating 20 sectors for a broad, even brim. Adjust if your base stitch count differs.
Round 70-71 :
1 sc in each st (140)
Round 72 :
(6 sc, 1 inc) x 20 (160)
Round 73-74 :
1 sc in each st (160)
Info :
We are creating a flat-to-slightly-wavy brim: two rounds of broad even increases will create a gently flared profile. For a flatter brim use fewer increases; for a more dramatic wave, increase more frequently or use larger increases later.
Round 75 :
(7 sc, 1 inc) x 20 (180)
Round 76-77 :
1 sc in each st (180)
Round 78 :
(8 sc, 1 inc) x 20 (200)
Round 79-80 :
1 sc in each st (200)
Info :
If your hat ends up extremely wide, you can limit the brim to rounds 69-74. In the sample hat the final brim count here is 200 sts which gives a wide, dramatic ruffle when configured with the scalloped edge that follows.
— Brim Ruffle & Scalloped Edge :
Round 81 :
Switch to black yarn. 1 sc in each st (200)
Round 82 :
1 sc in each st FLO (200)
Info :
Using FLO for one round will create a slight ridge that helps the scallops sit neatly. This is optional but recommended for a defined edge.
Round 83 :
*Skip 1 st, 5 dc in next st, skip 1 st, sl st in next st; rep from * around to create large scallops (approx 200/7 = ~28 scallops, adjust spacing as needed)
Info :
Scallop counts depend on your final stitch count; aim for 24-32 scallops total. If you have 200 sts, 28 scallops with roughly 7 stitches per scallop works well. Adjust the pattern repeat to fit evenly around your brim.
Round 84 :
Working into the scallops: *1 sc into center dc of scallop, ch 1, sl st into next scallop center; rep around to stabilize scallops (28 sc approx)
Round 85 :
Using black yarn, sl st evenly into each scallop edge to tidy. Fasten off and weave in ends.
Info :
Block the brim: pin it to a flat surface into the desired wavy shape and lightly steam or wet-block to help the scallops hold their shape. Allow to dry completely before assembly. Blocking is optional but recommended for a crisp look.
— Hatband :
Round 86 :
With black yarn, ch 6, join to form ring. Rnd 1: 6 sc in ring (6)
Round 87 :
Rnd 2: (1 sc, inc) x 3 (9)
Round 88 :
Rnd 3: 1 sc in each st (9) - continue working in rows now flat to make band long enough to wrap base (about 60-66 stitches long depending on base circumference)
Info :
Instead of a full tube ring, you can also work a strip: ch to desired length (approx 60-66 ch to fit snugly around the cone), then turn and sc back along rows for 6-10 rows to create a flat band. Sew the ends together to form the hatband.
Round 89-94 :
Work 6 rows of sc across the band to create a band width of 6 sc rows. Fasten off and leave long tail for sewing.
Info :
Measure the band around the cone at round 62 to ensure it fits snugly without stretching. The band can be sewn in place or made removable. If removable, work a button loop or leave a small overlap to slip the buckle through.
— Buckle :
Round 95 :
With silver/gray yarn and small hook: ch 8, join to ring. Rnd1: 8 sc in ring (8)
Round 96 :
Rnd2: (1 sc, inc) x 4 (12)
Round 97 :
Rnd3: 1 sc in each st (12)
Round 98 :
Form square: fold ring flat; sl st across to form rectangular buckle shape; use black yarn to fill center by working a small square: ch 4, 3 sc across for one row, ch 1 turn, sc back for 3 rows creating a 3x3 black center; sew silver frame around it. Fasten off, weave ends.
Info :
The buckle is decorative; you can also use a lightweight metal buckle or a plastic craft one if preferred. Sew the buckle onto the band slightly off-center for a whimsical look shown in the sample photo.
— Spiral Tip (Make separately) :
Info :
The spiral tip is worked as a long stuffed tube in alternating stripes. You can work this entirely in purple or alternate black and purple stripes for continuity with the cone. If you want the spiral poseable, insert a thin floral wire inside the tube before stuffing or sew a wire into the core.
Round 99 :
With purple yarn, mr, 6 sc in ring (6)
Round 101 :
(1 sc, 1 inc) x 6 (18)
Round 102-104 :
1 sc in each st (18)
Round 105 :
(2 sc, 1 inc) x 6 (24)
Info :
The initial increases form a small tube that will become the base of the spiral. Keep the tube slightly firm but not overstuffed yet. You will add more stuffing as the tube grows in length to keep the spiral smooth.
Round 106 :
1 sc in each st (24)
Round 107 :
(3 sc, 1 inc) x 6 (30)
Round 108-109 :
1 sc in each st (30)
Round 110 :
Switch to black yarn. 1 sc in each st (30)
Round 111-113 :
1 sc in each st (30)
Round 114 :
Switch to purple yarn. 1 sc in each st (30)
Info :
Alternate colors for stripes by changing colors every 3 rounds in the spiral tube to mimic the hat's stripe rhythm. Fasten off neatly and weave tails inside the tube as you go. Continue stuffing lightly after every 4-6 rounds so the spiral keeps a rounded, even profile.
Round 115-120 :
1 sc in each st (30) - continue alternating colors every 3 rounds for approx 24 more rounds to reach desired length
Round 121 :
(3 sc, 1 dec) x 6 (24)
Round 122-124 :
1 sc in each st (24)
Round 125 :
(2 sc, 1 dec) x 6 (18)
Round 126-127 :
1 sc in each st (18)
Round 128 :
(1 sc, 1 dec) x 6 (12)
Info :
Stuff the tip firmly before closing, especially at the final narrow sections to keep the curl firm. If inserting wire, run it through the length of the tube here, bending the end to prevent poking through the fabric before closing the end securely.
Round 130 :
Fasten off leaving long tail for sewing. Close remaining opening using yarn needle and enter through several inner stitches to anchor firmly (6 -> closed)
Info :
To form the curl, coil the long tube around itself starting at the narrow tip and working toward the thicker base, adjusting loops until you reach the desired spiral tightness. Sew the spiral along the interior seam to the crown top, anchoring it well so it won’t unravel.
— Alternate Spiral: Work as Curled Coil (Optional Poseable Method) :
Info :
If you prefer the exact shaped spiral seen in the photo (a neat 360-degree curl at the tip), work the tube as above and insert thin floral wire or pipe cleaner before final stuffing. Bend the wire into the desired curl and then finish stuffing. Sew the very end closed and then sew the spiral to the crown base with many small invisible stitches.
— Finishing & Final Assembly :
Round 131 :
Place hatband around cone at the band-friendly zone (rounds 58-63). Pin in place and tack with matching black yarn using whip stitch at 3-4 points to secure.
Info :
Slide the buckle onto the band before sewing the band closed if you made a flat band. Alternatively, sew the buckle on top of the band once the band is attached to the hat for a fixed look. For a removable band, sew a small button loop at one end and a button on the other end.
Round 132 :
Sew spiral tip onto the crown: center the base of the spiral tube at the original magic ring area and sew around the base of the spiral to the crown with tight mattress or ladder stitches, reinforcing with several passes.
Round 133 :
Sew the hatband around the cone at the designated band placement, tacking the band to the cone with hidden stitches. Attach the buckle centered on the band or off to the side for a whimsical look. Weave in all ends.
Info :
Check overall balance: if the spiral causes the hat to lean excessively, tuck a small piece of foam or insert a scrap of felt inside the cone top to direct weight. For a stiffened brim, lightly spray with fabric stiffener or starch and shape while damp until dry.
Round 134 :
Fasten off any remaining loose ends. Weave ends into the inside of the hat and clip close. If you used carrying method for colors, make sure to snip and weave any leftover floats to the inside.
Info :
Final touches: add tiny embellishments if desired—sequins, embroidered stitches, or a sewn-on small spider charm. For wearability as part of a costume, the inside of the hat can be lined with a thin ribbon sweatband sewn around the inside base for comfort.
This striped spiraled witch hat is a joyful mix of playful shaping, contrast stripes, and decorative details that bring a little magic to any table or costume. Each curled tip and scalloped brim wave is crafted with attention so your finished hat looks polished and whimsical. Celebrate the process—every stitch adds personality and charm to this piece. 🎃🧶✨